
This article will discuss the Records; Locations List.
The Location Manager must be enabled to view and use the Locations List. There is no additional charge for the Locations Manager. If you do not see the Locations List check, with an Administrator on your account to see if the Locations Manager can be enabled for your agency.
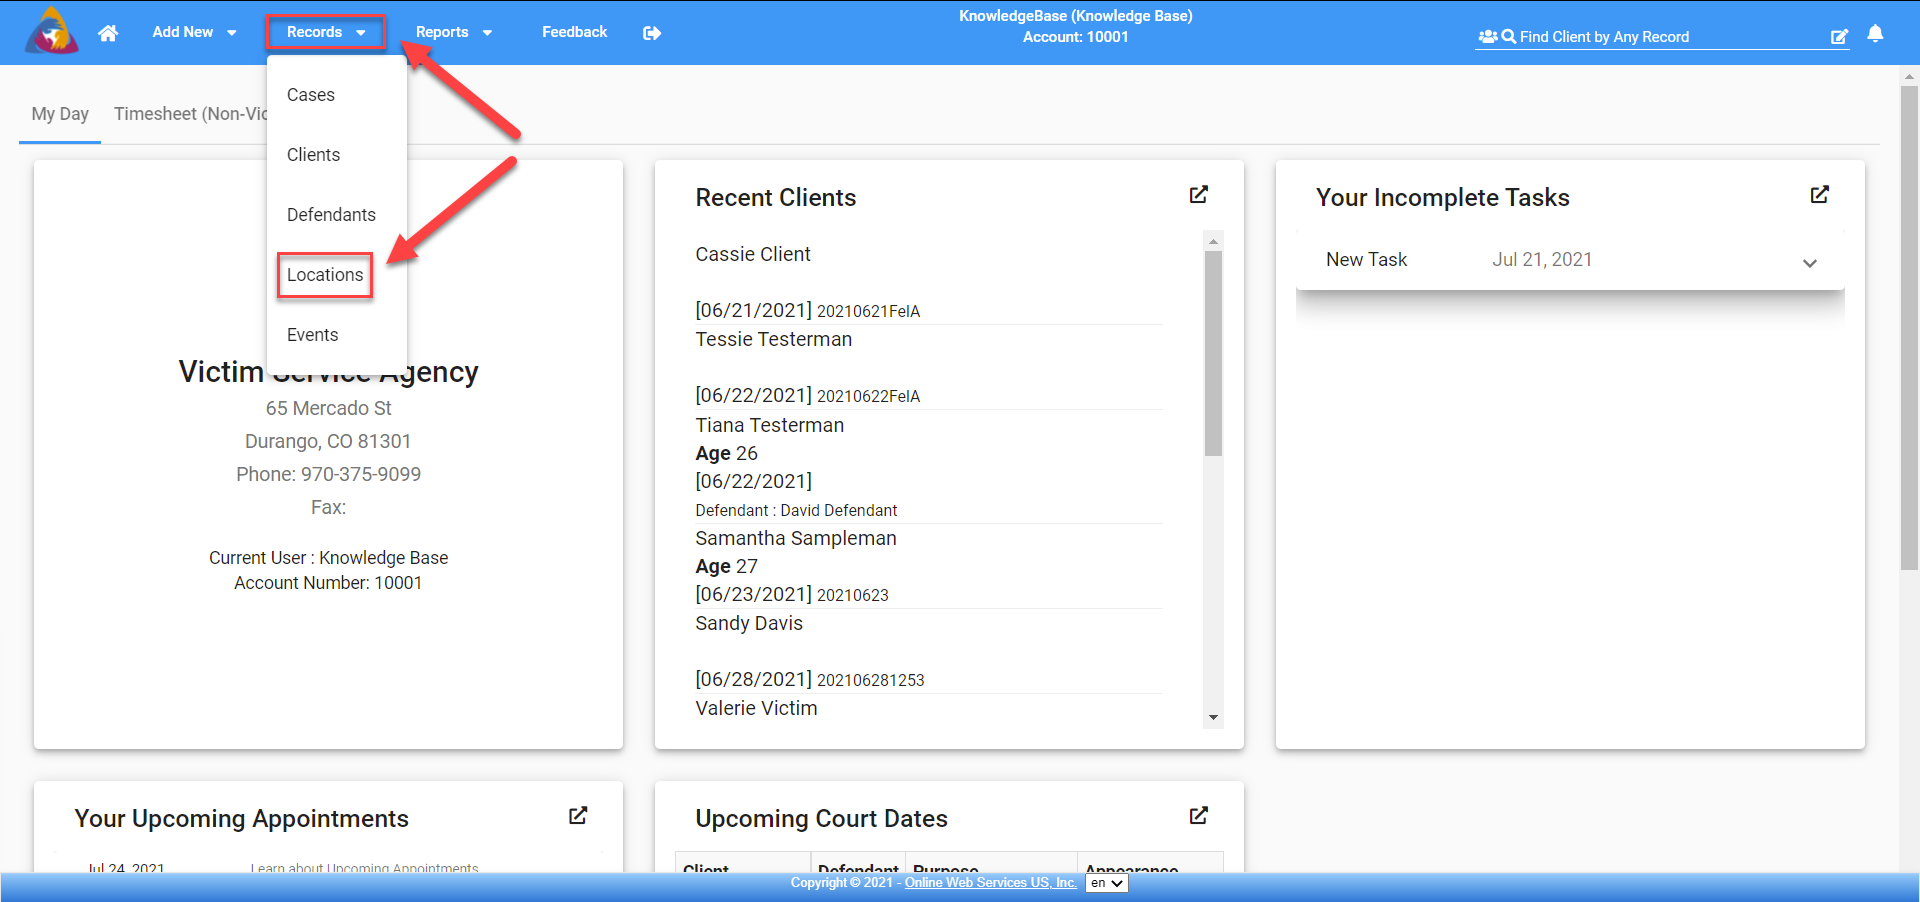
From any screen click on Records and click on Locations.
The Locations List screen will display the recent locations that have been entered for the past 30 days. You can expand the time range you are viewing by clicking on the down arrow and choosing 60 or 90 days, the past year, or any year that you have Location data entered.


- The first button on the Locations page is labeled "Column Visibility". clicking it will open a list of the columns that are shown on the list of Locations. They are all selected by default but you can click items on the list to remove that column from the list. Conversely, you can reactivate columns by opening the list and clicking them again.
- the next button, "Copy", will copy the information on the list to be pasted into a document, spreadsheet, or email.
- Clicking the button labeled "Print" will open a new window with a printer-friendly version of the list. It will also open your computer's print screen which will display printer and print options.
- The "Export" button allows you to export the information in the list as a CSV file, Excel Spreadsheet, or a pdf.
- Below you will see: "Show [100] locations". This number is the number of locations that will be shown per page on the list of locations. Clicking the arrow icon next to the number will open a list of options for how many locations to show on the page (100, 500, and all). Click the number of locations you wish to see per page and the list will adjust to fit your selection.
- On the right side of the screen, you will see a field labeled "Filter". You can type in this field to search locations by information in any of the columns (Id, Name, Address, etc.).
- Below all of these options, you will see the list of locations that have been added to your system. The list displays information about each location, separated into columns.
- Id: This is a unique Id used to identify the location.
- Location Name: This column displays the name given to the location when it was entered.
- Business Name: If the location was associated with a business, the name of that business will be displayed here.
- Address: This shows the physical address of the location.
- Cases: The number in the "Cases" column is the number of cases that are associated with this location.
- Events: The number in the "Events" column is the number of events that are associated with this location.
- Tools: Tool icons are provided for quick access to view and edit specific location information. They will be discussed in detail below.
- If you wish to view specifics about a location, click the row of that location and you will be taken to its "Location Screen" where you can view multiple tabs of information to view and edit. For more information, see the article: How do I edit a Location?
- The first "tool" icon on the right side of the list looks like a blue pencil writing on paper. Clicking this icon will take you to the "Edit Location" tab on that location's Location Screen. There you can edit the information about the location. For more information, see the article: How do I edit a Location?
- The next icon is yellow and looks like a toolbox. Clicking it will take you to the "Location Cases" tab of the location's Location Screen. There you can view a list of cases that are associated with the location. For more information, see the article: How do I view all cases for one Location?
- You can view a list of events associated with the location by clicking the next icon that looks like a yellow calendar. Clicking the icon will take you to the "Location Events" tab on the location's Location Screen. For more information, see the article: How do I view all events for one Location?
- The last icon looks like a blue price tag. Clicking it will take you to the "Location Tags" tab on the location's Location Screen. There you can add and edit tags for the location. For more information, see the article: How do I add tags to a Location?
- On the top and bottom right of the list, you will see options for navigating pages of the list. The first button is "First". Clicking it will take you to the first page of the list if you are 2 or more pages into the list.
- The next button is "Previous". Clicking it will navigate you back a page if you are 2 or more pages into the list.
- Third, you will see a grey box with a number. The number in the box is the current page of the list that you are on.
- To navigate forward a page, click "Next".
- Click "Last" to be navigated to the last page of the list.