
The "Location Cases" tab on a location's "Location Screen" will show you all cases that involve the location.
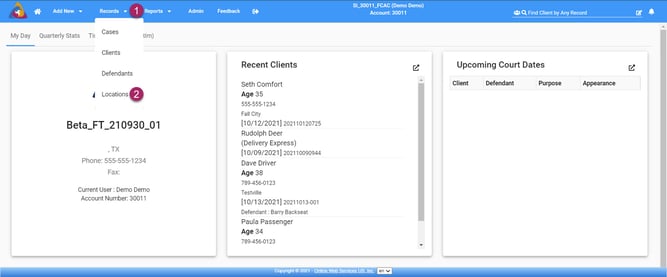
- To start, click the records dropdown on the top blue bar. This will open a dropdown menu showing the categories of records.
- Select "Locations" from the list and you will be taken to the Locations Screen where you can choose the location you wish to view cases for.
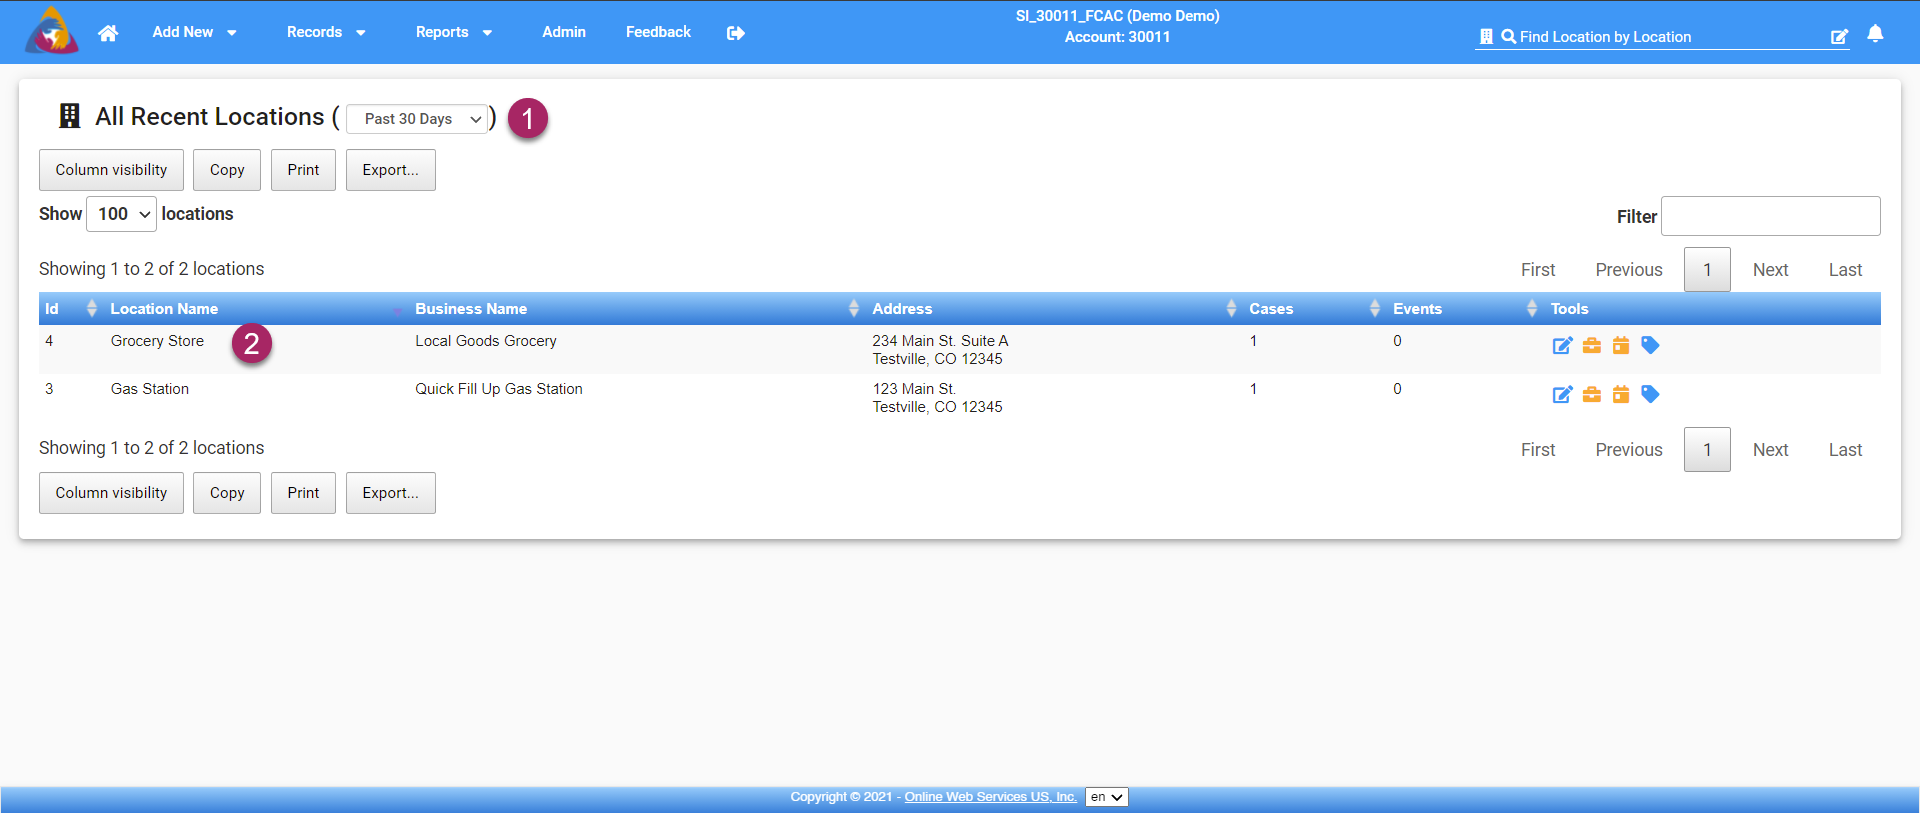
- Now you will have reached the Locations Screen and will be able to see all recently added Locations.
- Select the location you wish to view from the list by clicking on it.
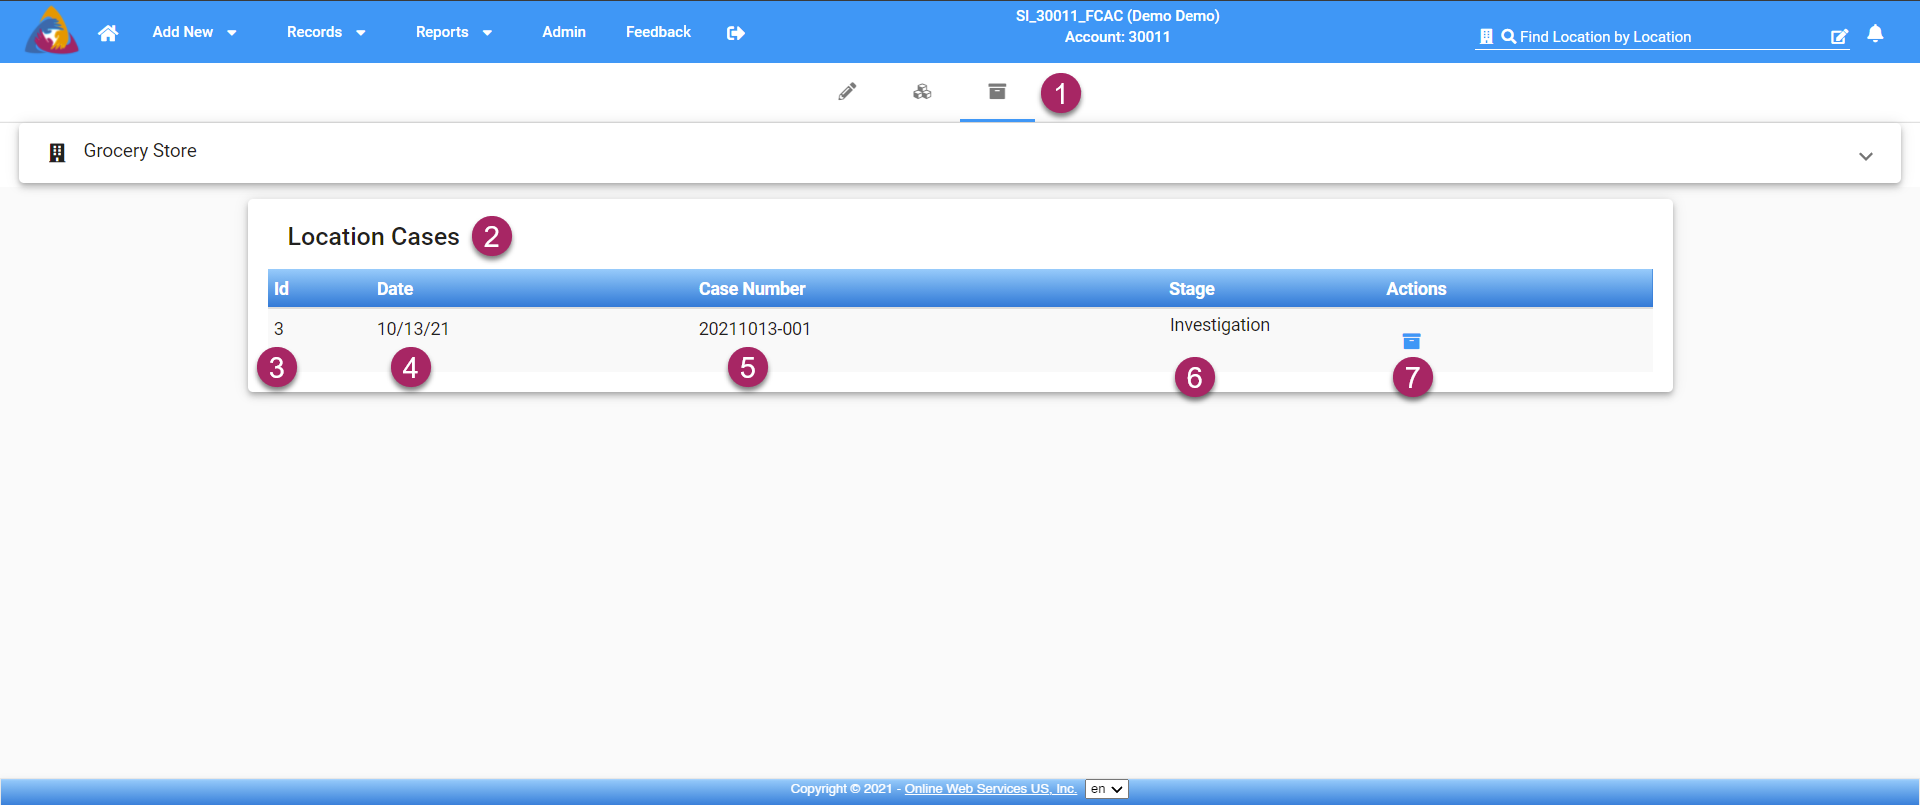
- You will arrive on the location's "Location Screen", specifically on the Location details tab. Click on the icon that looks like a file box. It is the third icon on the row of icons below the top blue bar. This will take you to the "Location Cases" tab shown above.
- Below "Location Cases" you will see a list of all cases that involve the location you are viewing.
- There are five columns on the list to give details about each case. The first column shows the ID number of the location in your system.
- The next column shows the date of the case for the case shown in that row.
- To the right of that, you will see the case number for the case.
- The fourth column shows you the current stage of the case. For more information about case stages, see the articles:
- Lastly, below actions, you will see a blue file box icon in each row. Clicking this will take you to the Case Details screen for the case in that row.