This article will discuss the Location Custom Fields screen.
Note: The Location manager will need to be enabled to create, view, and manage Locations. If you do not see any of the Location options, please check with an Administrator on your account to see if the Location manager can be enabled for your agency.
Navigate to the Location Screen
There are a couple of different ways to find the Location screen. You can (1) use the quick search tool in the top blue bar to search for the specific Location record you are wanting to view. (see below)
For more information about that search tool see the video labeled How do I use Quick Search.
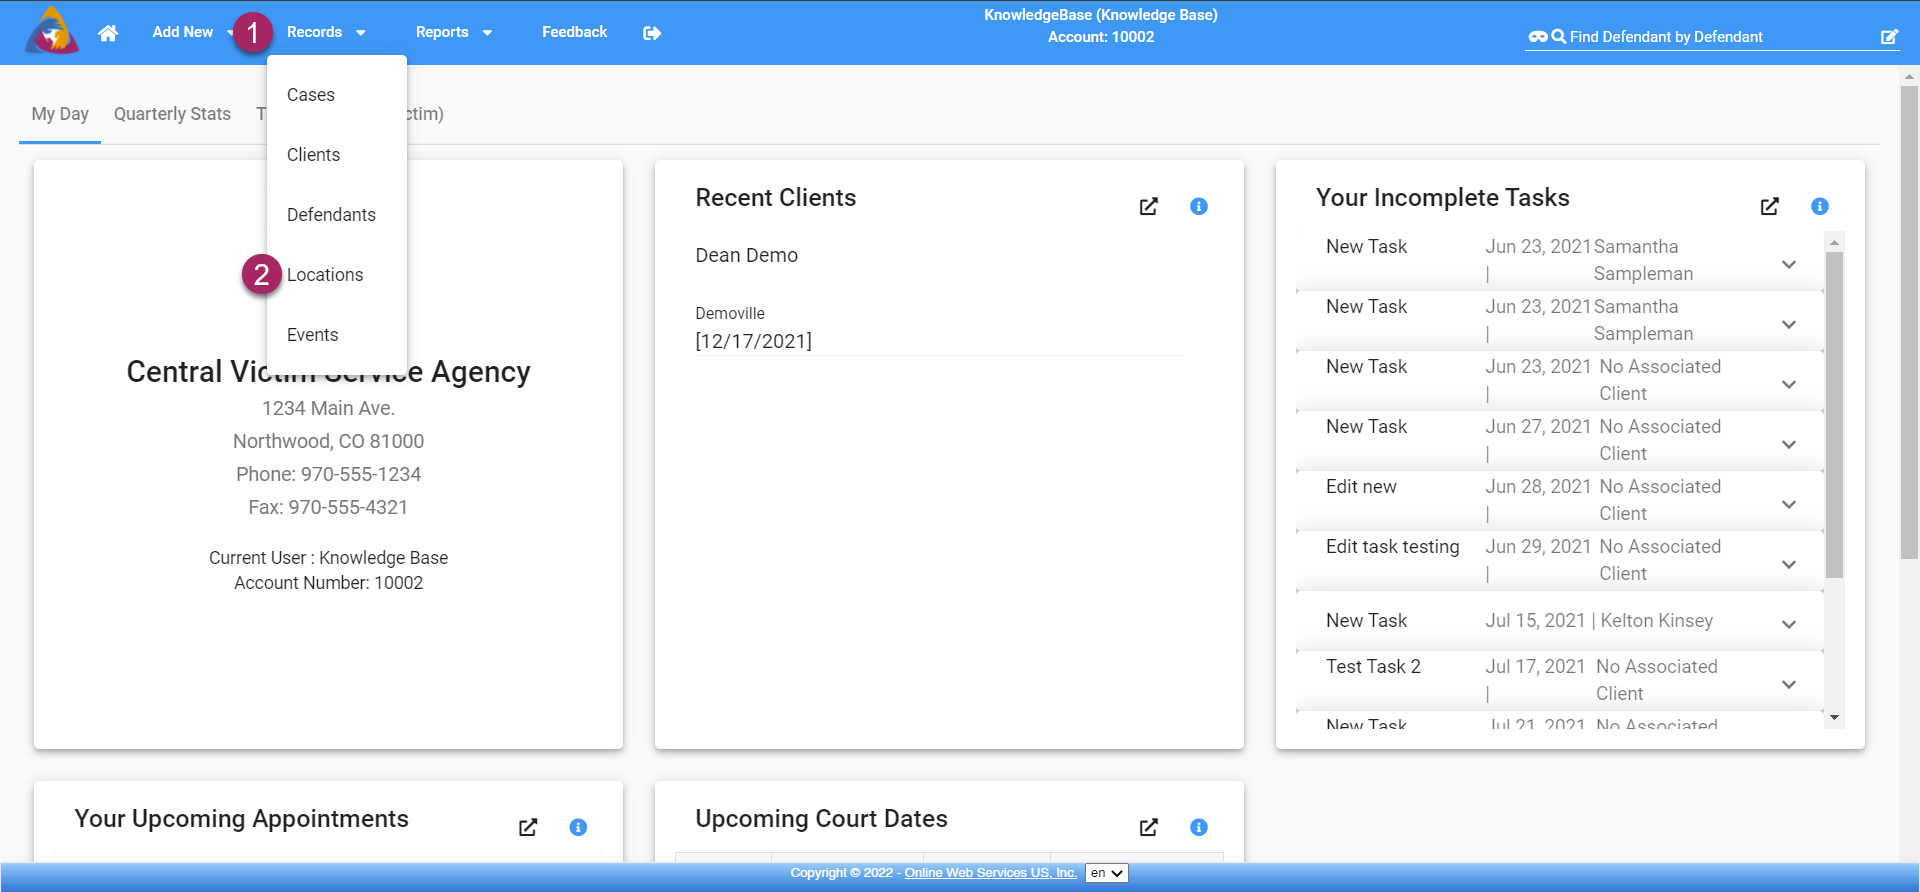
You can also (1) click on Records and (2) click on Locations (see below) to view a list of locations entered into the database and select the client you want to view from that screen.
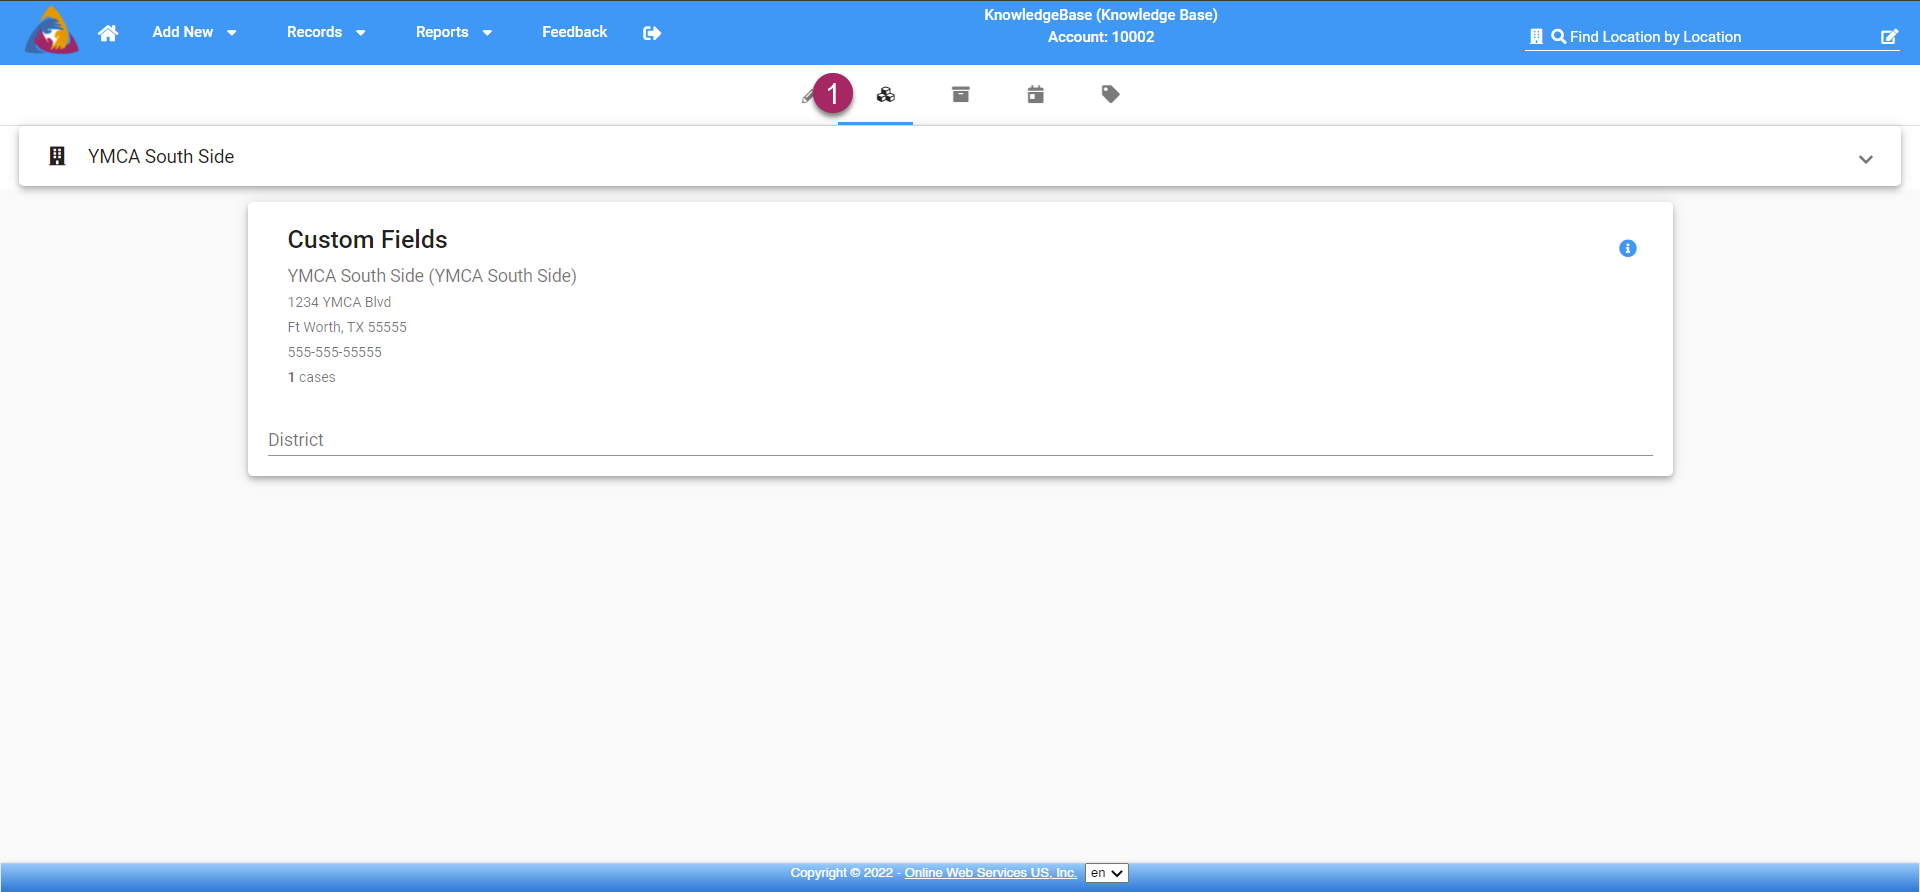
Once on the Location screen, you will (1) see the tabs or tools across the top just below the blue bar.

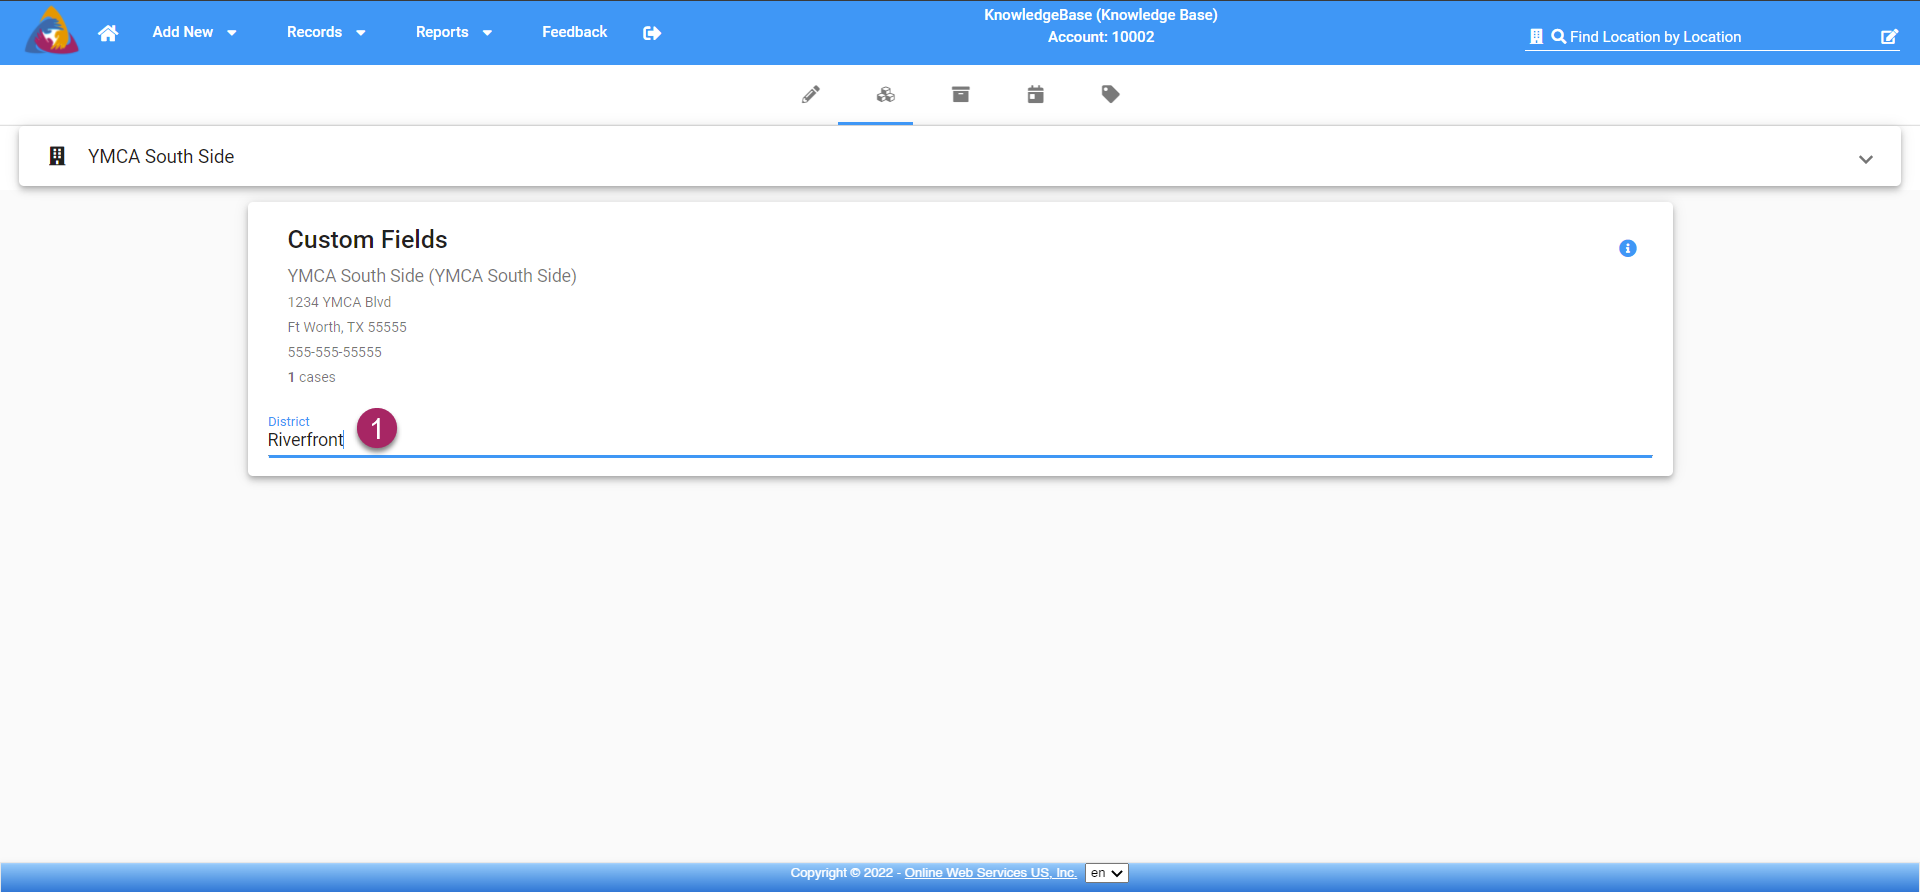
The 2nd icon (1) looks like building blocks and clicking it will take you to the Custom Fields screen. The custom fields are created in the Admin screen by an administrator on your account. For more information about adding Client Custom Fields, see the article: How do I add and edit Custom Fields?
These custom fields can be any fields that your agency wants them to be. They are searchable and reportable fields. For more information on searching by custom fields see the video labeled How do I use Quick Search.
To add or edit information in the case custom fields, (1) click on the field you are wanting to add or edit and begin typing the information. There is no save button to worry about on this screen, simply click away from the field and your changes will be saved.