
This article will discuss the Quick Search in the top blue bar.
The Search Tool
The search tool will remain in the top blue bar no matter where you go in the software and no matter what you are doing. (see below - Figure 1)
Figure 1

The search tool will search the entire database. The search will be based on what is selected and offers a very wide range of search options. (see below - Figures 5-6)
Conducting a Search
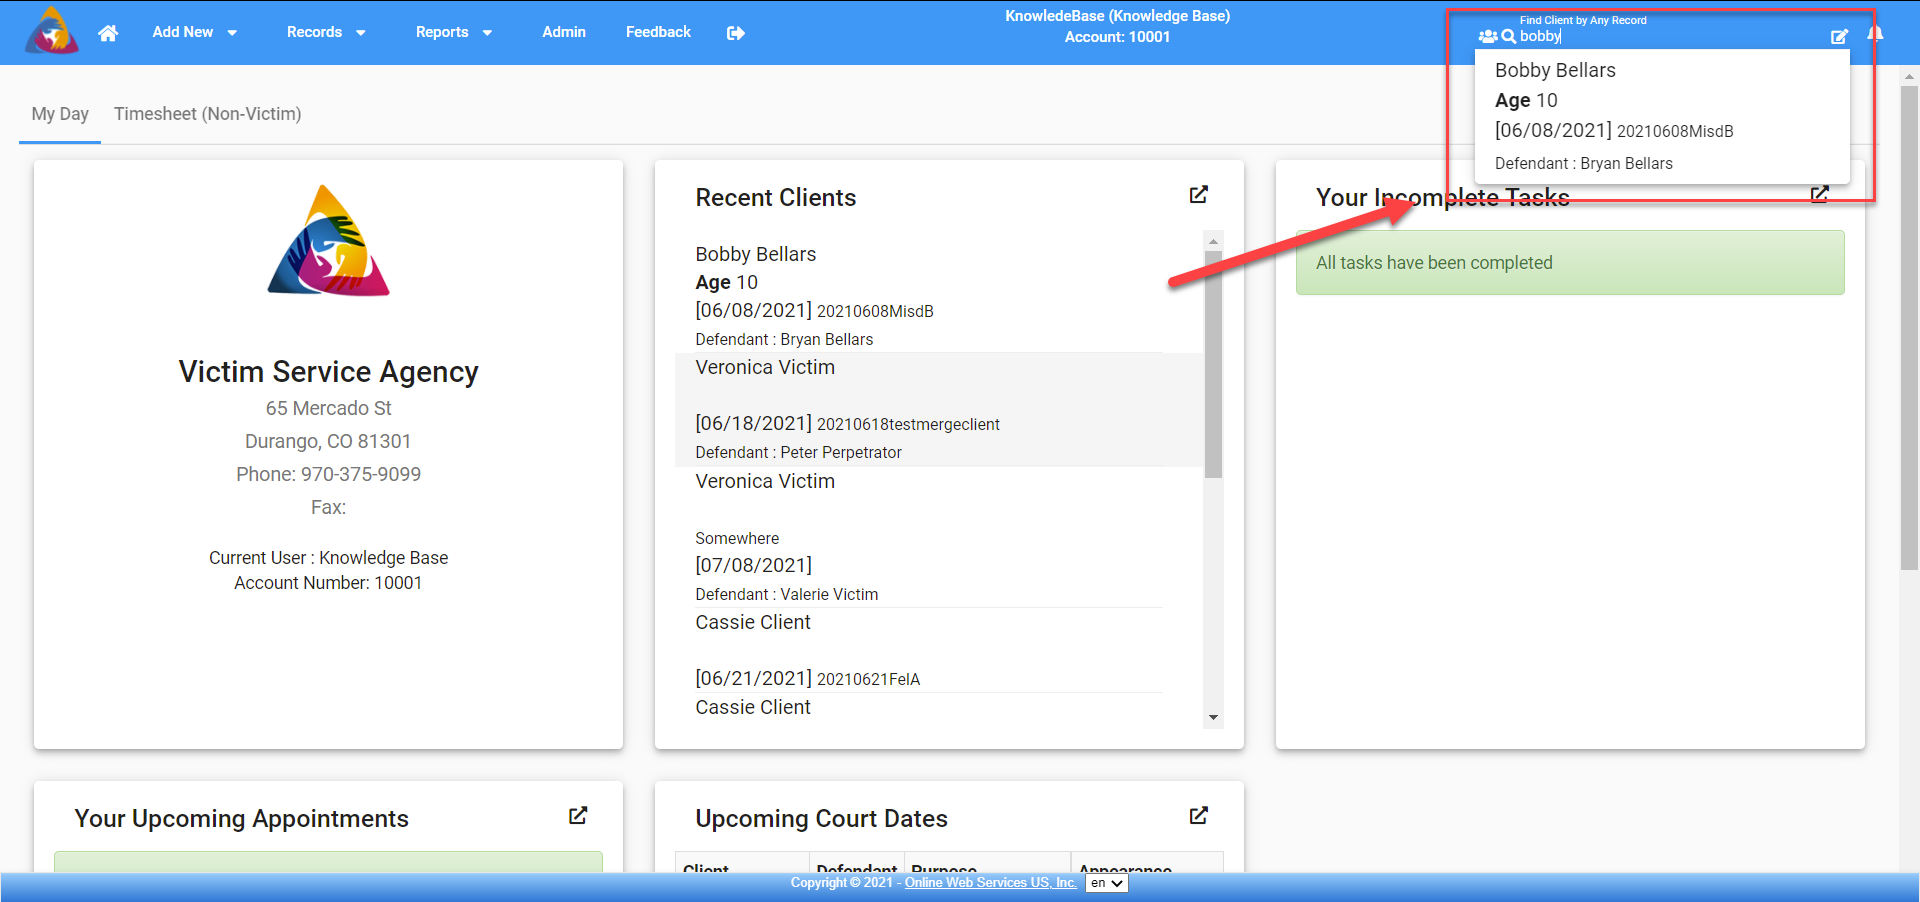
The search tool defaults to searching for Clients by Any Record. Click on the area between the ‘Find Client by Any Record’ and the thin white line and begin typing what you are searching for. Once you have typed in 3 or more characters you will see a dropdown box appear with data/records of the 8 most recent items that match or are similar. There will also be other data associated with the record or records that will help identify the record you would like to view such as: Age; for clients and defendants, Case Date and Case Number, Defendant Name, address, phone number, and more. (see below - Figure 2)
Figure 2
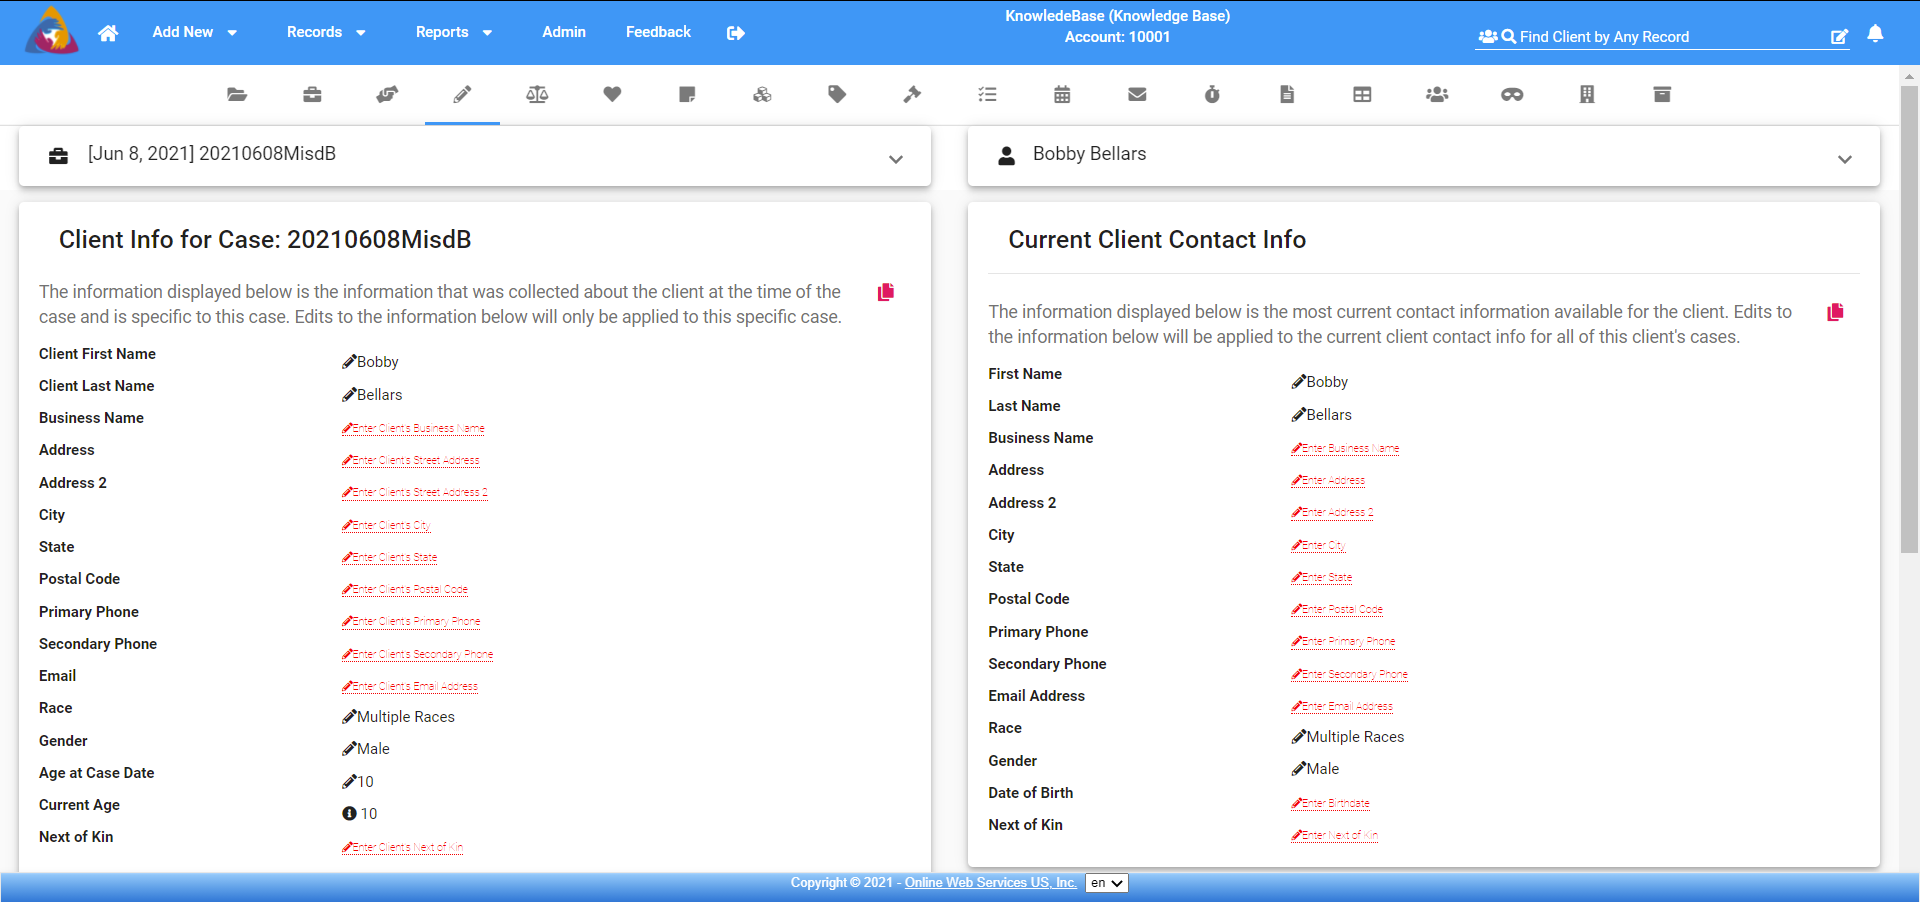
When you find the record you want to view, you can click on it in the dropdown list and it will take you to the appropriate screens for that record. (see below - Figure 3)
Figure 3
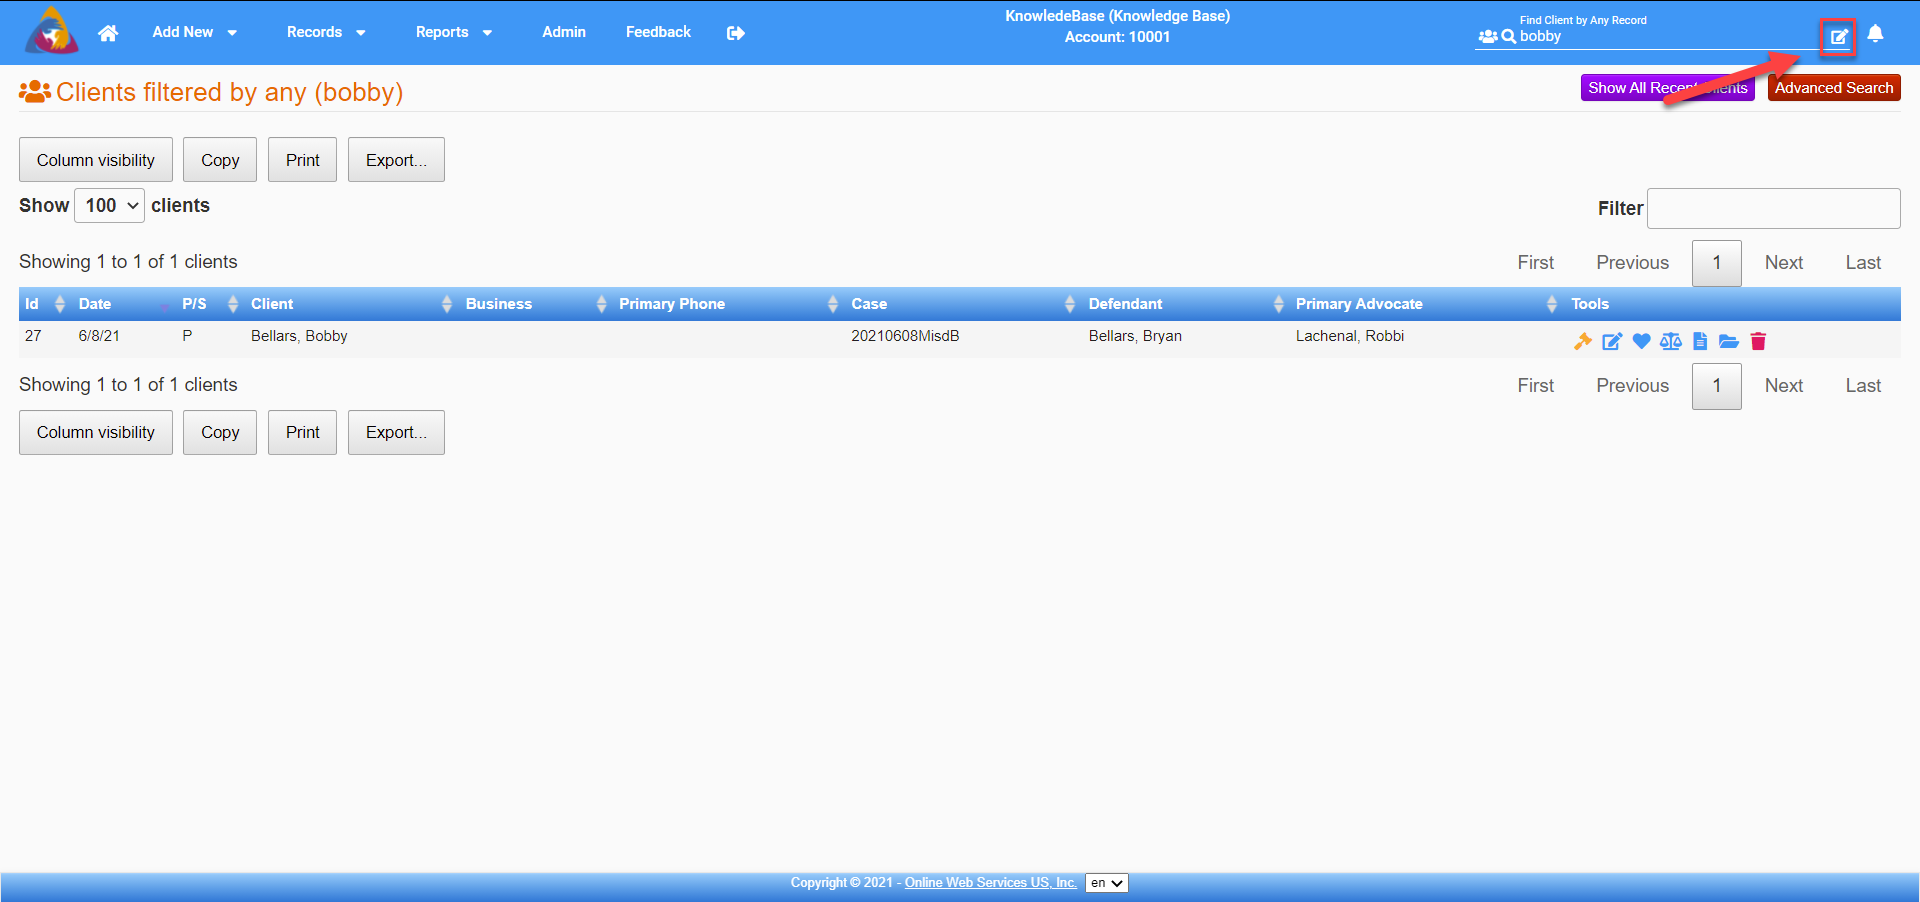
You can also choose to click on the icon to the right of the search box to view a list of all instances of that record from your database, not just the most recent. (see below - Figure 4)
Figure 4
Filtering Your Search
The icon on the left of the search box will indicate the type of record that is being searched. As I mentioned it defaults to Client which is the 3 person icon. Clicking that 3 person icon will allow you to change the record search type to a briefcase to search for cases, a mask to search for a defendant, a building to search for a location, and a calendar to search for an event. The options that are available to you for searching will depend on which modules have been enabled by the Admin on your account. (see below - Figure 5)
Note: Screenshots in this article show all options available and if there is one that you do not have you can check with the Admin at your account to see if that module can be enabled for your agency.
Figure 5

Once you choose which records you are searching you can use the magnifying glass icon to change how you are searching for those records. Each record type will have its’ own list of ways to search, for instance, if you choose to search for a case you can choose to search by any of the items within this list for Case. If you choose to search for Locations you will see this different list of ways to search for Locations. (see below - Figure 6)
Figure 6

The rest of the functionality works the same no matter which record type you are searching for.