
Utilize Service Tags to add additional details to services offered to clients. Add tags to
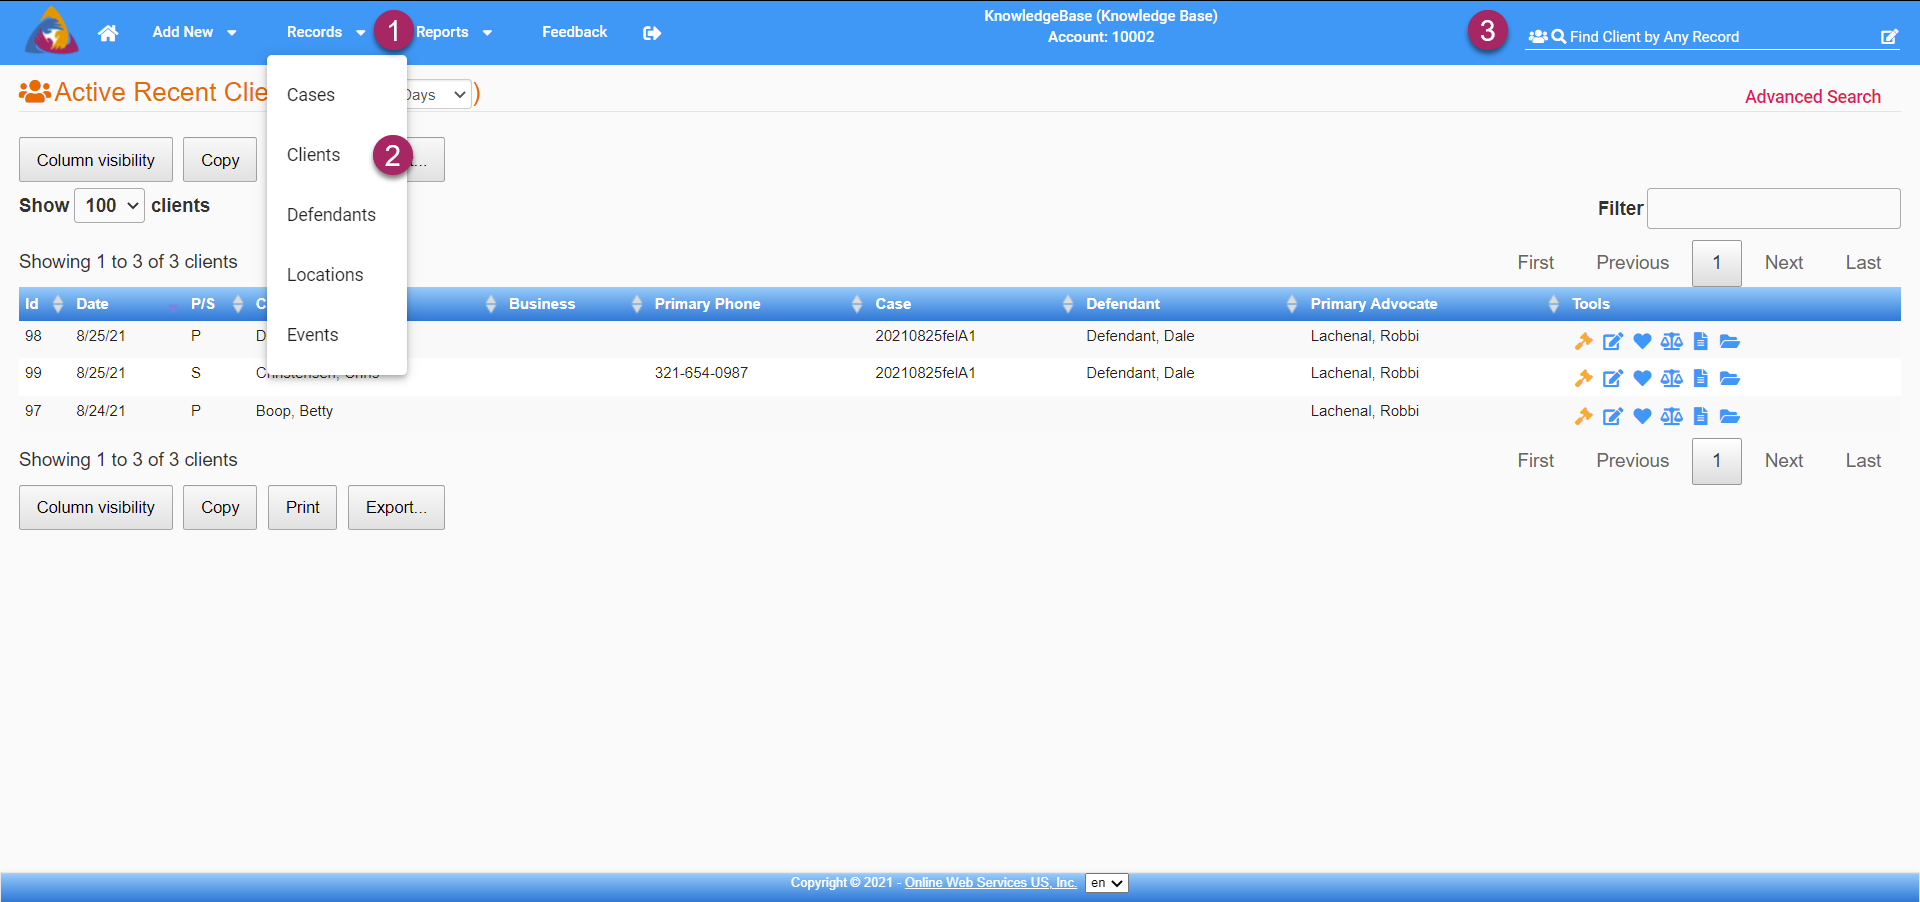
- To start, navigate to the Clients Screen by clicking on the Records dropdown on the top blue bar.
- Select "Clients" from the dropdown and you will be taken to the Clients Screen.
- You can also navigate to the Clients Screen by doing a search for clients by utilizing the search bar on the right side of the top blue bar.
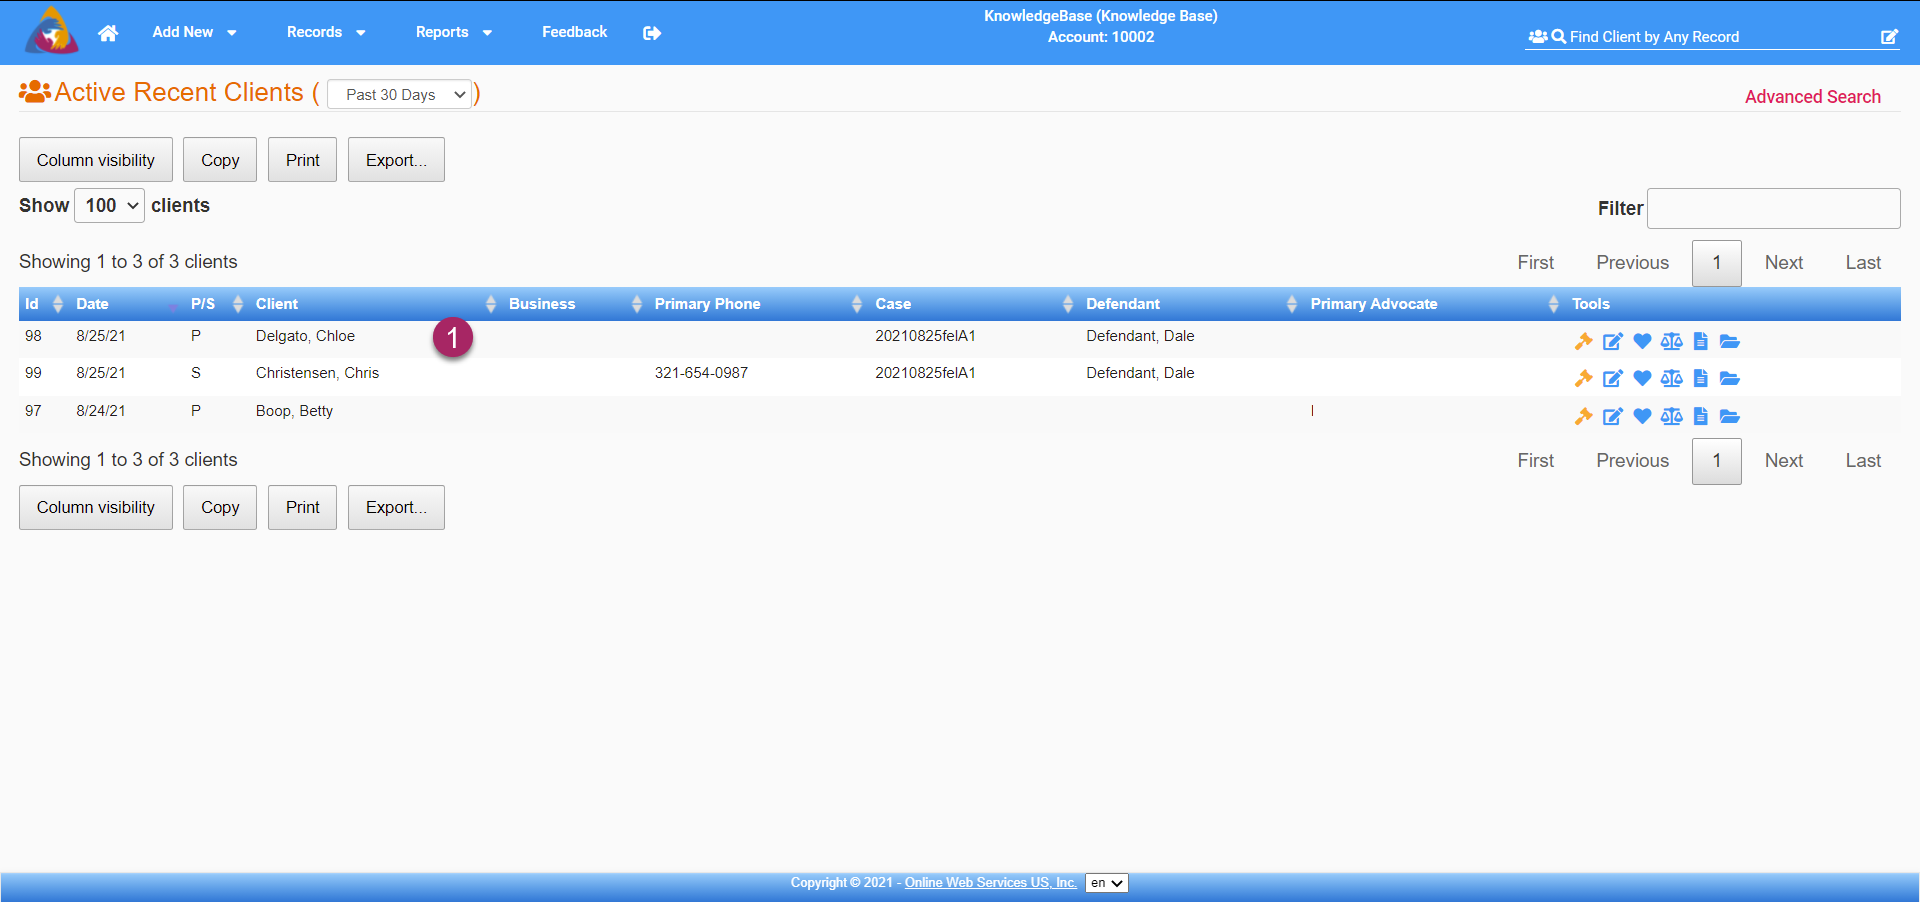
- Select a client from the list of clients to navigate to that client's info screen.
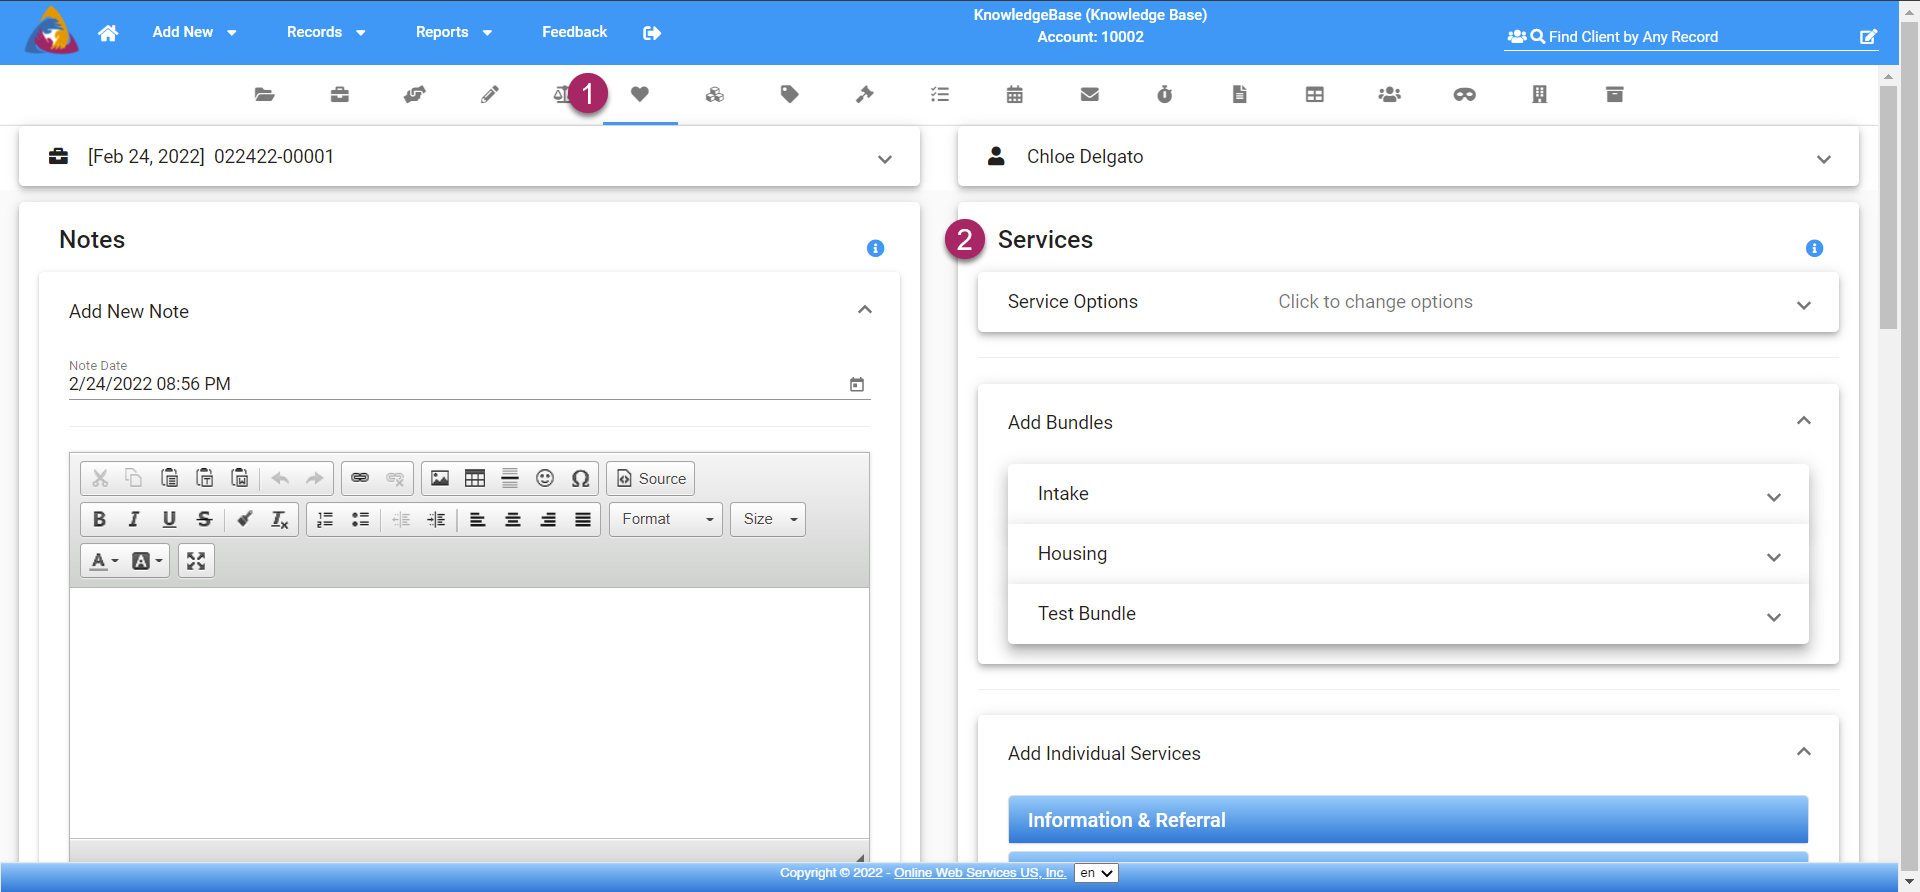
- Once you have selected a client, you will be taken to the Notes & Services tab. If you are already viewing a client's info on another tab, you can click the Notes & Services tab which is marked by a heart icon.
- Once you are on the Notes & Services tab, you will see a block on the right side of the screen labeled "Services". At the bottom of this block, you will see the services you have entered for the client (see below). If you have not added any services to the client, see the article How do I add/edit Client Services? for more information about adding services.
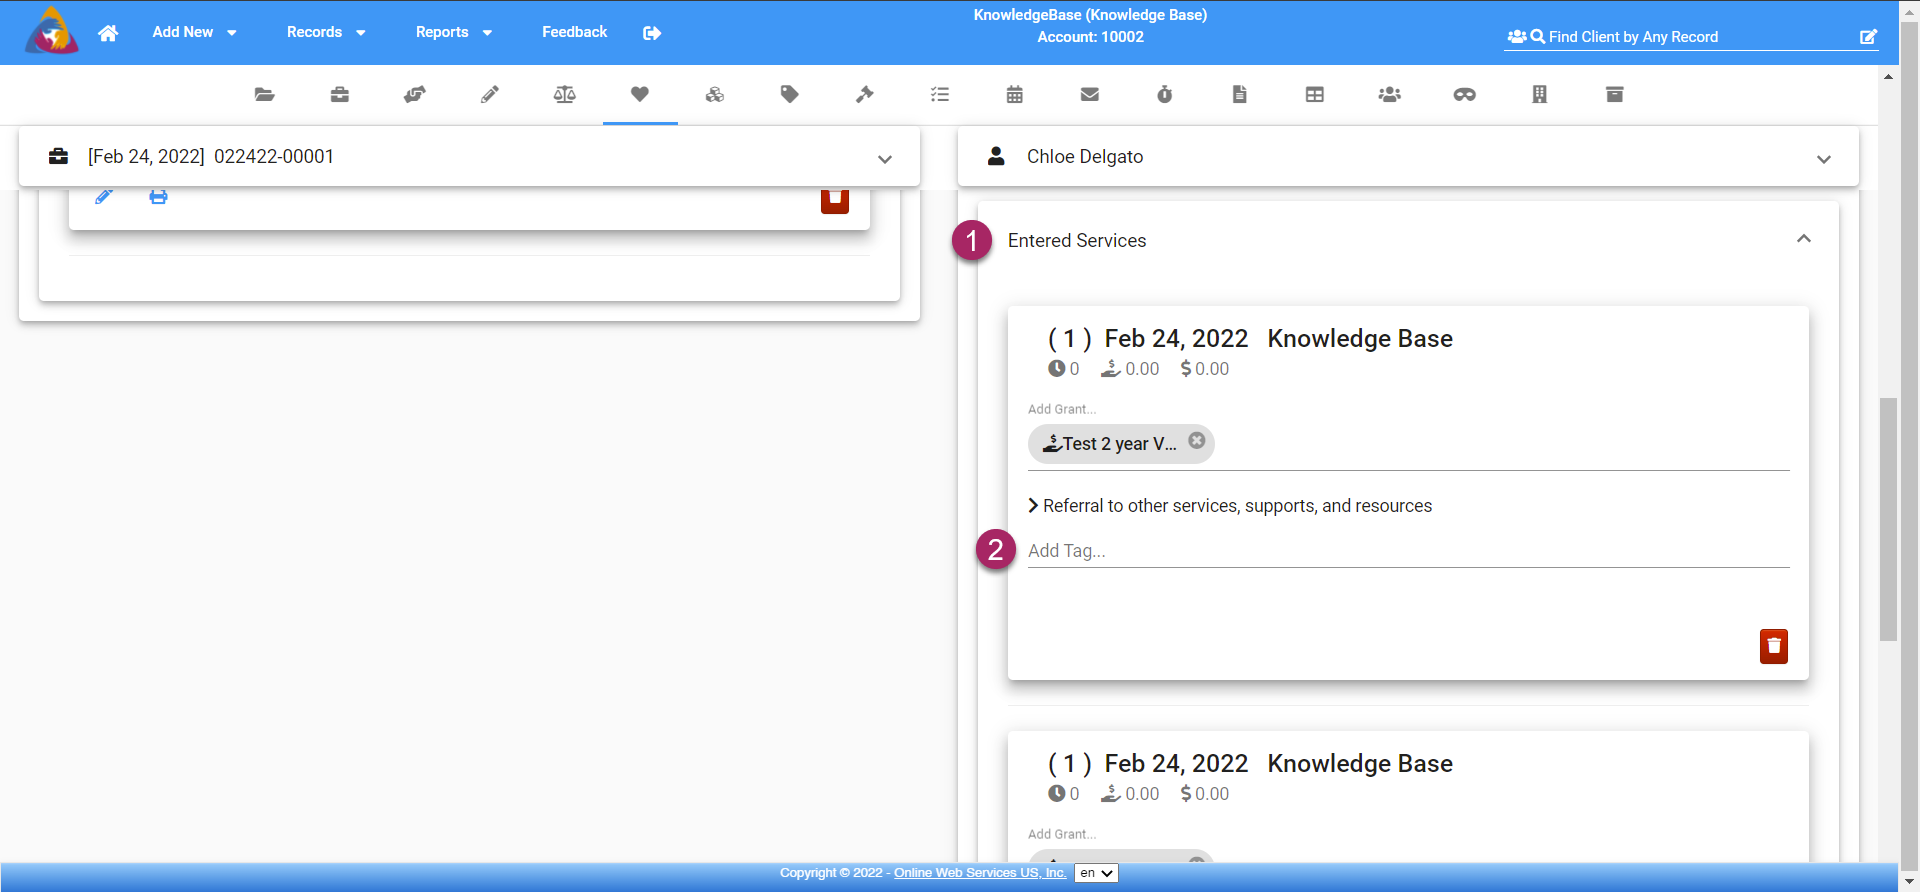
- Scroll down and you will see a dropdown labeled "Entered Services". Each block within the Entered Services dropdown contains information for the services that have been provided to the client.
- In each service block, you will see a field labeled "Add Tag...". Click this field and a list of available tags will appear.
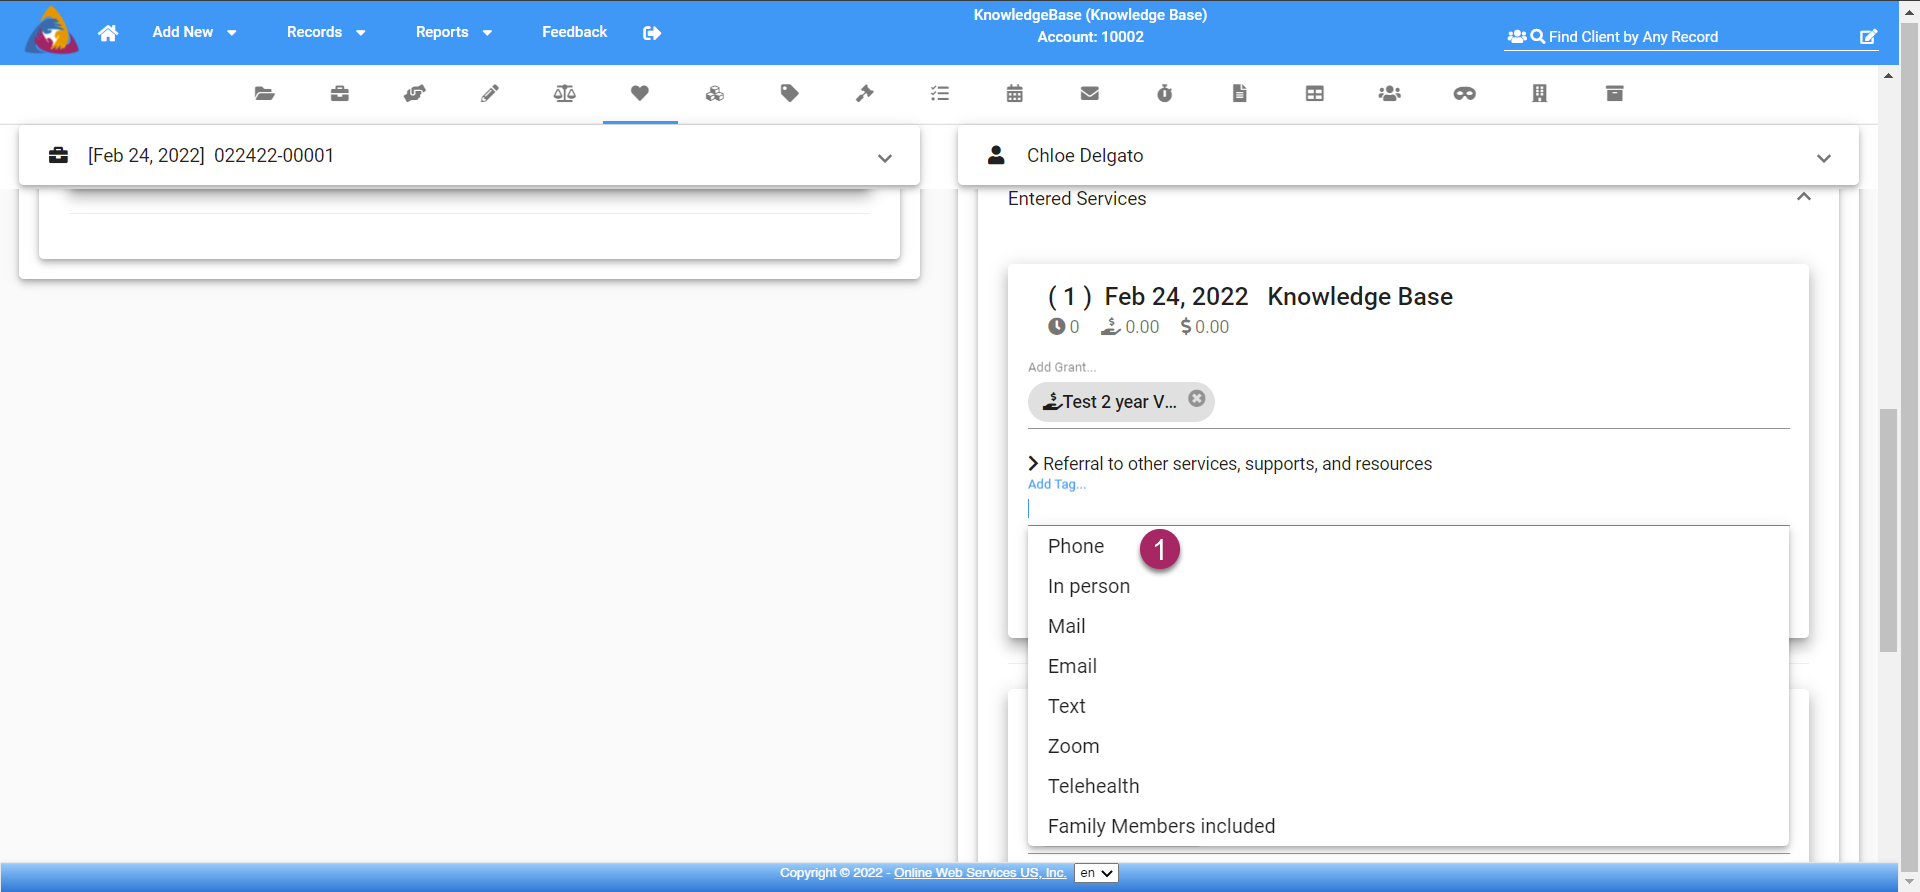
- Select the tag(s) you wish to add from the list by clicking on them. You are able to add multiple tags if necessary. Each tag you add will appear above in the "Add Tag.." field. The tags that are available will depend on the tags added to your software by an administrator on your account. For more information about adding tags to your software
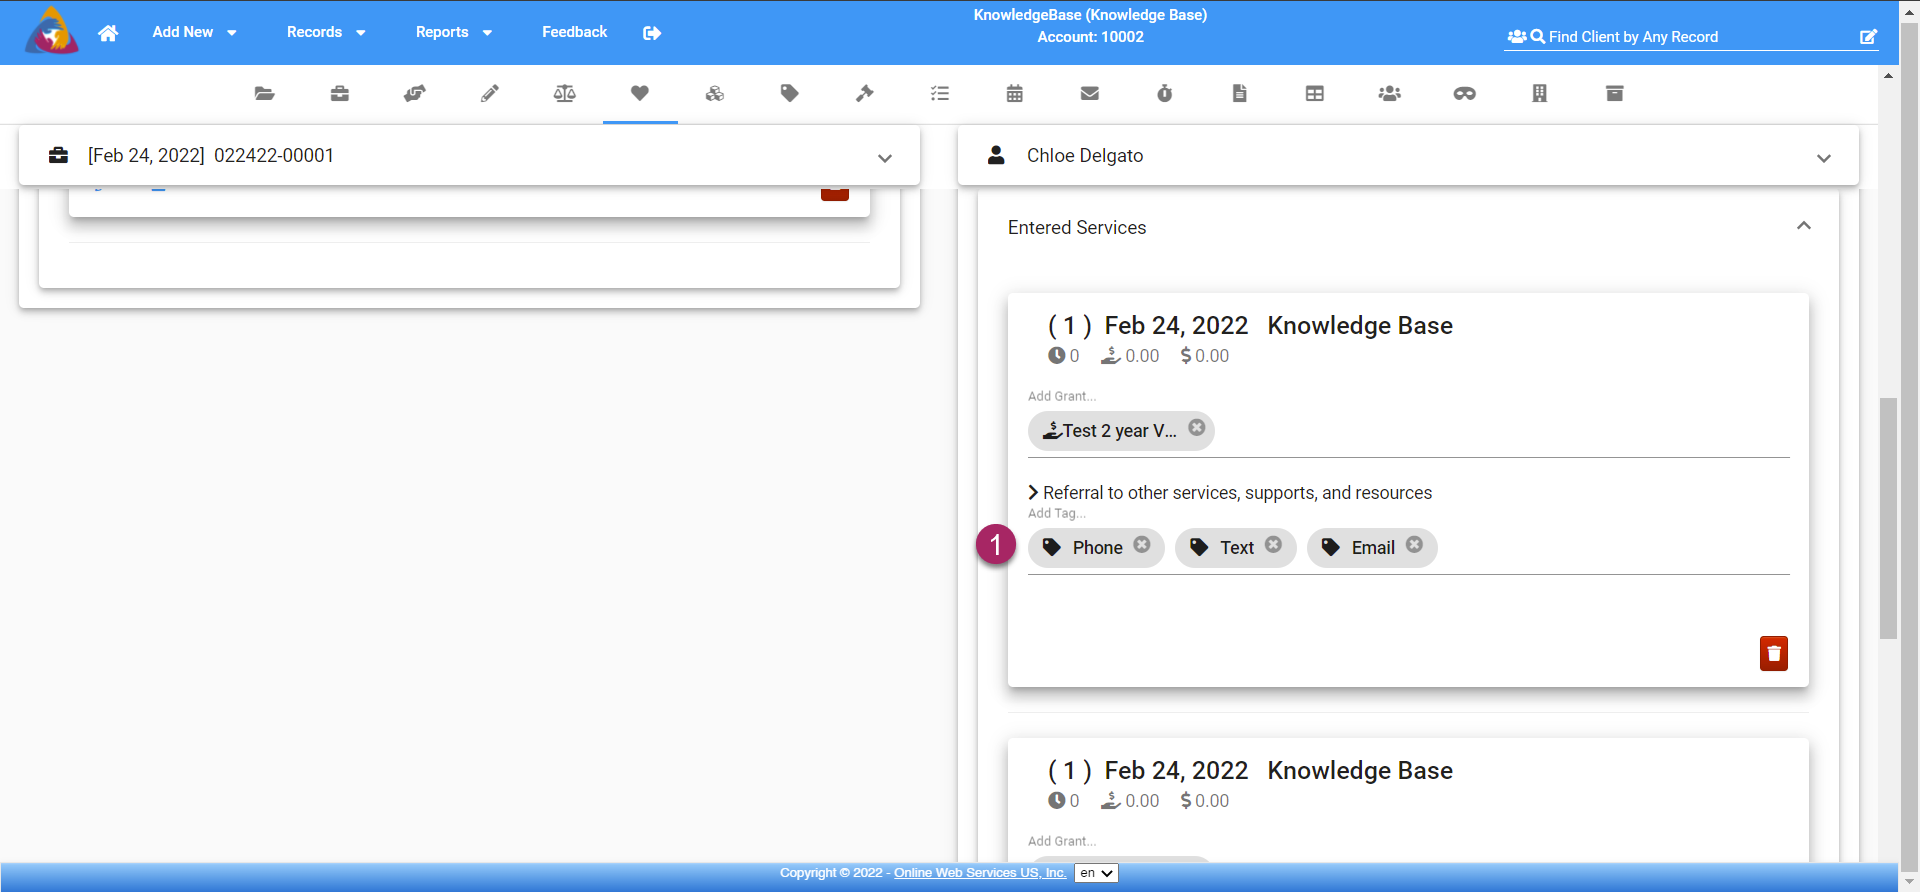
- You can remove tags by clicking the grey "x" icon on the right side of the tag you wish to remove.