
Add and edit notes to a client as well as services that have been performed for a client. Add grant information for reporting.
Note: You must be the owner of the client, or assigned access to the client, to be able to add, view, and edit client services.
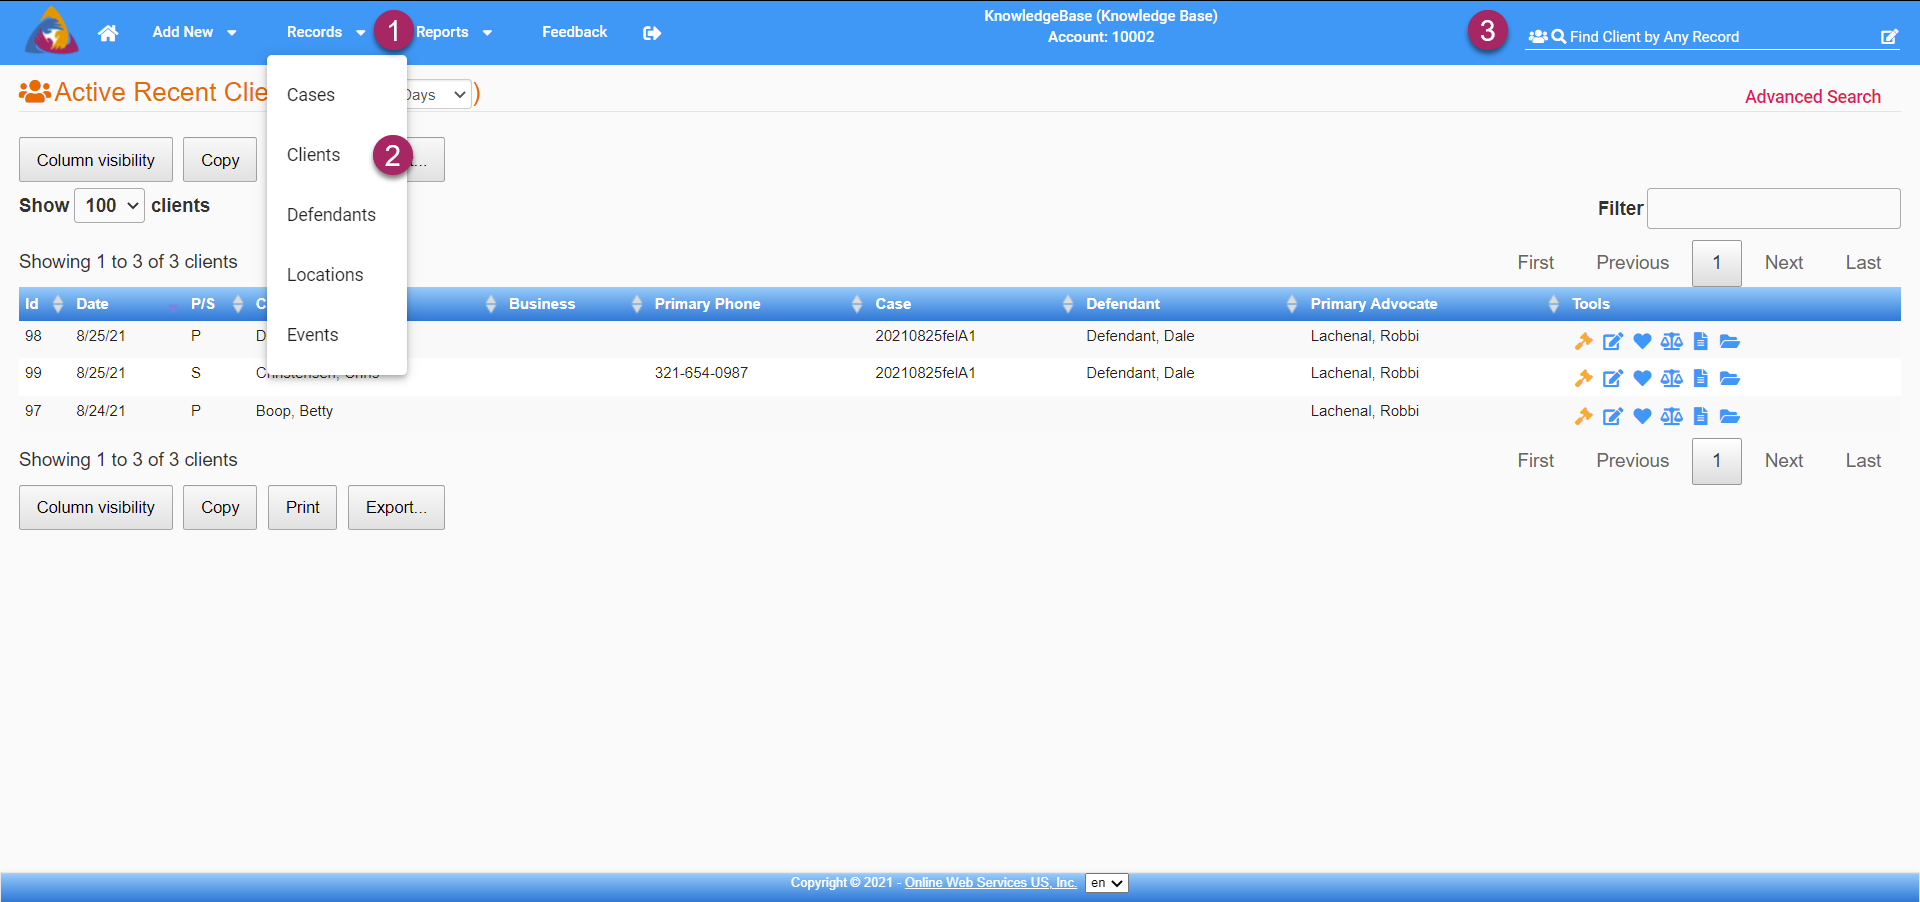
- To start, navigate to the Clients Screen by clicking on the Records dropdown on the top blue bar.
- Select "Clients" from the dropdown and you will be taken to the Clients Screen.
- You can also navigate to the Clients Screen by doing a search for clients by utilizing the search bar on the right side of the top blue bar.
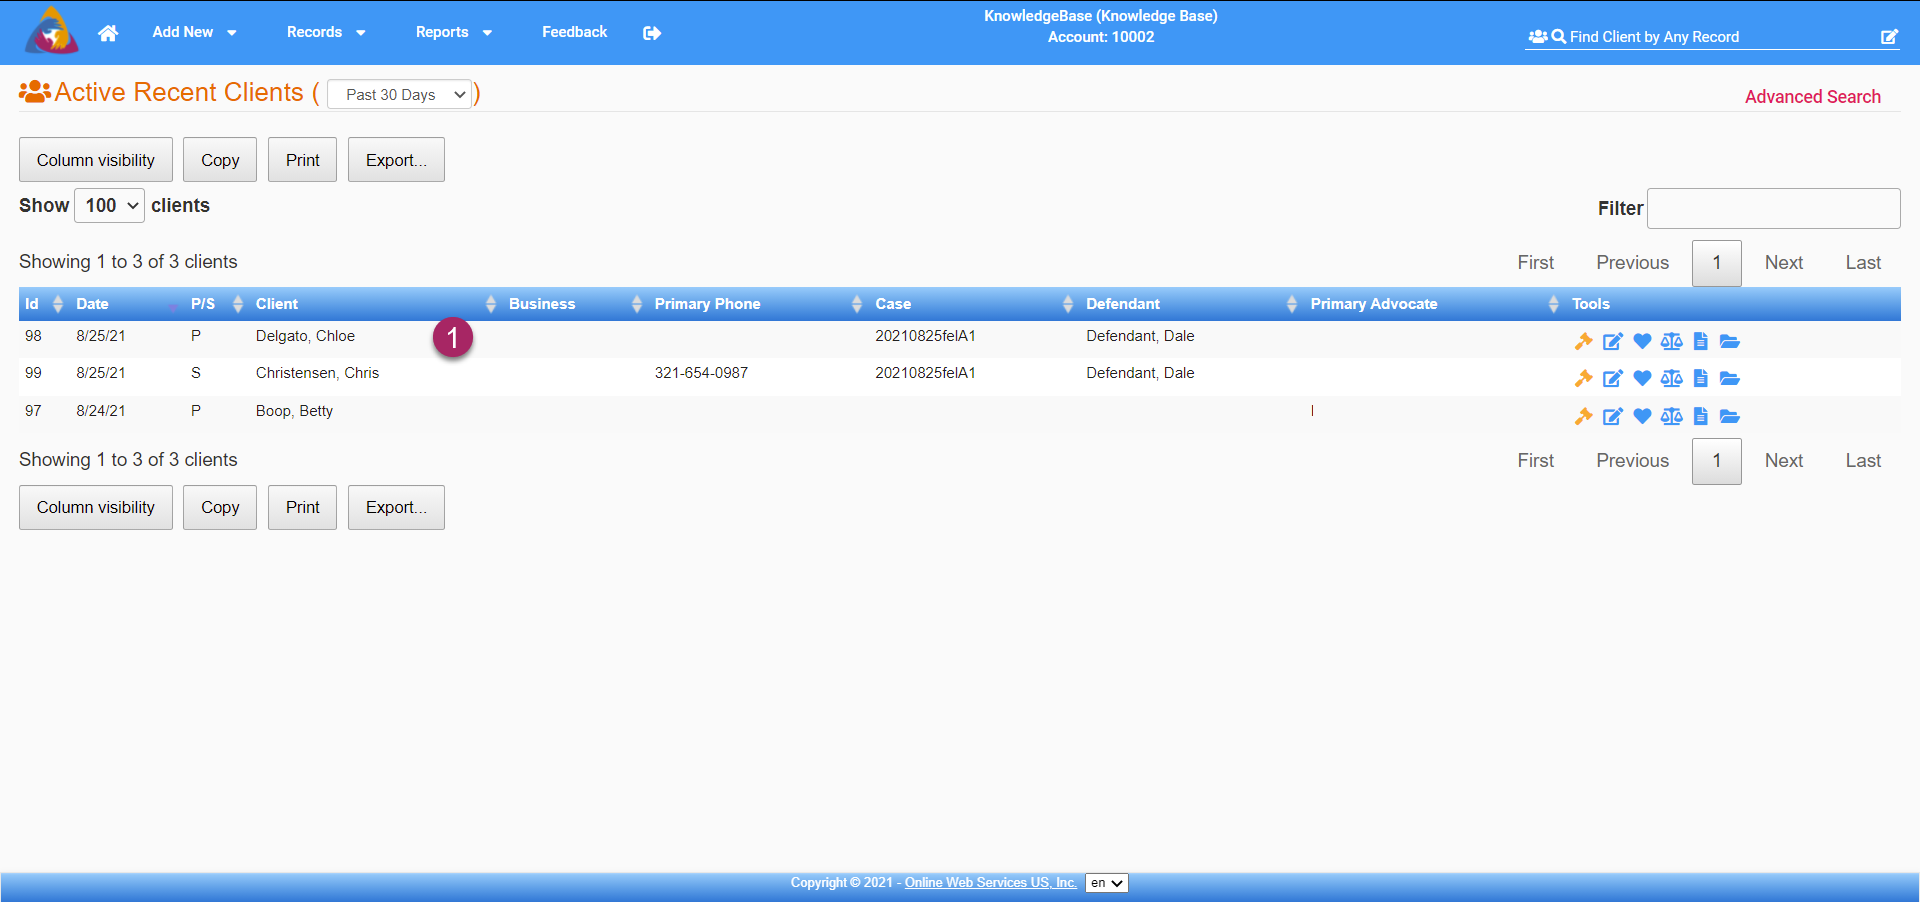
- Select a client from the list of clients to navigate to that client's info screen.
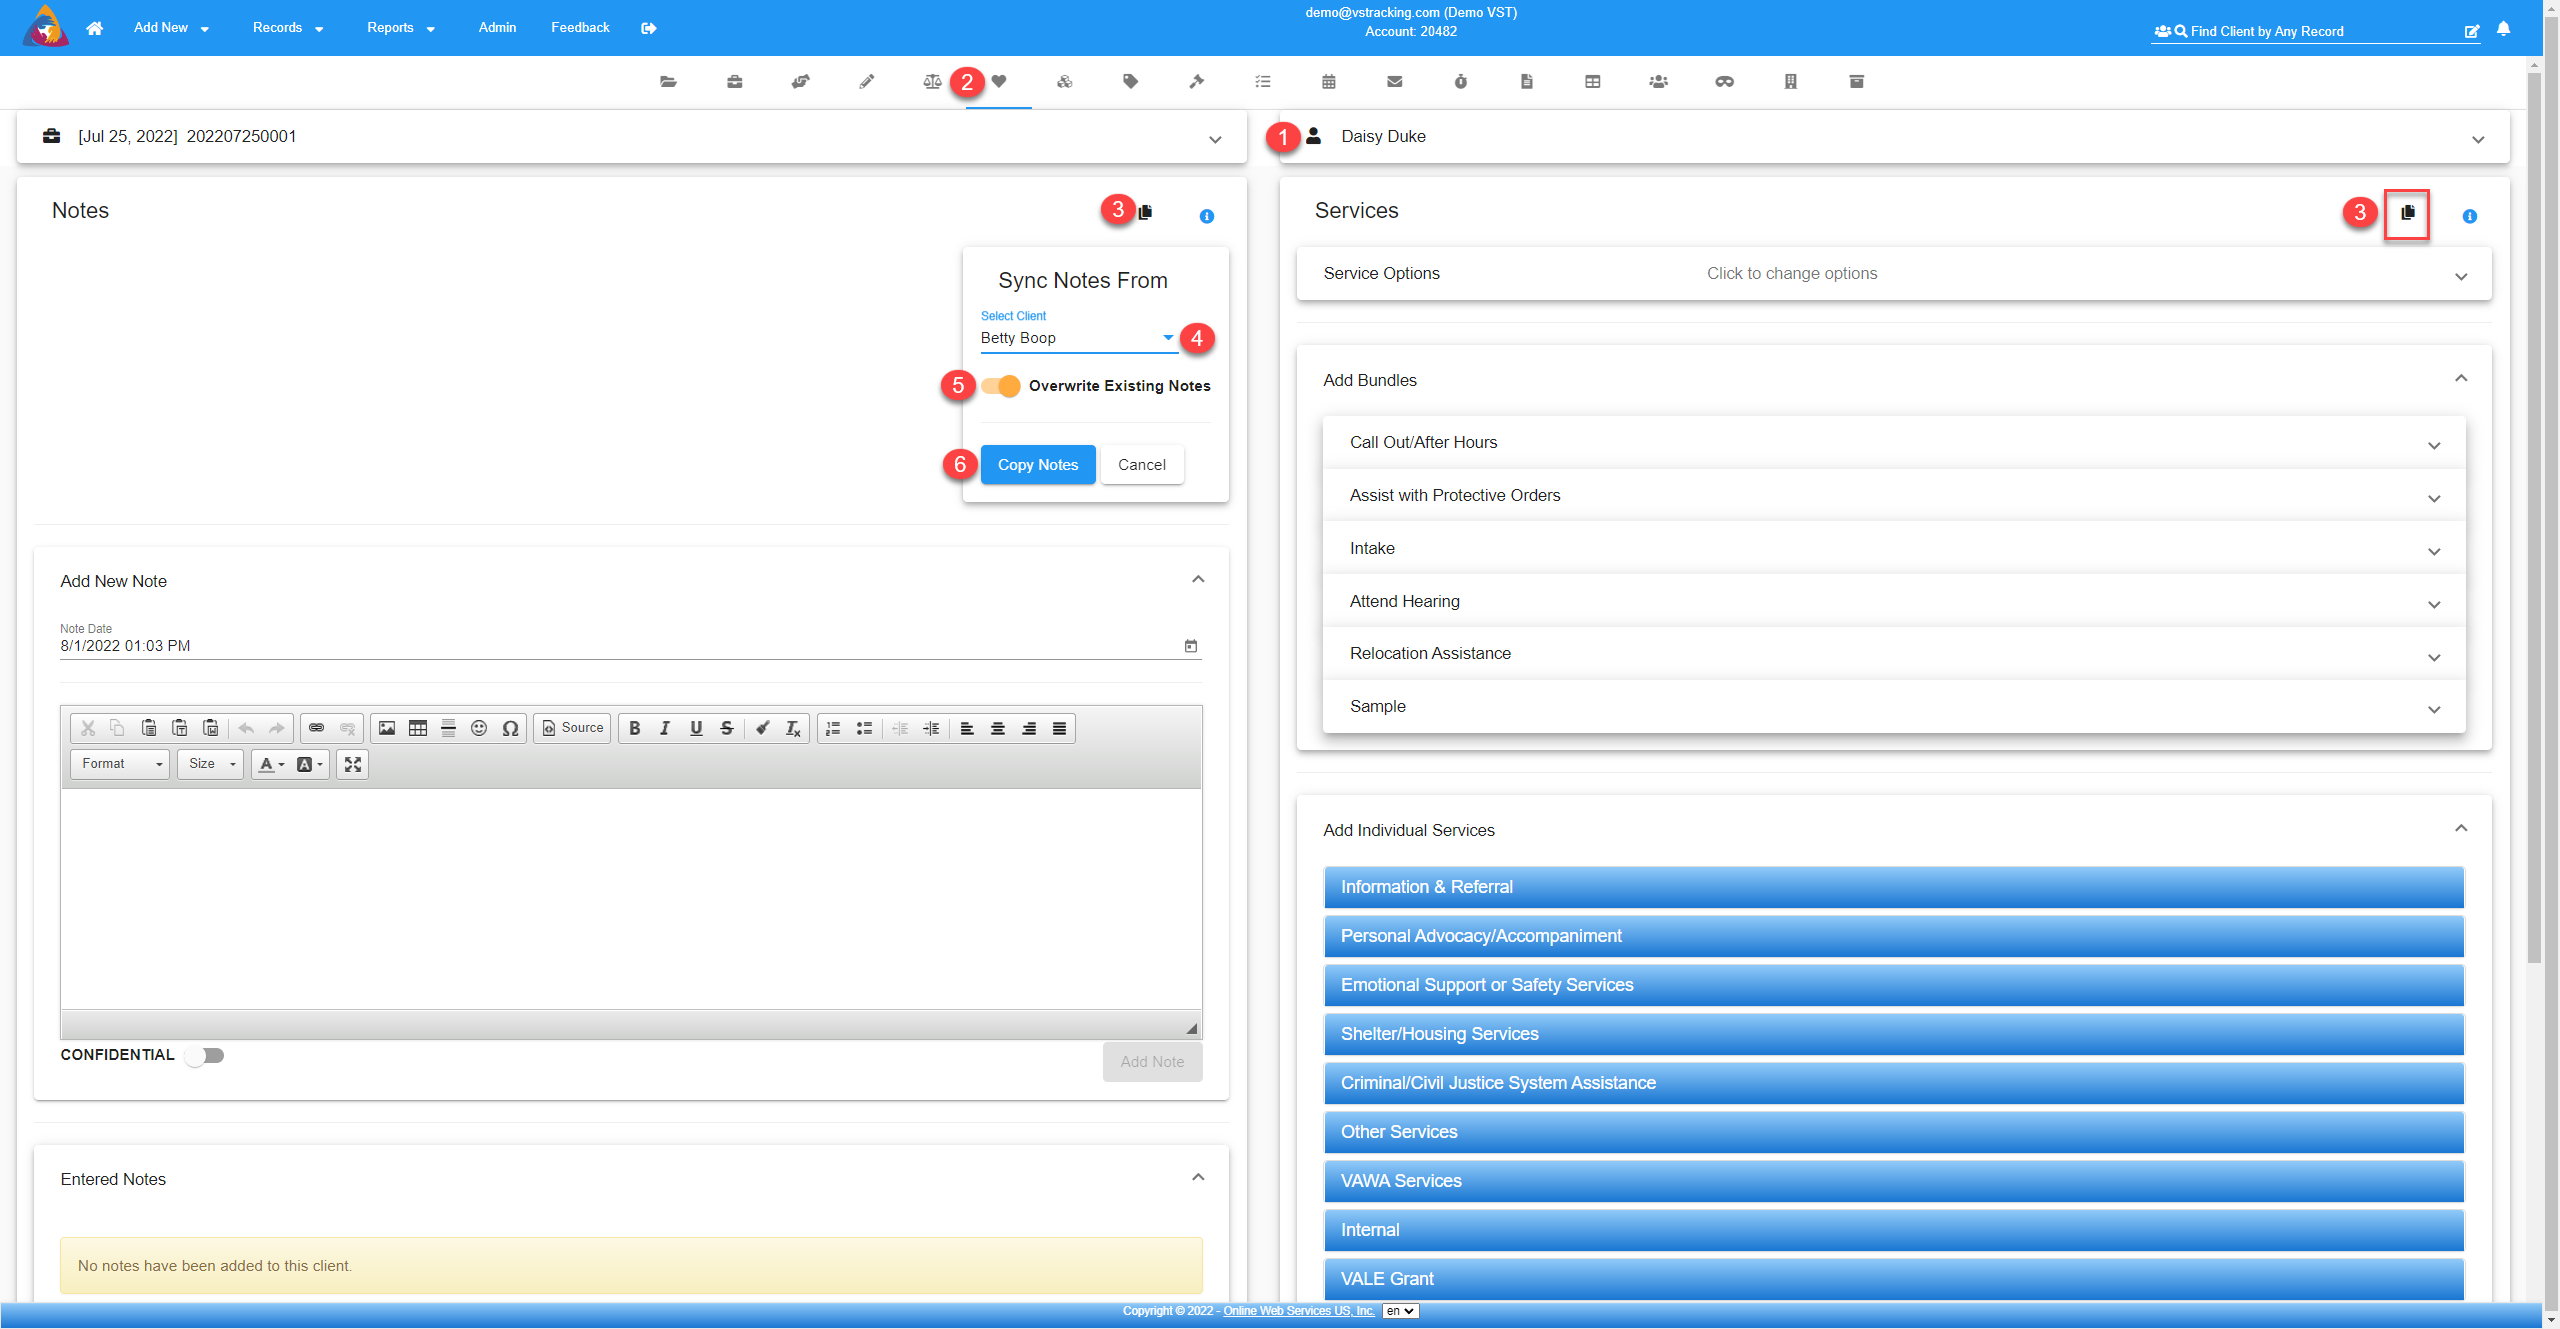
- Once on the desired client's client screen, navigate to the "Services" tab but clicking the heart icon on the row of icons below the top blue bar.
- This will display the Services screen for your client.
Add New Service

- If the case your client is tied to has another client that you have already entered services for, those services can be easily copied to the current client. Click the icon that looks like 2 sheets of paper on the top right of the services block. This will expand the tab to allow you to choose a client to copy the services from.
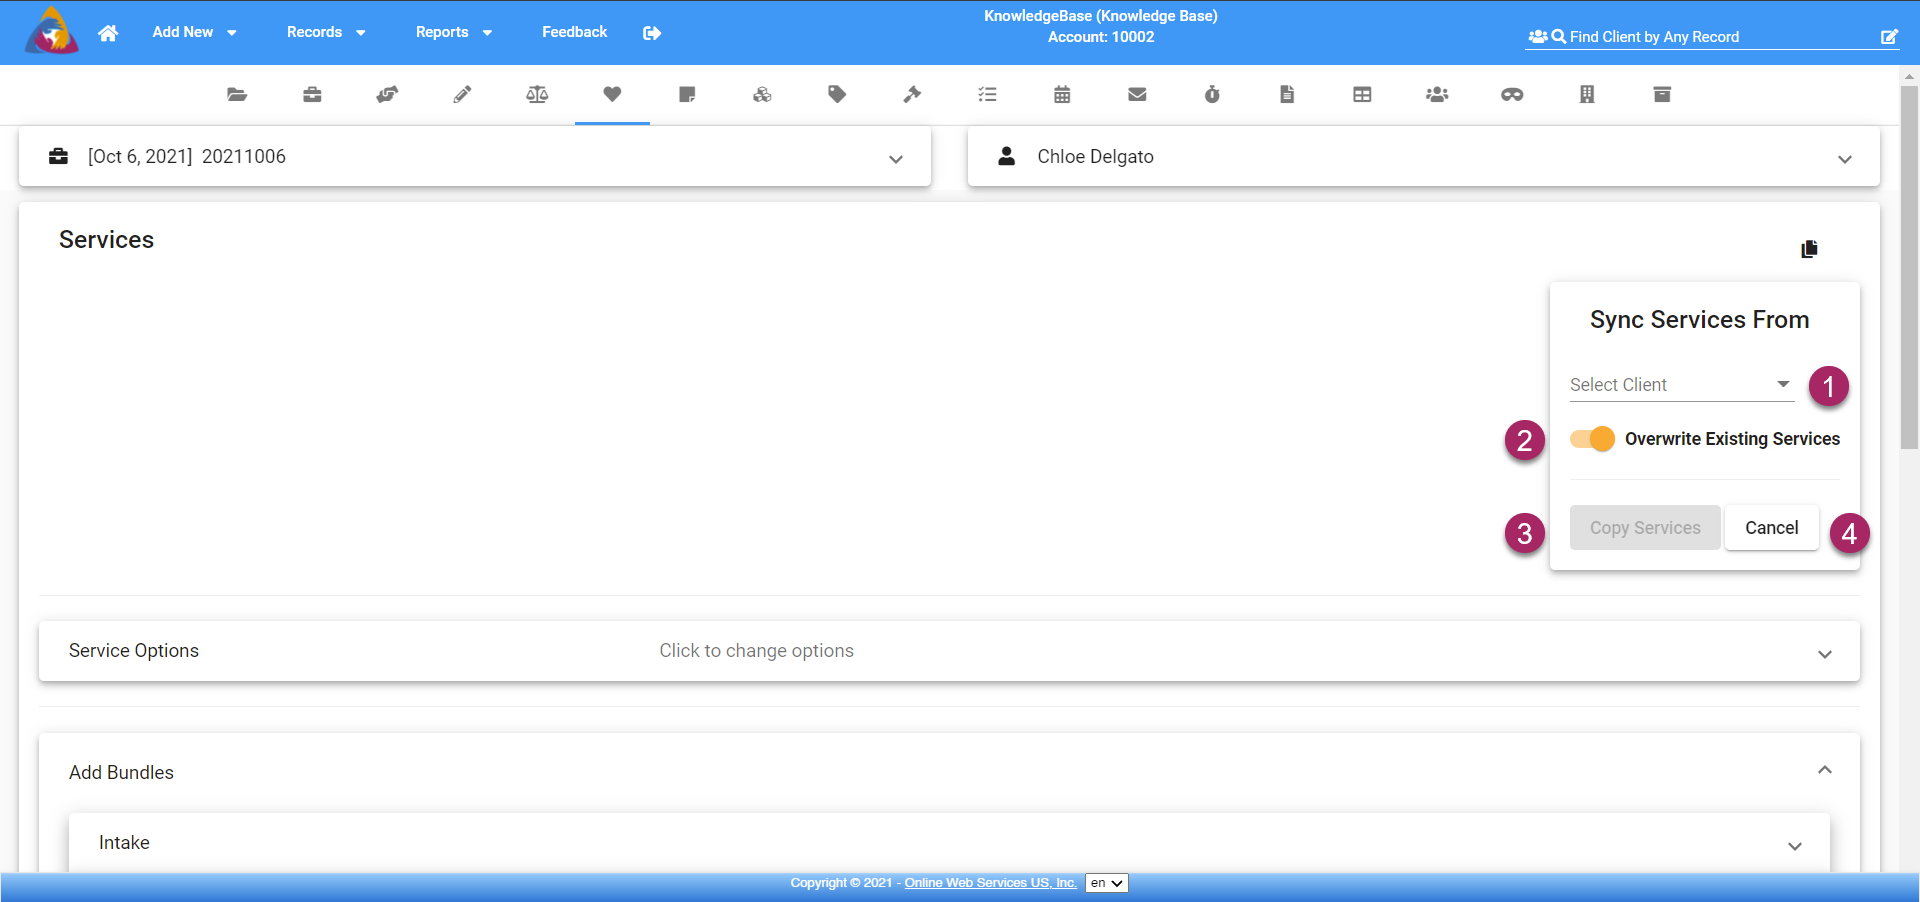
- Once you have clicked the icon, you will see the options shown above. Start by clicking the "Select Client" dropdown. This will open a pop-up that shows you available clients to copy services from. Select a client from the list.
- The system default is to overwrite any currently added services. If you wish to leave previously entered services, click the orange toggle button next to "Overwrite Existing Services".
- Once you have selected a client and chosen to overwrite or leave existing services, The "Copy Services" button will turn blue and you can click it to confirm and copy the services from the selected client to your current client.
- If you do not want to copy services, click the white "Cancel" button.

- To begin adding a new service, expand the "Service Options" dropdown by clicking the arrow icon on the far right side of the dropdown.
- Next, enter a date for the service by clicking the calendar icon on the right side of the field below "Service Date". This will open a calendar and you will be able to select a date and time for your service.
- Select the advocate that rendered the service to the client by clicking on the dropdown below "Select Advocate". This will default to the logged-in user.
- Lastly, select the grants you need to report on this service too. Click the dropdown below "Select Grant(s)" and choose an option from the list.
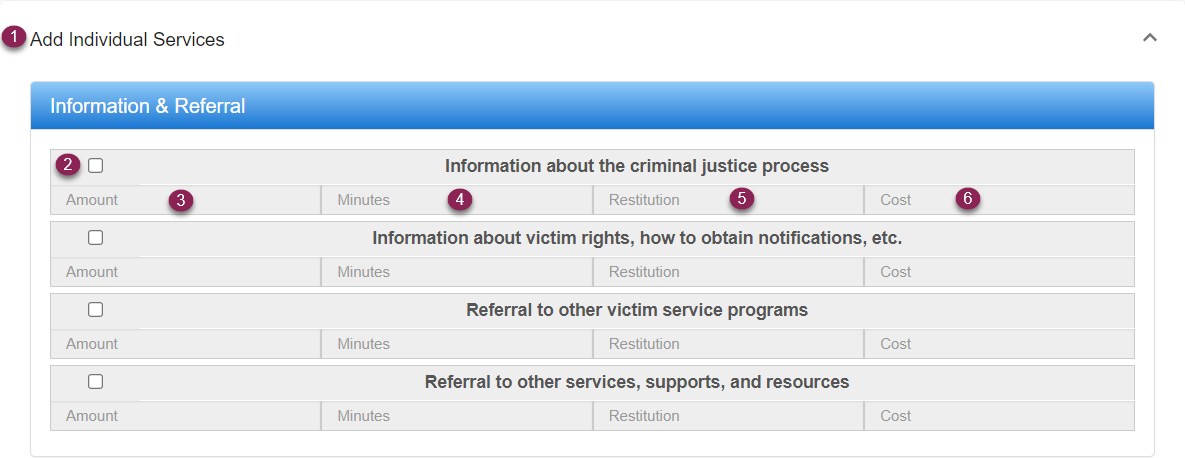
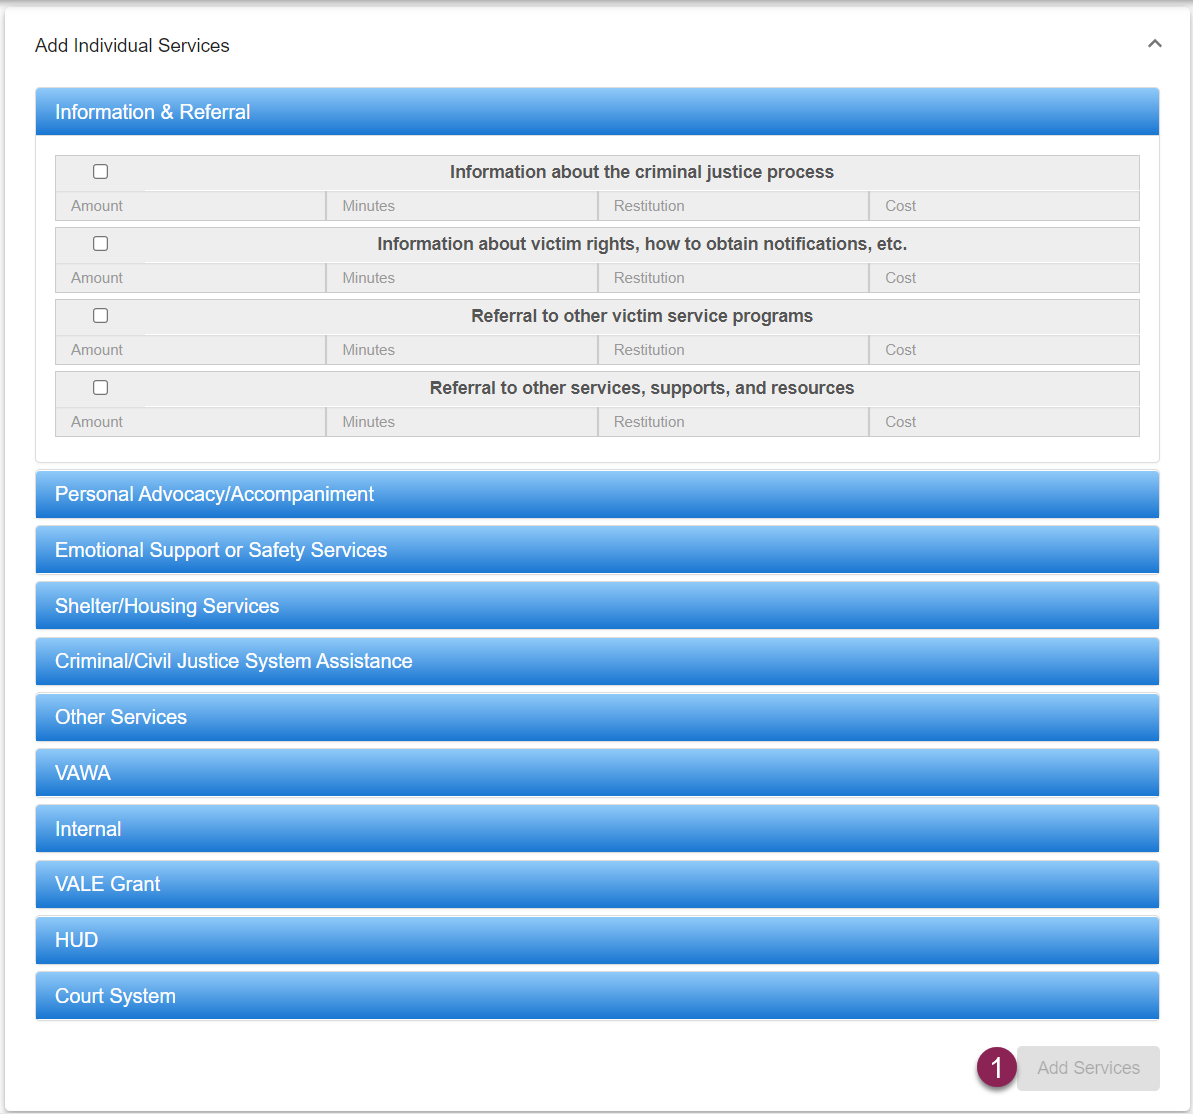
- Below the Service options dropdown is the "Add Individual Services" dropdown. Expand the dropdown by clicking the arrow icon on the right side of the tab.
- Each blue tab can be expanded to show individual service options. To add an individual service, click the checkbox to the left of the service you wish to add.
- Next, enter an amount (how many times the service was performed) on the far-left box below each service selected.
- Next to the amount, enter the number of minutes that were spent with the client for this specific service.
- Next to the minutes, enter the amount of Restitution or other financial assistance provided for this specific service.
- Next to the Restitution, enter Grant Allocation or cost to the agency for performing the service.
- When you have finished entering all the information, click the Add Services button at the bottom right of the dropdown. This button will be gray and not be able to be clicked until necessary information has been entered. Once all necessary data has been entered, the button will turn blue and you will be able to click and save your new service(s).
View/Edit Services

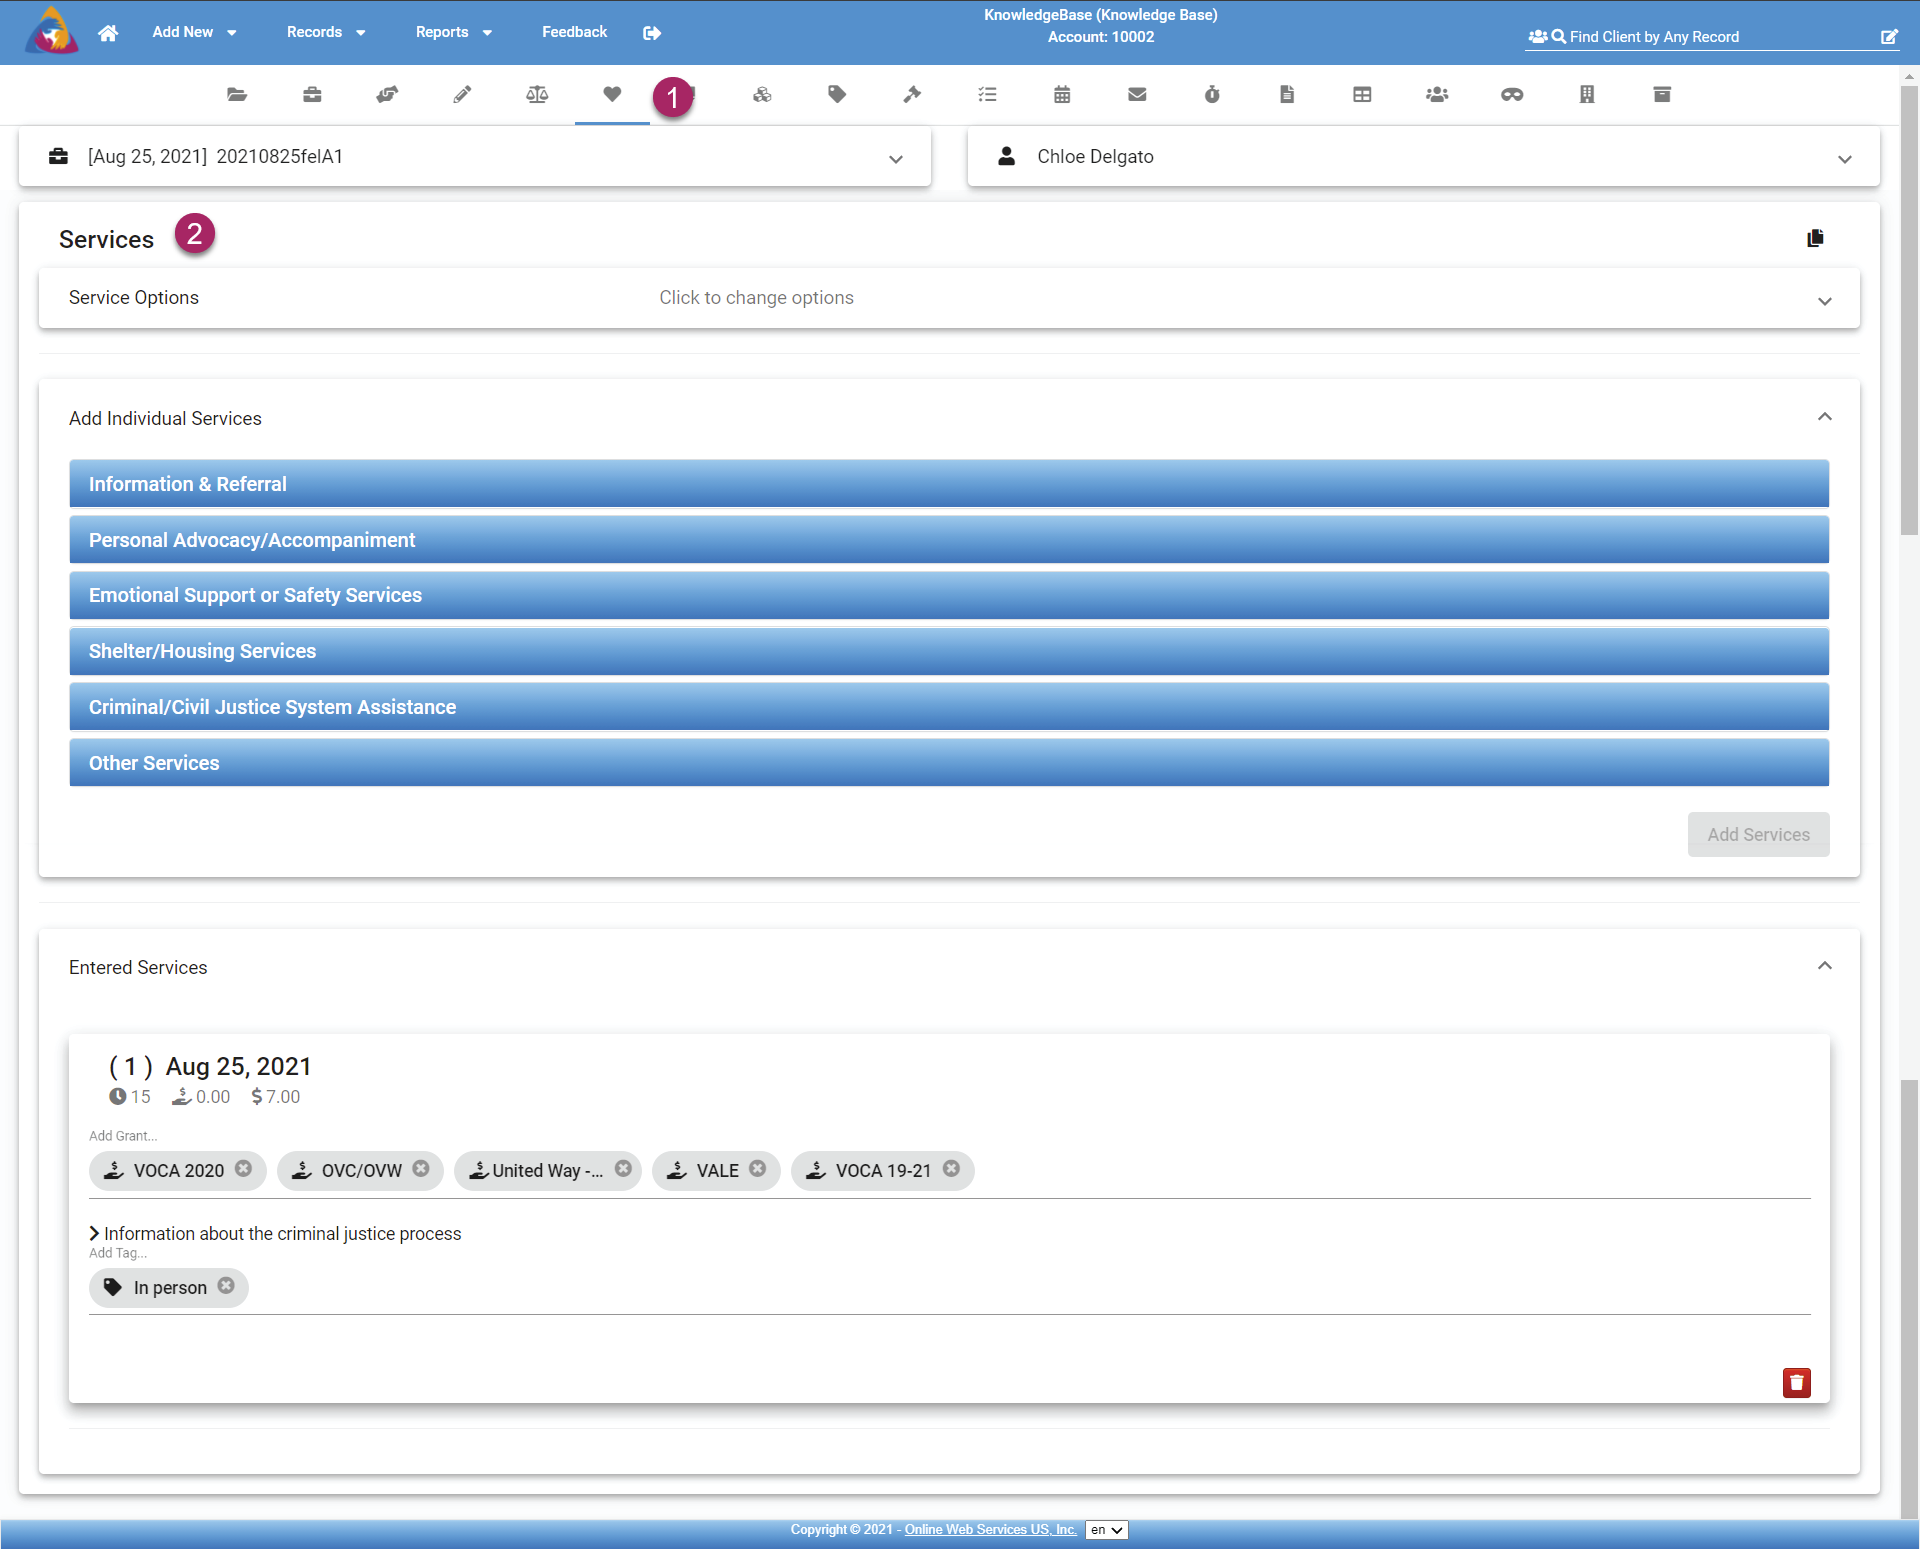
- Once services have been entered, they will appear at the bottom of the screen below "Entered Services"
- Each entry will have its own block in the list with a header displaying the date of entry and the advocate who entered it.
- Below the date and name, you will see 3 icons. First is a clock icon. next to this icon will be the the number of minutes spent with the client for the service.
- The next icon, a hand with an arrow, will mark the amount of restitution given to the client.
- Lastly the "$" icon will be next to the cost to your agency for offering the service.
- You are able to add Grant tags to a service by clicking in the space below "Add Grants". click in the open area of the field and a list of available grants will appear.
- Below the grant information, an arrow icon pointing to the right, points to the service offered to the client. Clicking on the service will open a list of services so that the service can be changed if the wrong service was added by mistake.
- Click the field "Add Tag" to add tags to the service to provide additional info.
- If you wish to delete a service, click the red trash can icon at the bottom right side of the screen.
If a Case Has More Than One Client
If you have more than one client on a case and want to copy the notes or services from one client on the case to another client on the same case you can do so using the copy icon  in the top right corner of the notes or services section.
1. Access the client screens of the client you want to copy the notes TO.
2. Click on the Notes and Services tab.
3. Click on the  copy icon.
4. Choose the client you want to copy the notes (or services) FROM.
5. Choose to overwrite the notes (or services) on the clients screen. This means that any notes (or services) that are currently displayed on this screen will be REPLACED with the notes (or services) from the other client. OR you can turn off the Overwrite button and just add the copied notes (or services) to the client's other notes (or services) displayed.
6. Click on the blue Copy Notes (or Services) button.
Please be aware that if you copy notes or services from a client that does not have any notes or services to a client that does have notes or services (and use the Overwrite option), the notes or services will be replaced with blank. It will seem that the notes or services have 'disappeared'.