How do I Print Clients? (Legacy Client List)
This article will detail the process of generating a Print Clients Report through the Classic Reports Screen.
Navigating to Classic Reports
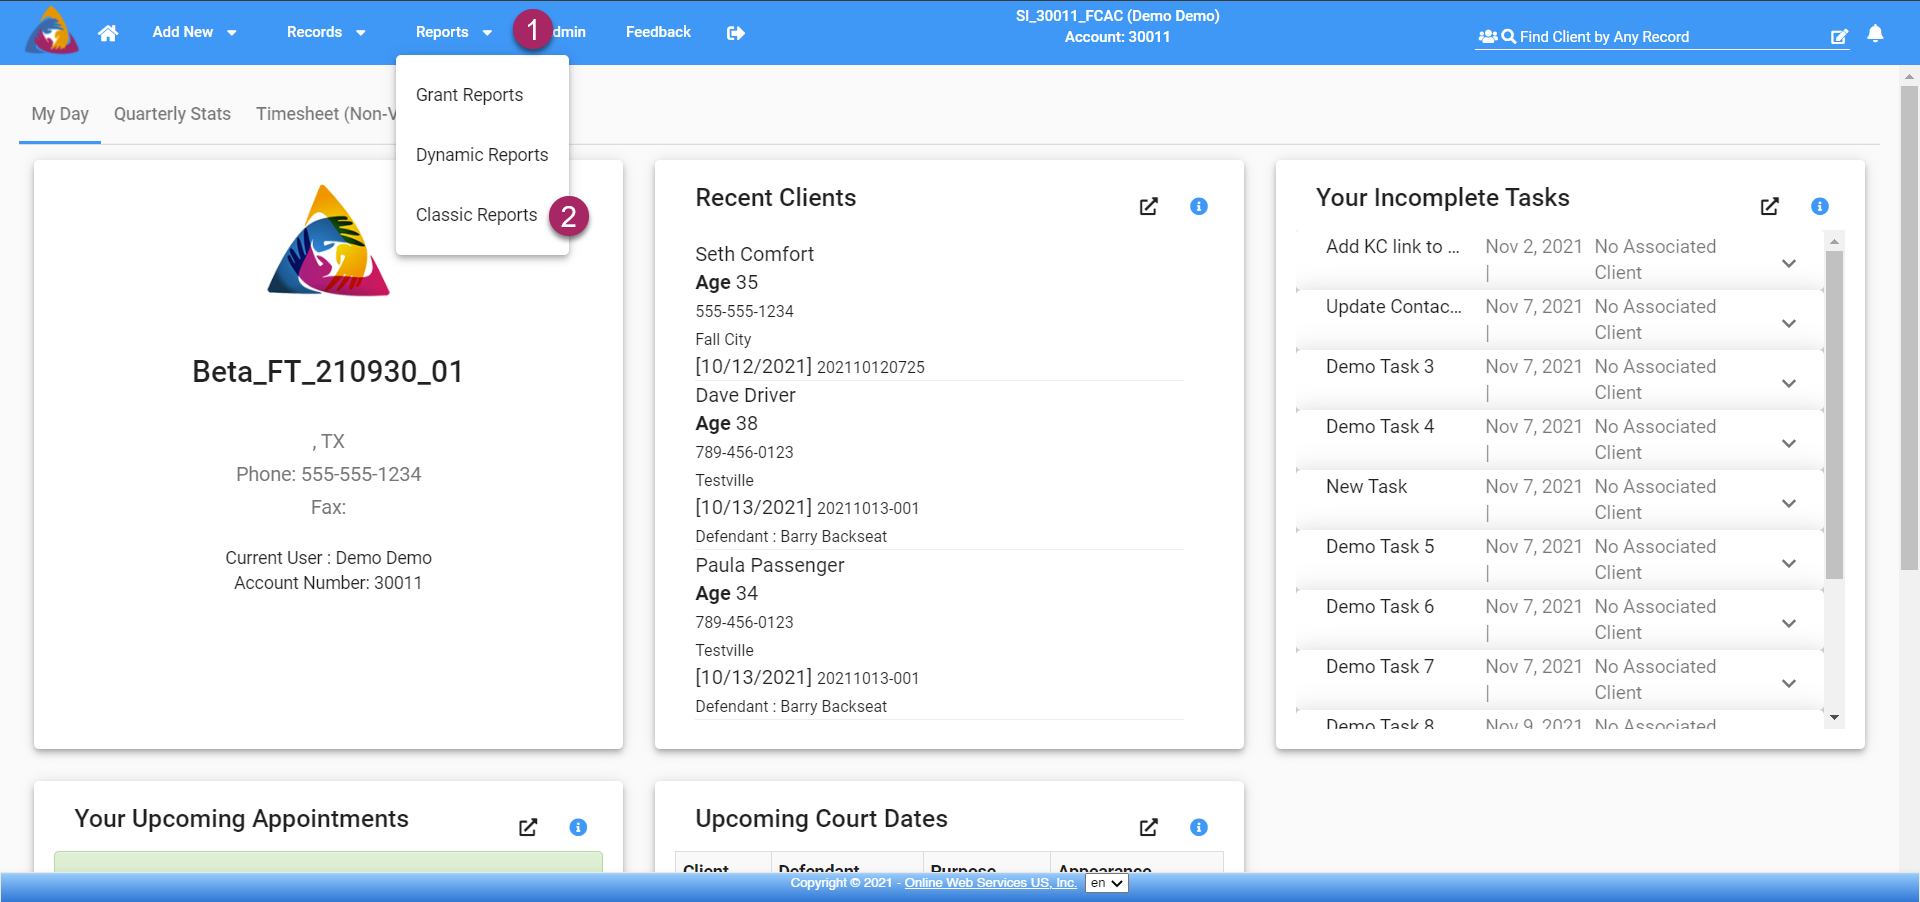
- Start by clicking the "Reports" dropdown on the top blue bar.
- This will open a list of pages, select "Classic Reports" by clicking on it.
Print Clients (Legacy Client List)
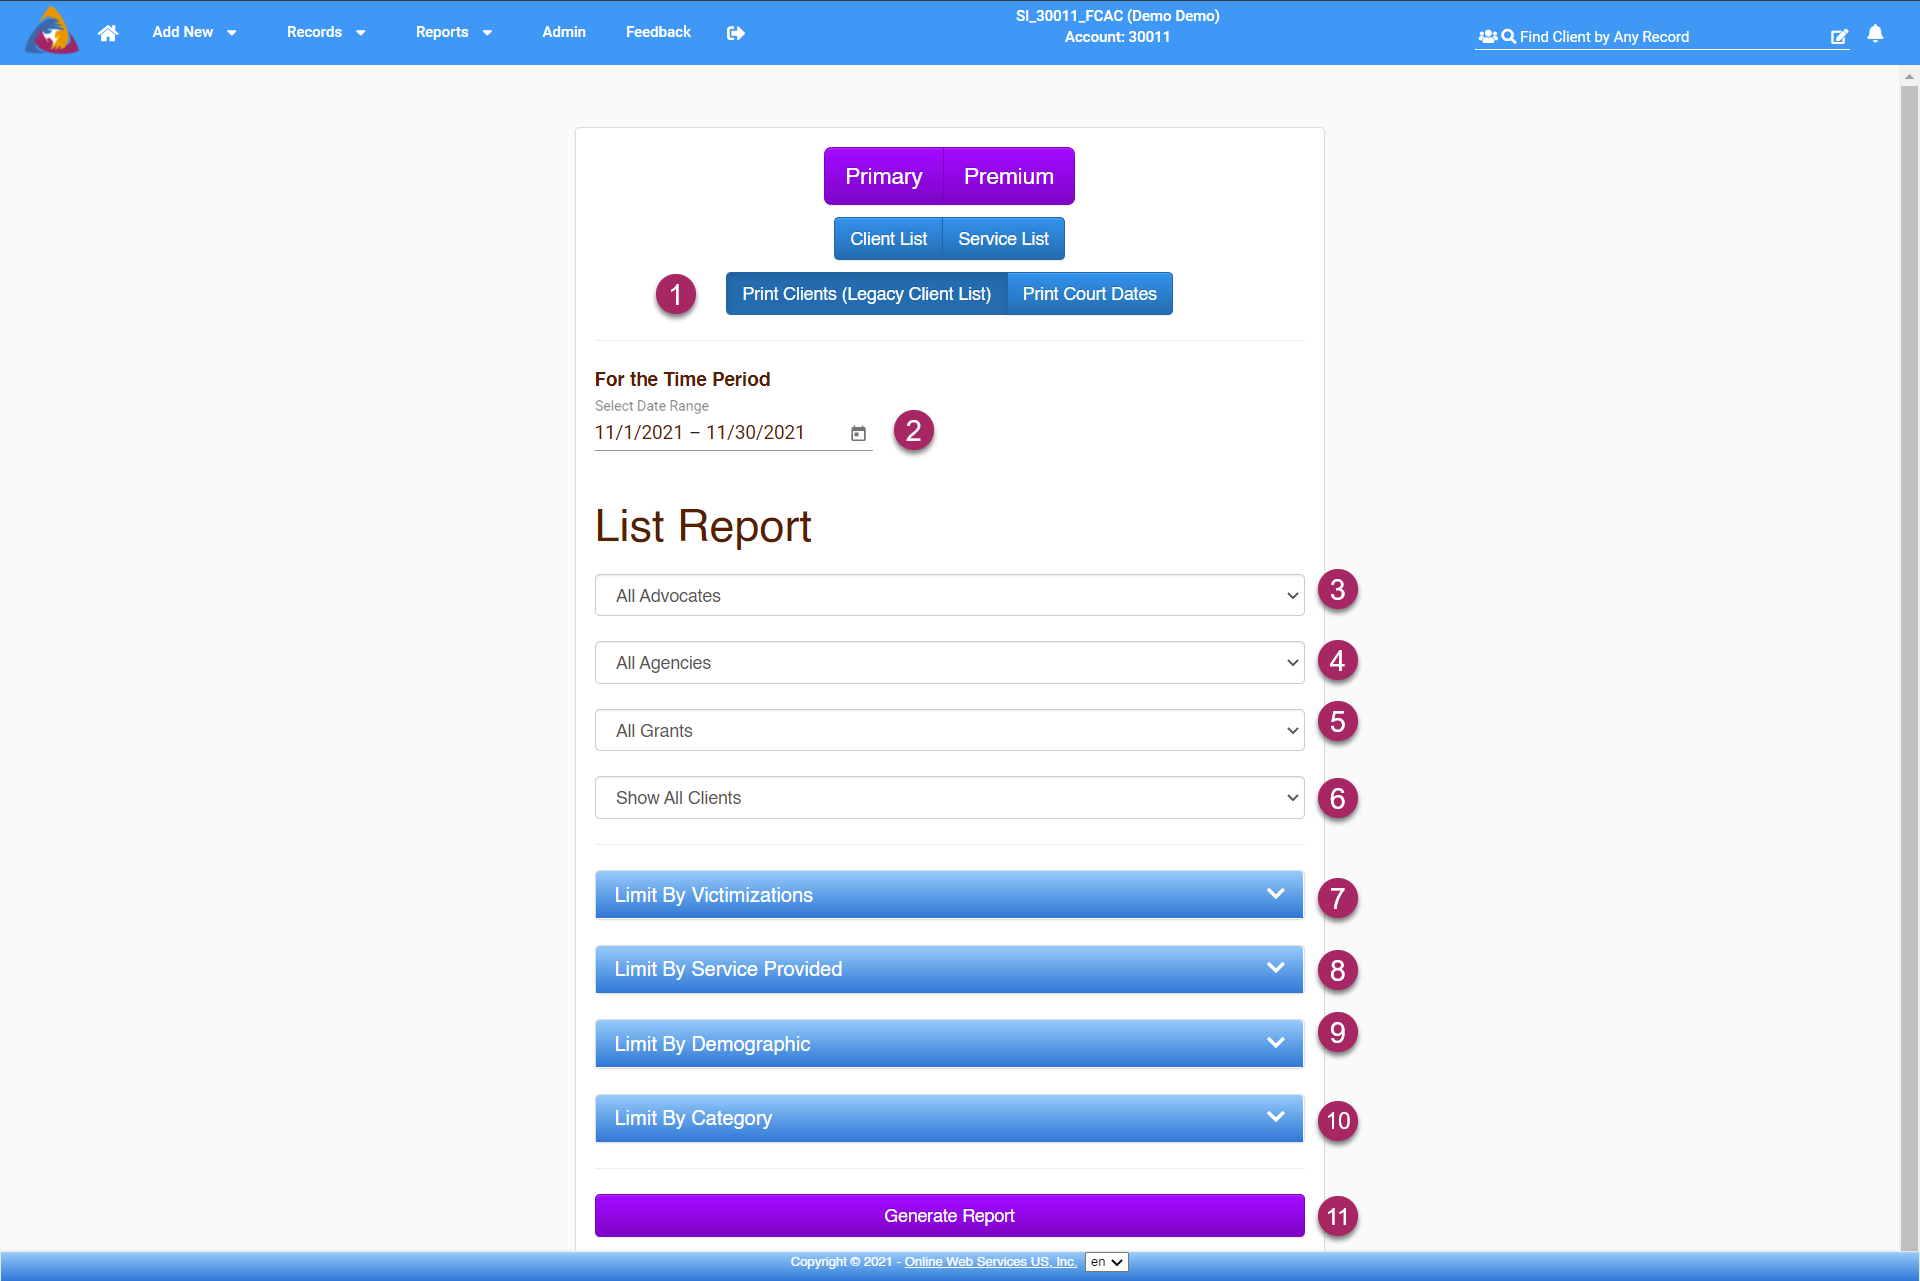
- From the list of buttons at the top of the Classic Reports Screen, click the blue button labeled "Print Clients (Legacy Client List)". This will display the list of filters available for a Print Clients Report.
- Next, select the date range in which you would like the report to search for data. Do so by clicking the calendar icon on the right side of the field labeled "Select Date Range". This will open a calendar that allows you to select the date range.
- The first filter dropdown is used to filter the report by advocates. Clicking the dropdown will open a list of advocates to select from. The report will only show data on clients offered services by that advocate.
- The next dropdown allows you to filter by agency. Clicking the dropdown will open a list of agencies to select from. The report will only show data on services offered by that specific agency. Note: This filter is only available to users who are on the Enterprise version of the VST software.
- Next, you can filter the report by a specific grant using the next dropdown. Click the dropdown and a list of your agency's grants will show, allowing you to choose one. The generated report will only show clients that were provided services linked to that grant.
- Finally, you can use the last dropdown to filter your report by a client. Clicking the dropdown will display a list of your clients and you can select one by clicking on their name. The generated report will only report on services provided to that client.
- Below the dropdowns, you will see 4 blue dropdown tabs. These can be expanded to add additional filters to the report. The first, "Limit By Victimizations", will expand to show a checklist of all the victimizations for your agency (multiple items can be checked). Available options may vary depending on any victimizations that have been added by your administrator. For more info, see the article: How do I add and edit Victimizations?
- The next dropdown tab allows you to filter the report by specific services. Expanding the tab will show more tabs labeled with Service Categories. Each Category can be expanded to show a checklist of the services in that category. Choose all the services you wish to see on the report.
- Next, you can filter the report by demographic. Expanding the "Limit By Demographic" tab will display tabs for the demographic categories: Race, Gender, Client Type, and Special Classification. Each of these tabs can be expanded and multiple selections can be made from the checklists in each category tab.
- Lastly, you are able to filter the report by Category. This will allow you to filter the report by service categories.
- To finalize and generate your report, click the purple button labeled "Generate Report" located at the bottom of the page.

- The page will show a list of clients that fall into the filters you have set for the report. This can be printed by right-clicking on the page and selecting print.
- To close the report, click the grey "x" button at the top right of the report.
