
This article will discuss the Case Defendants screen.
Note: The Case manager will need to be enabled to create, view, and manage Cases. There is no additional cost for the Case Manager. If you do not see any of the Case options, please check with an Administrator on your account to see if the case manager can be enabled for your agency.
Navigating to the Case Screen
There are a couple of different ways to find the case screen. You can use the quick search tool in the top blue bar to search for the specific Case record you are wanting to view (see below - Figure 1). For more information about that search tool see the article How do I use Quick Search.
Figure 1

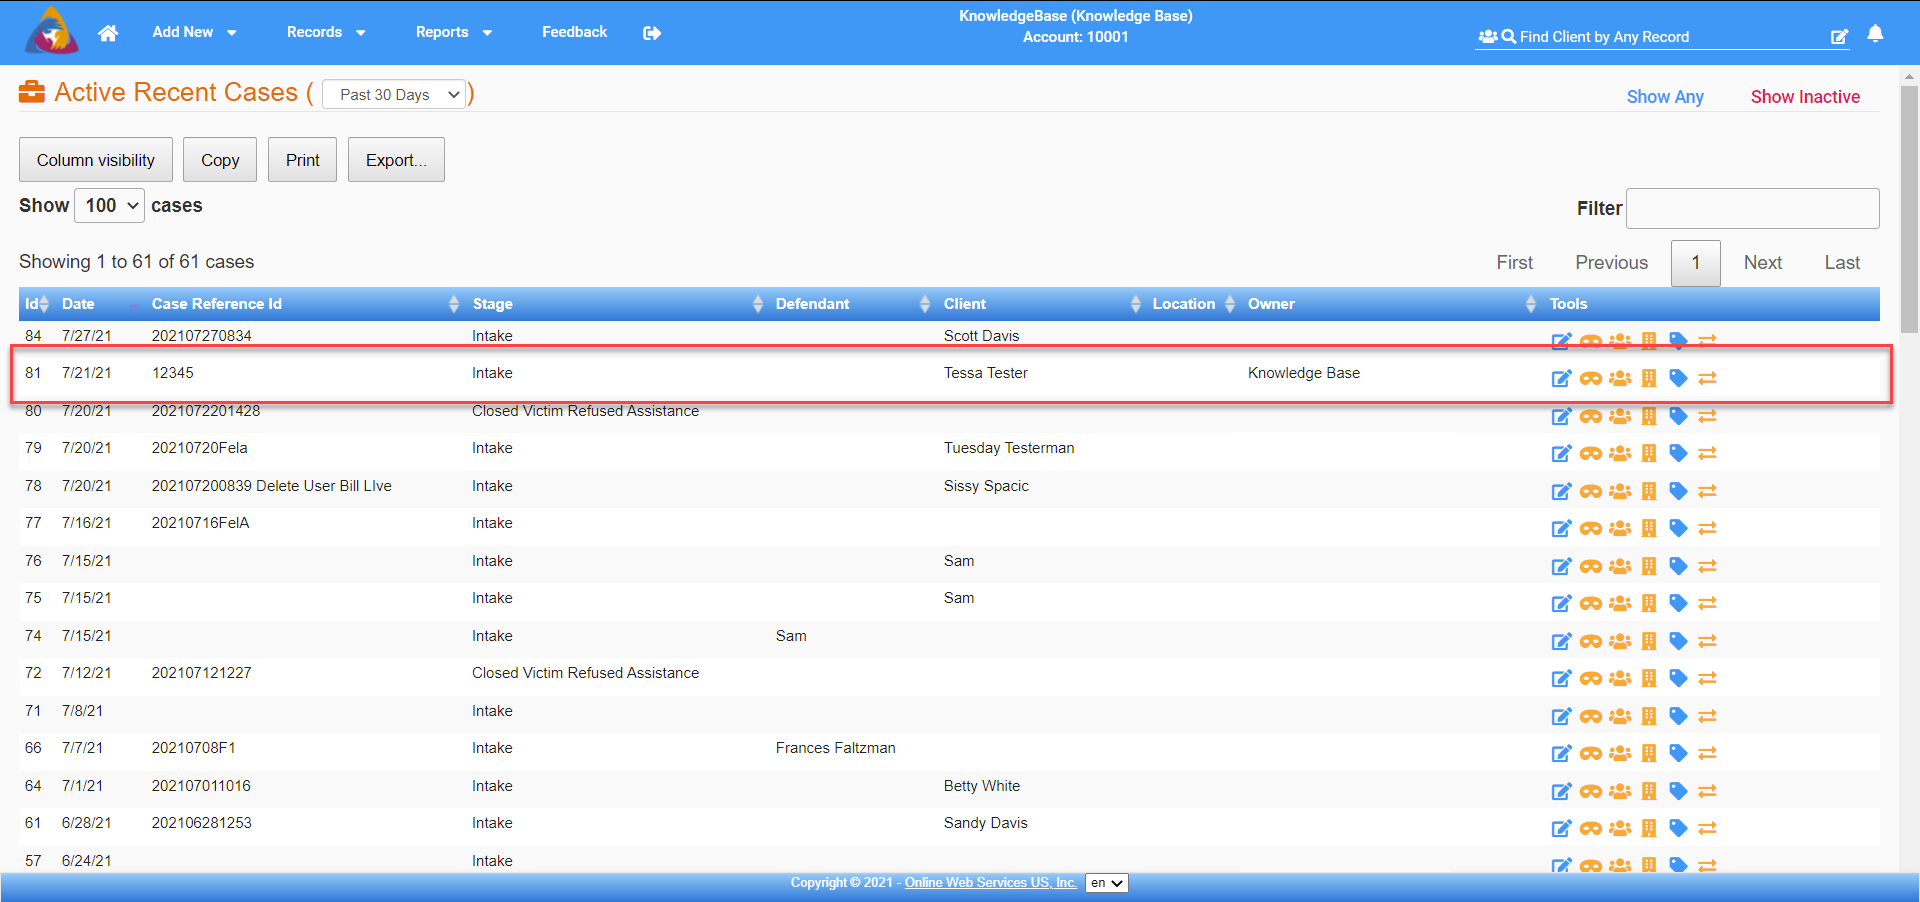
You can also click on Records and click on Cases (see below - Figure 2) to view a list of cases entered into the database and select the case you want to view from that screen. (see below - Figure 3)
Figure 2
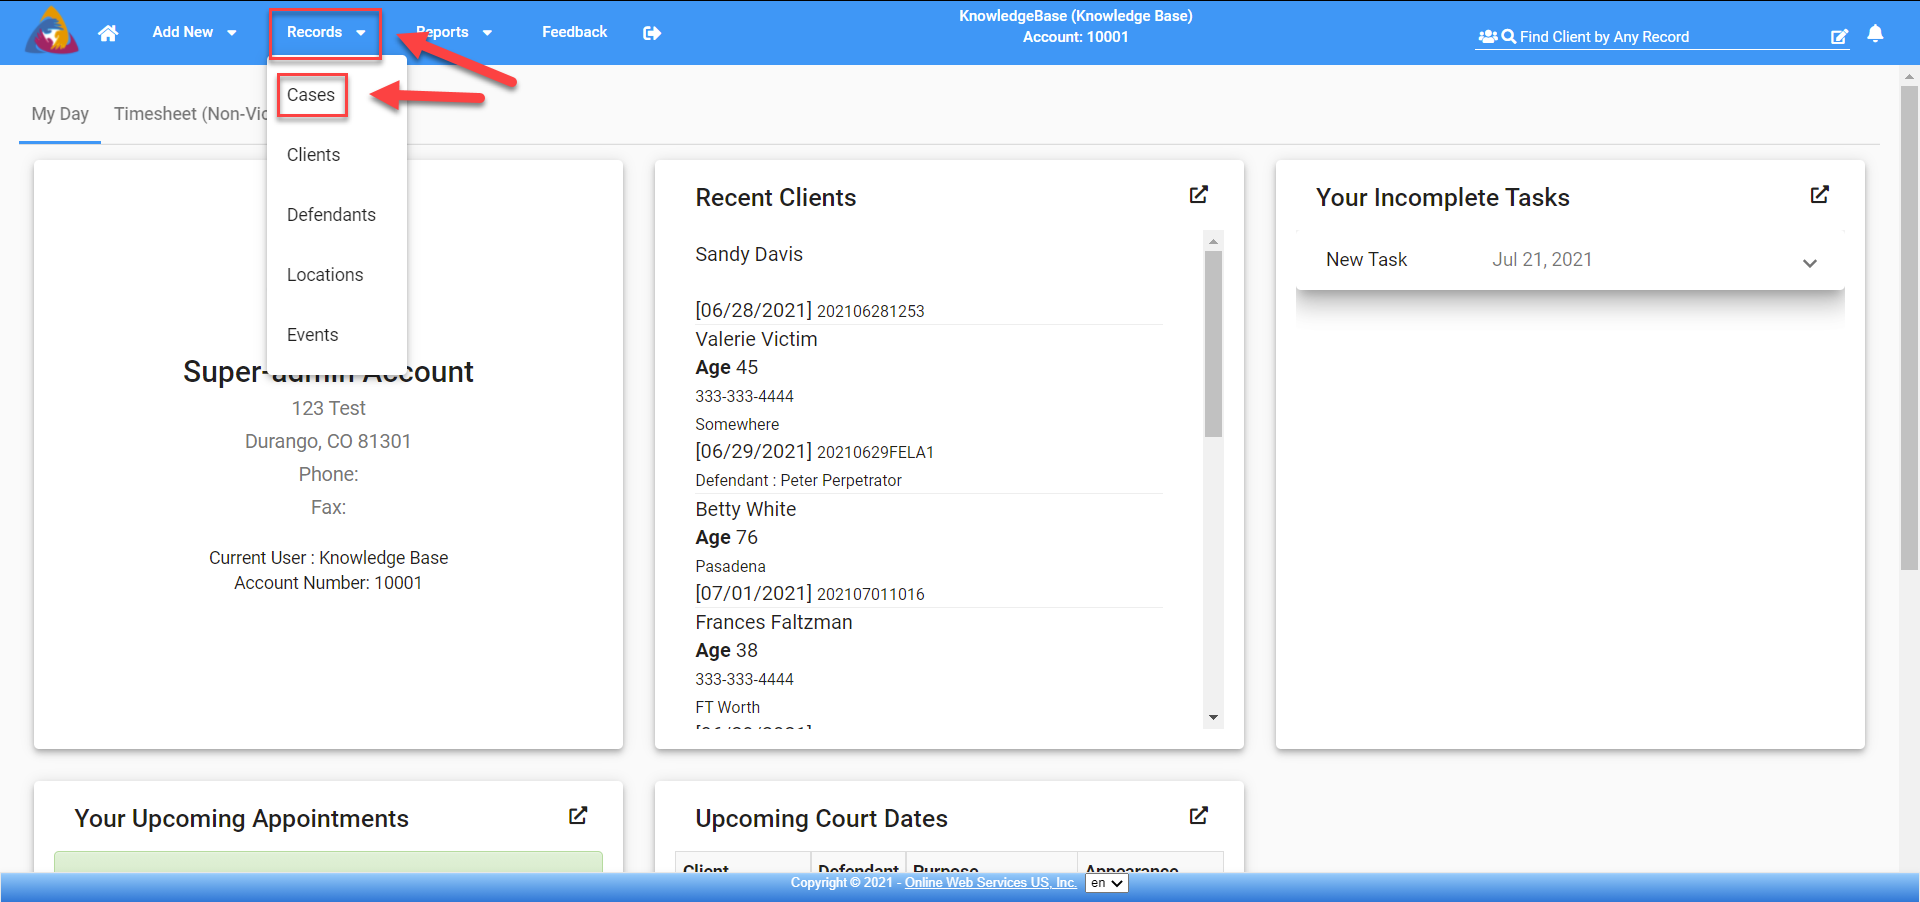
Figure 3
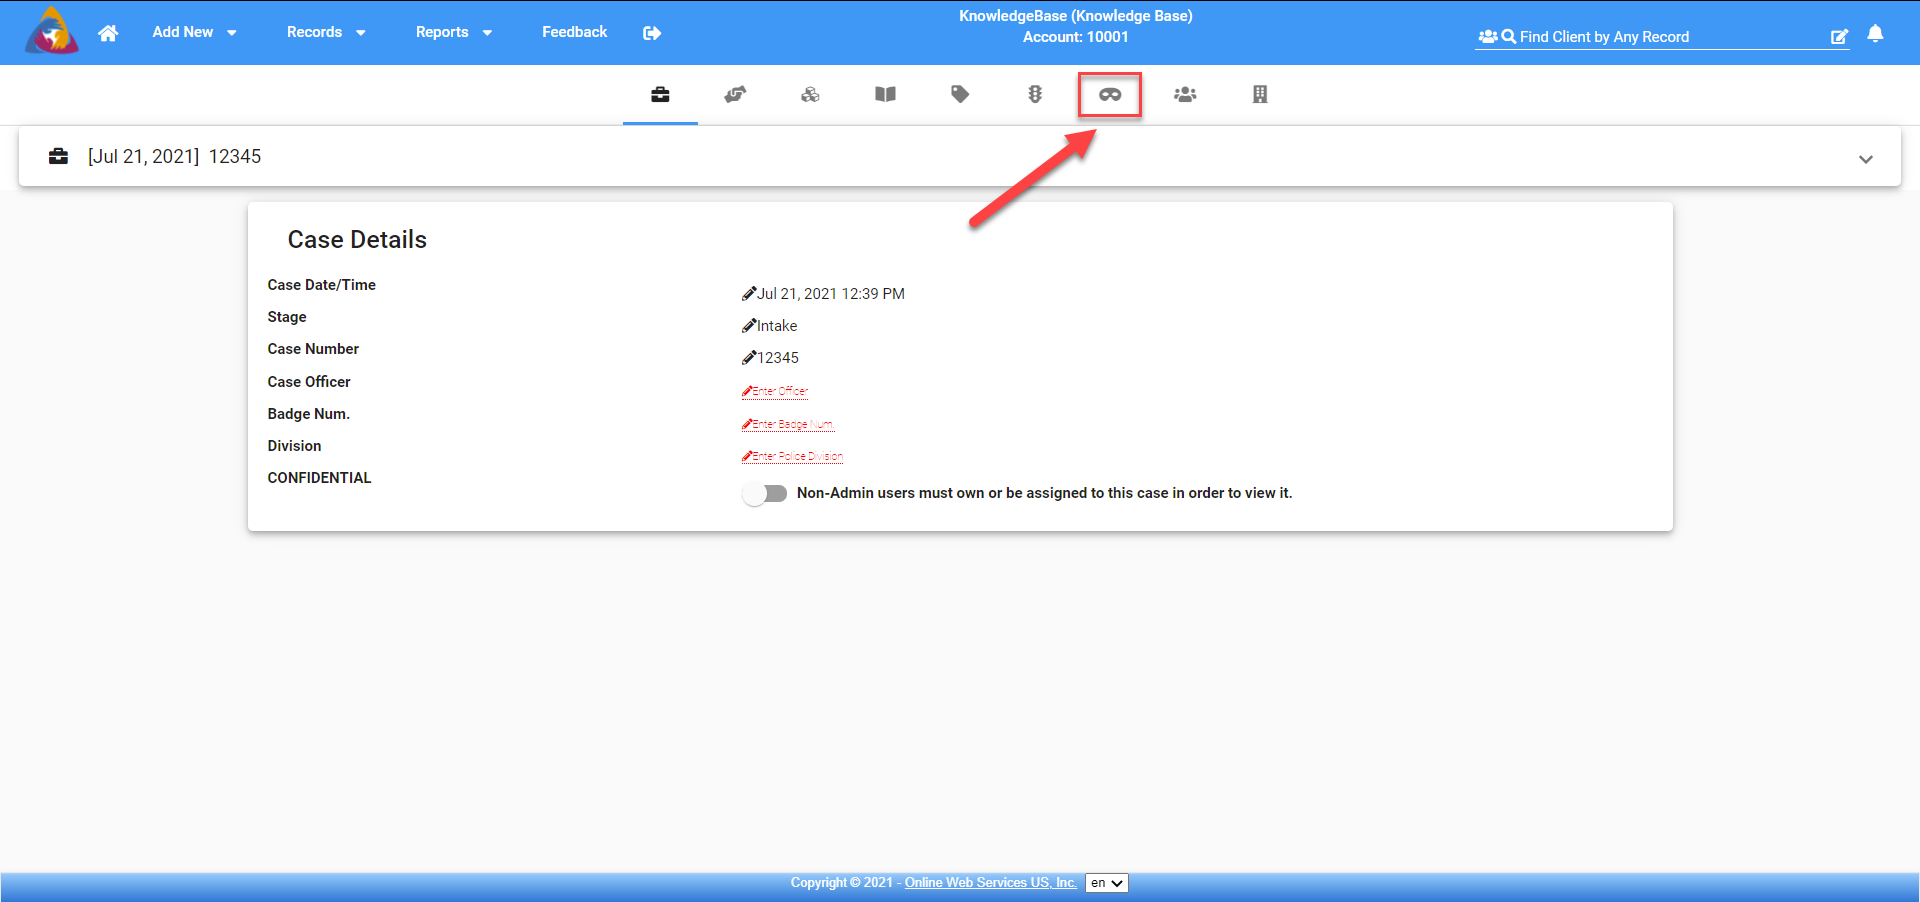
Once in the Case screen, you will see the tabs or tools across the top just below the blue bar. (see below - Figure 4) ****link to Case Information, Case Assignments, Case Custom Fields, Case Narrative, Case Tags, Case Human Trafficking Details, Case Defendants, Case Victims, Case Locations****
Figure 4

Case Defendants
The 7th tool or tab is the Case Defendants. This icon looks like an eye mask. (see below - Figure 5)
Figure 5
In this screen, you will be able to view and manage the defendants that are associated with this case. (see below - Figure 6)
Figure 6
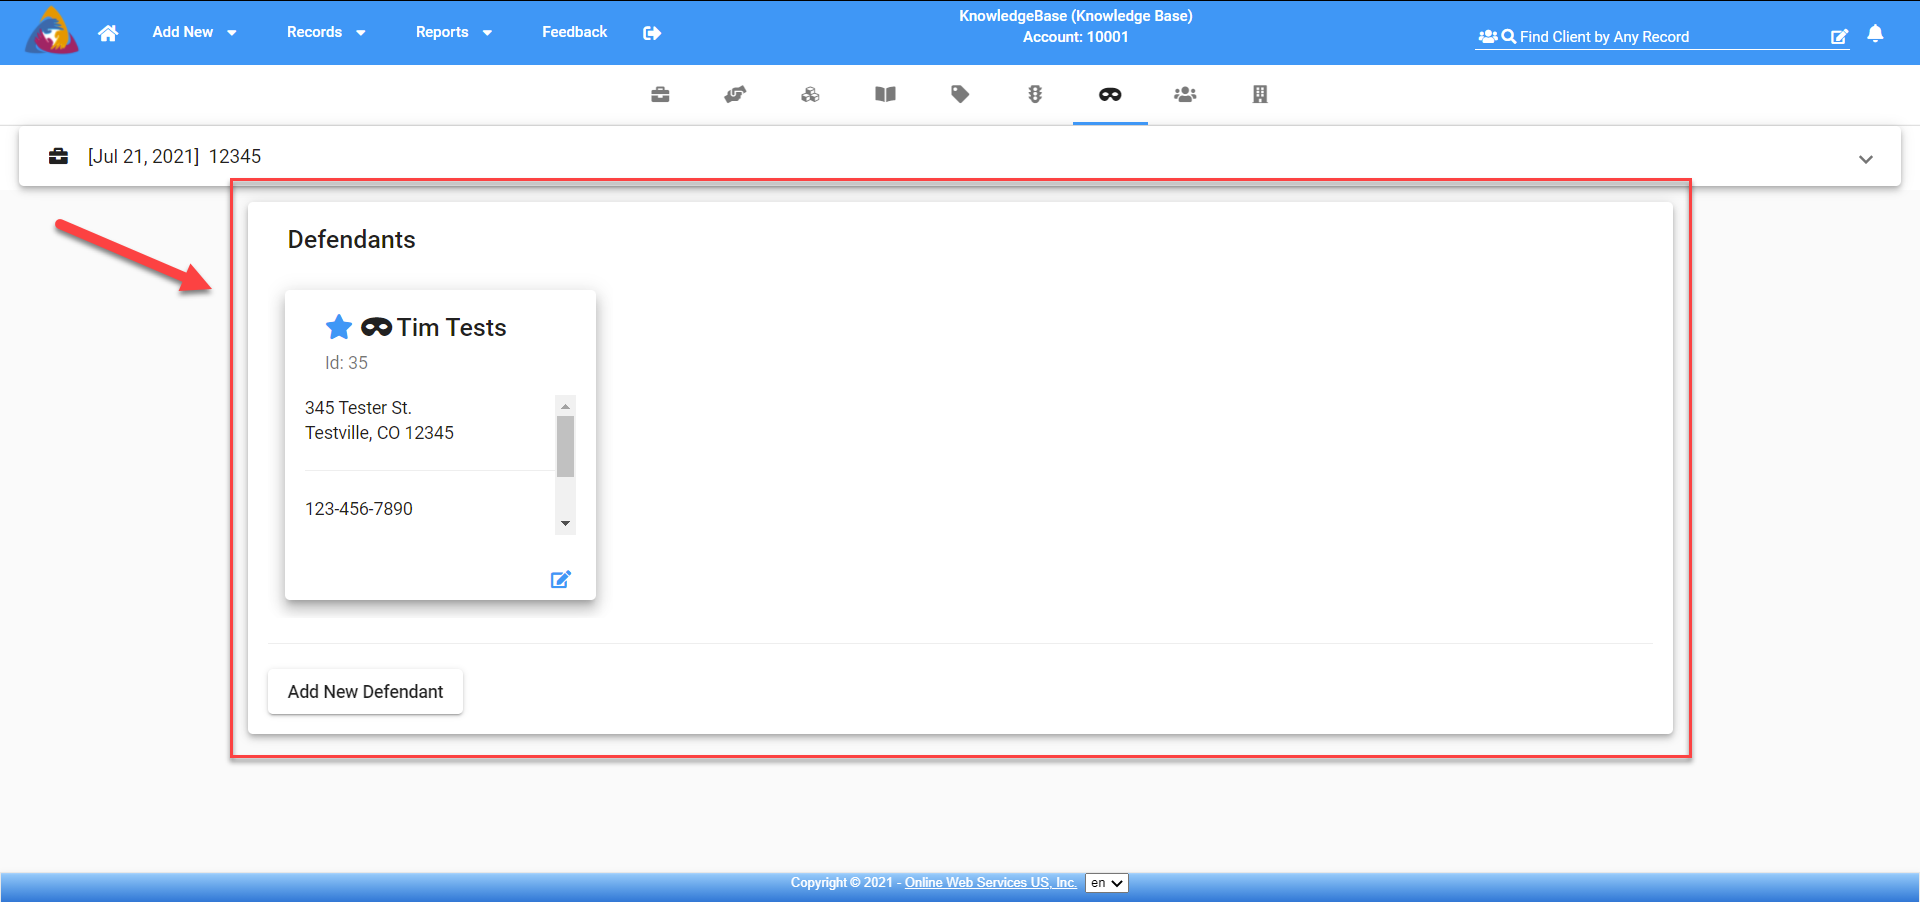
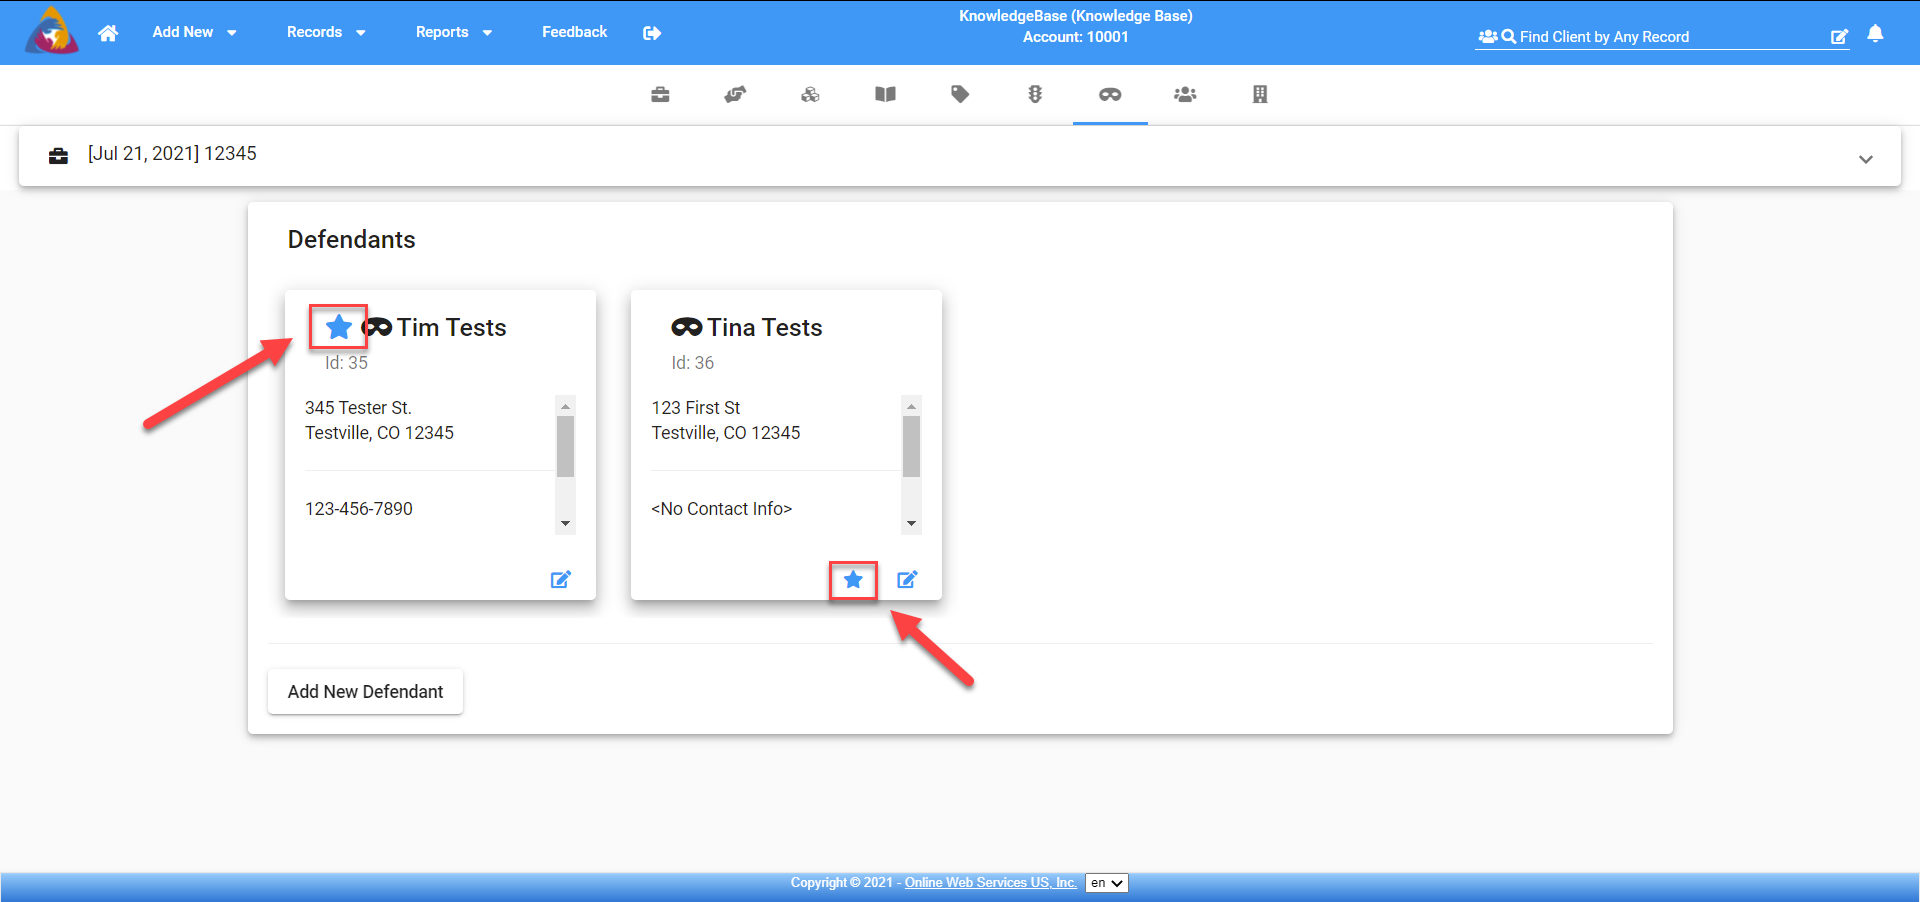
Each defendant added to the case will display on the screen in a separate box. The primary defendant will have a big blue star at the top of the box, to the left of their name (see below - Figure 7). As additional defendants are added you will have the ability to change the primary defendant to any listed here by clicking on the smaller star at the bottom of the Defendant’s box that you are wanting to make the primary. (see below - Figure 7)
Figure 7
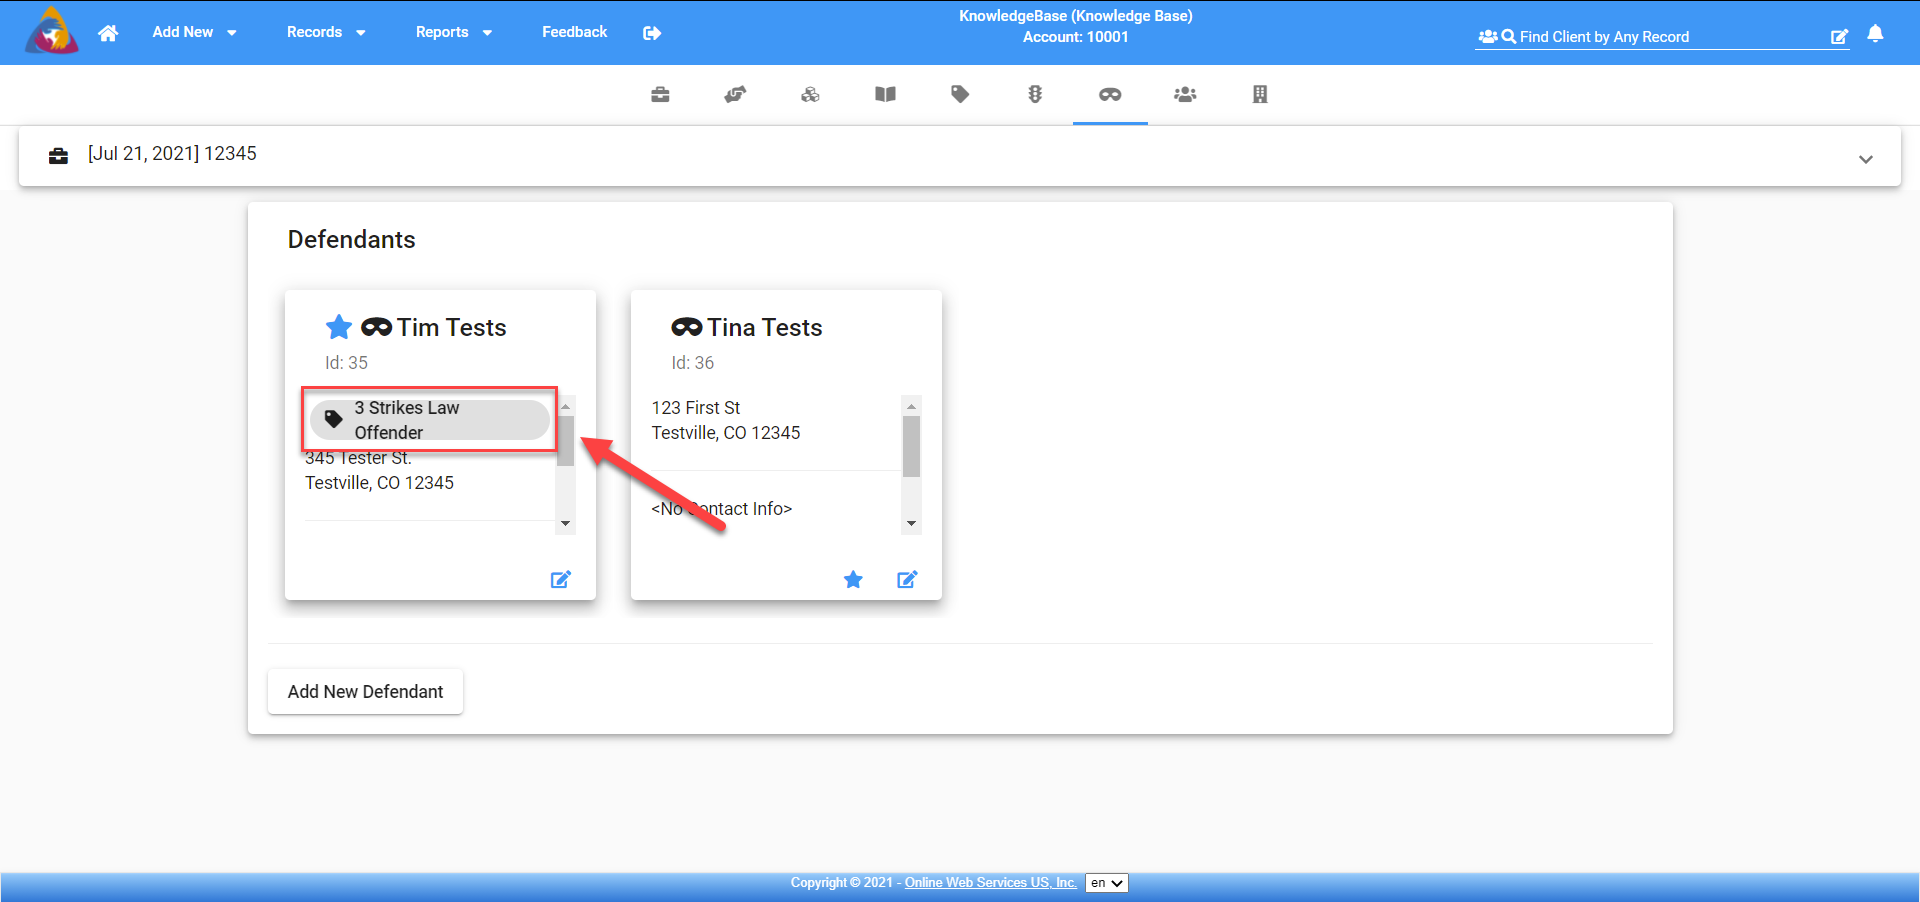
In the box below the defendant’s name, you will see the Tags, if any, that have been applied. The tags are created by an Administrator on the account in the Admin section. (see below - Figure 3) ***link to Admin Add Edit Tags****
Figure 8
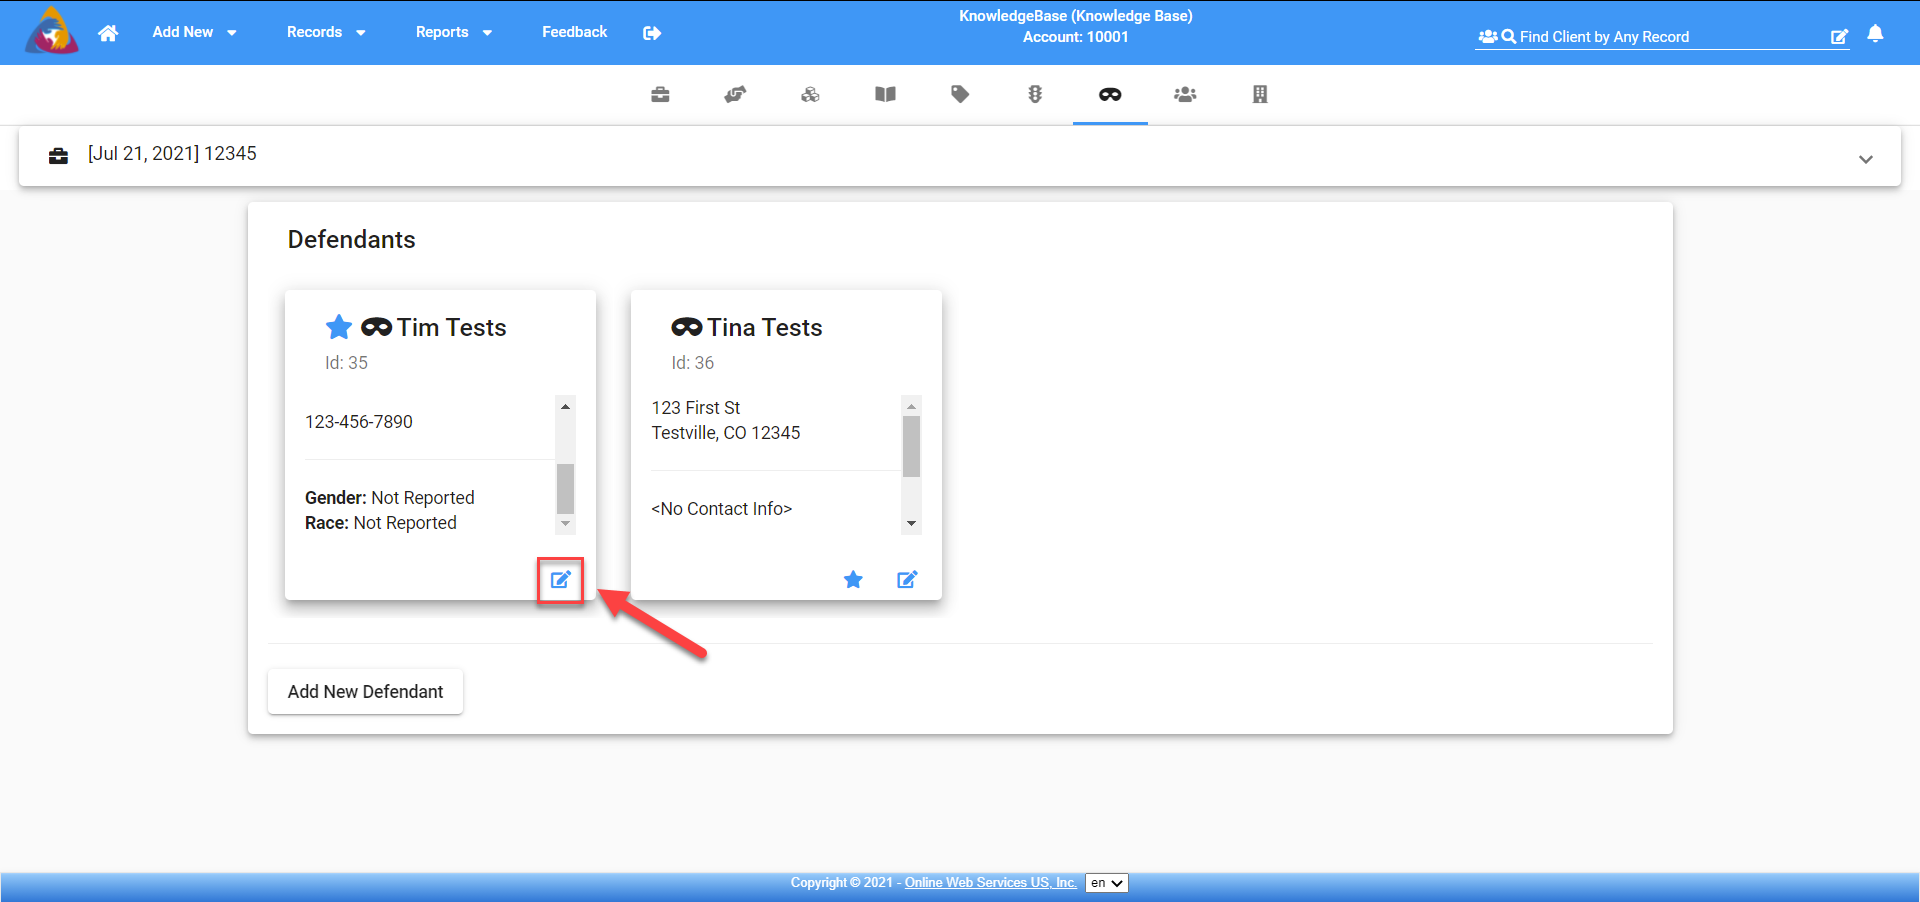
You will be able to use the scroll bar on the right side of the defendant’s box to scroll down and see more information about the defendant such as demographics and contact information if entered. (see below - Figure 9)
Figure 9

At the bottom of each defendant’s box, you will see the blue pencil icon. Clicking on that icon will take you into that defendant’s screens to manage or edit their information. (see below - Figure 10)
****link to defendant articles****.
Figure 10
Add New Defendant
Below the Defendants’ boxes, you can add defendants to this case by clicking on the Add New Defendant button. (see below - Figure 11)
Figure 11

Here you can choose to enable confidentiality for the new defendant (see below - Figure 12). If the Case has been made confidential all the defendants will be made confidential automatically and this button will not be active.
Figure 12
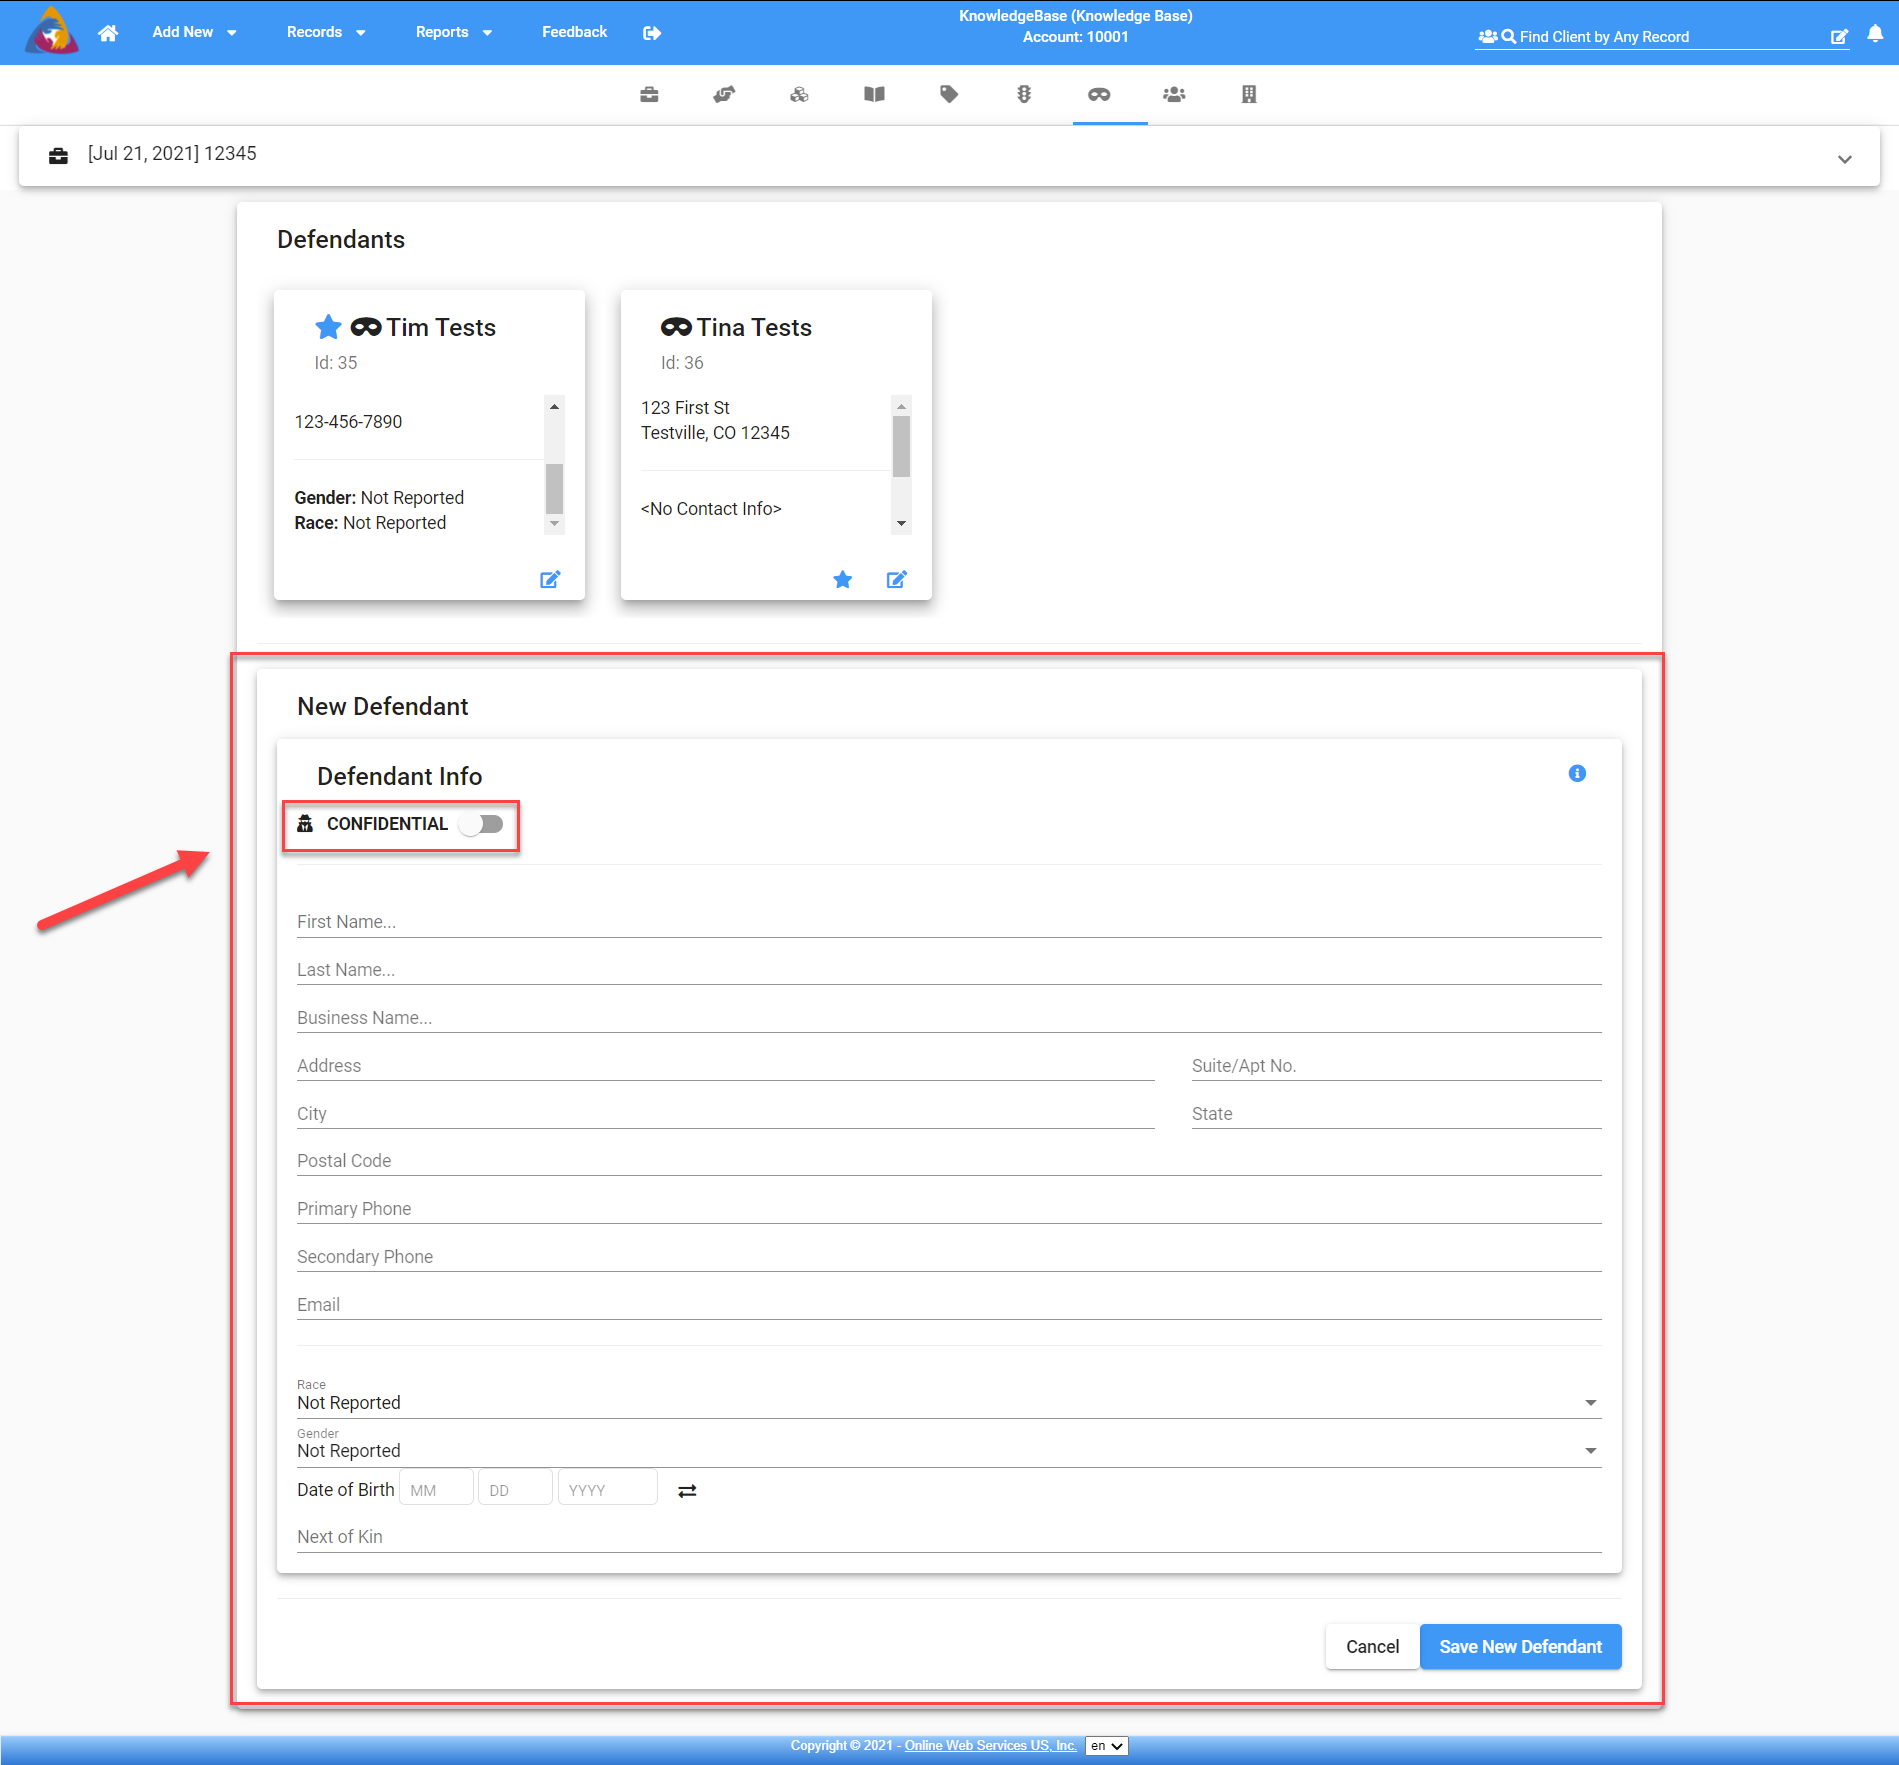
Type the First Name, Last Name, and Business Name, if applicable. (see below - Figure 13) If that name has been previously entered into the database the system will generate a list of names that match or are similar. It will also include other information to determine if that is, in fact, whom you are entering. If you choose the name that matches from the list, the system will fill in all the information for that person that had been previously entered. This information cannot be edited at this time, however, once you click on Save New Defendant you will have the opportunity to edit the information on the Defendant’s screens.
Figure 13

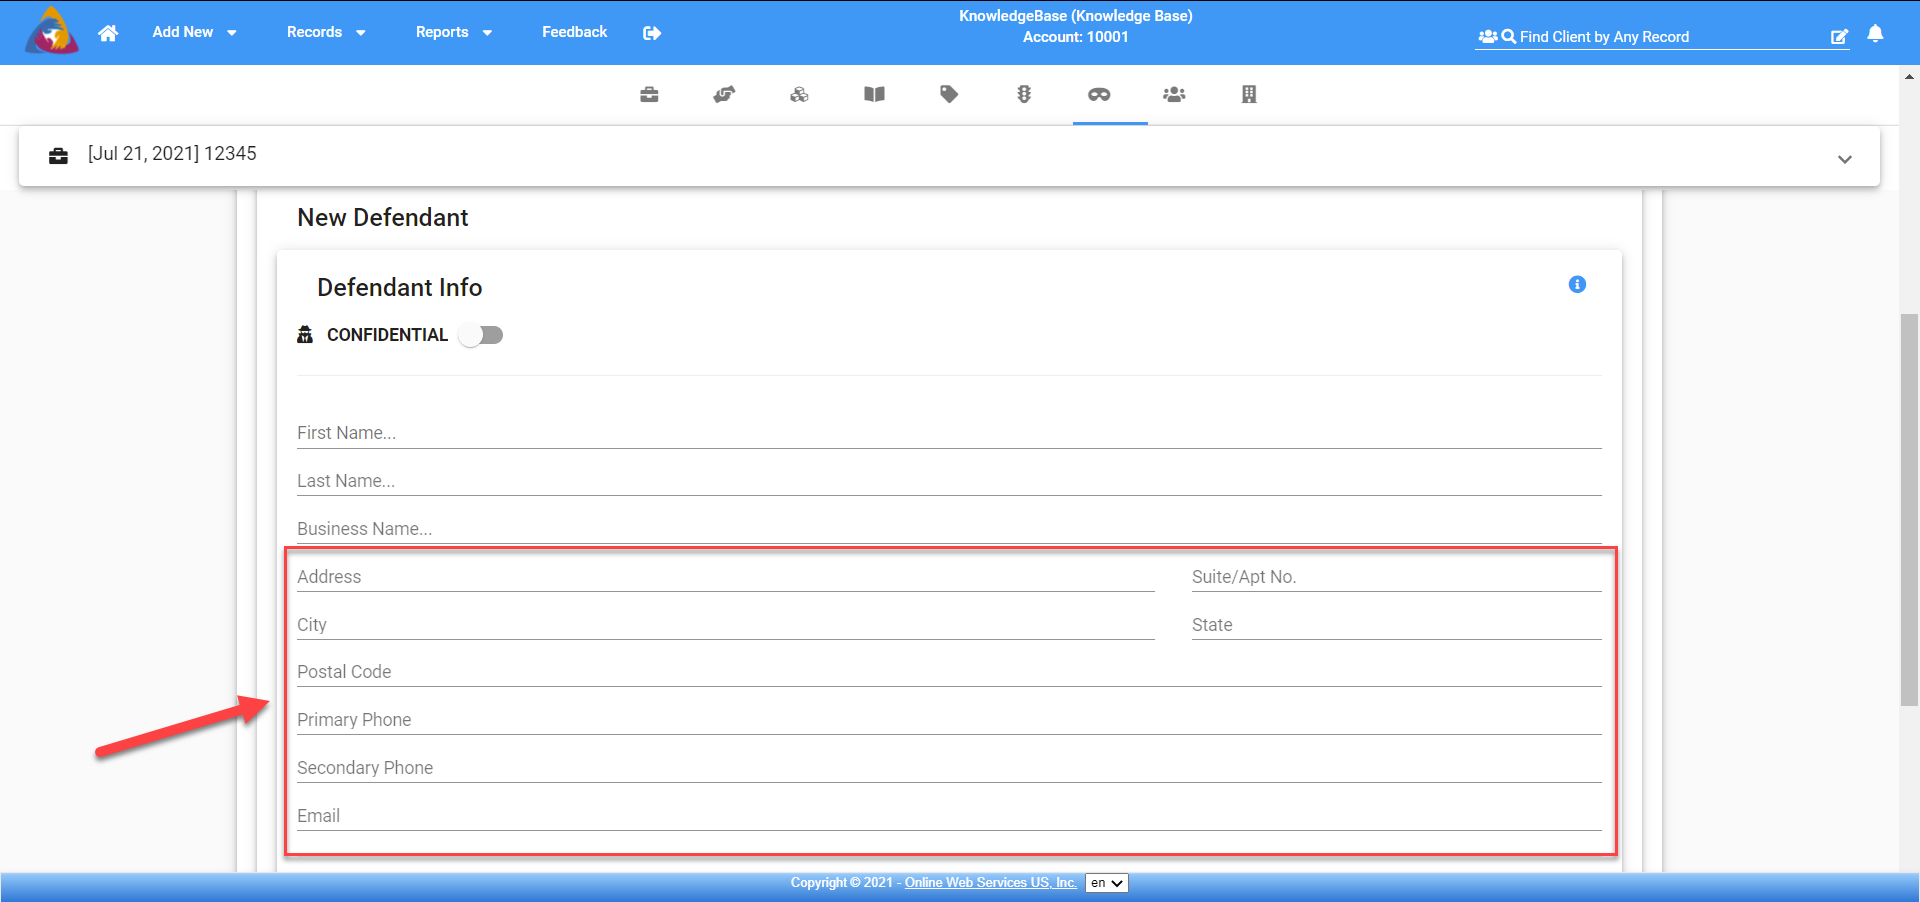
If you do not want to choose a name from the list, simply click or tab away and continue entering the rest of the data (Address/Phone/Email). (see below - Figure 14)
Figure 14
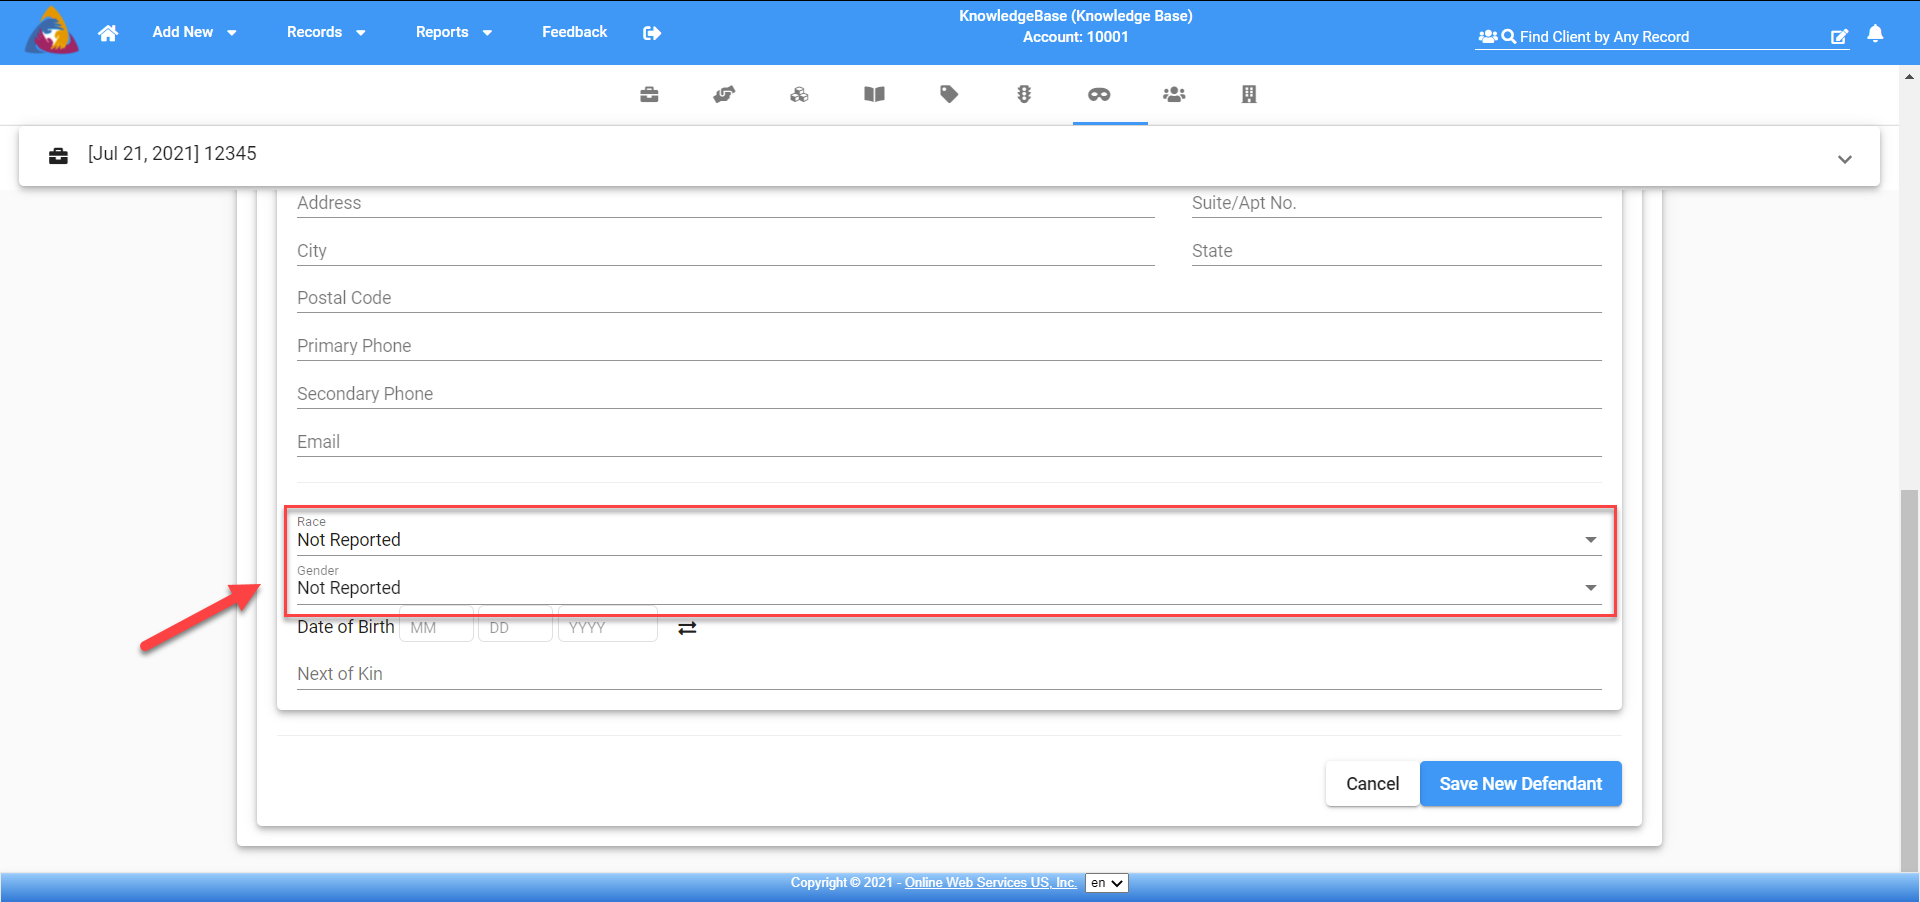
Choose the Race and Gender from the dropdown boxes. (see below - Figure 15)
Figure 15
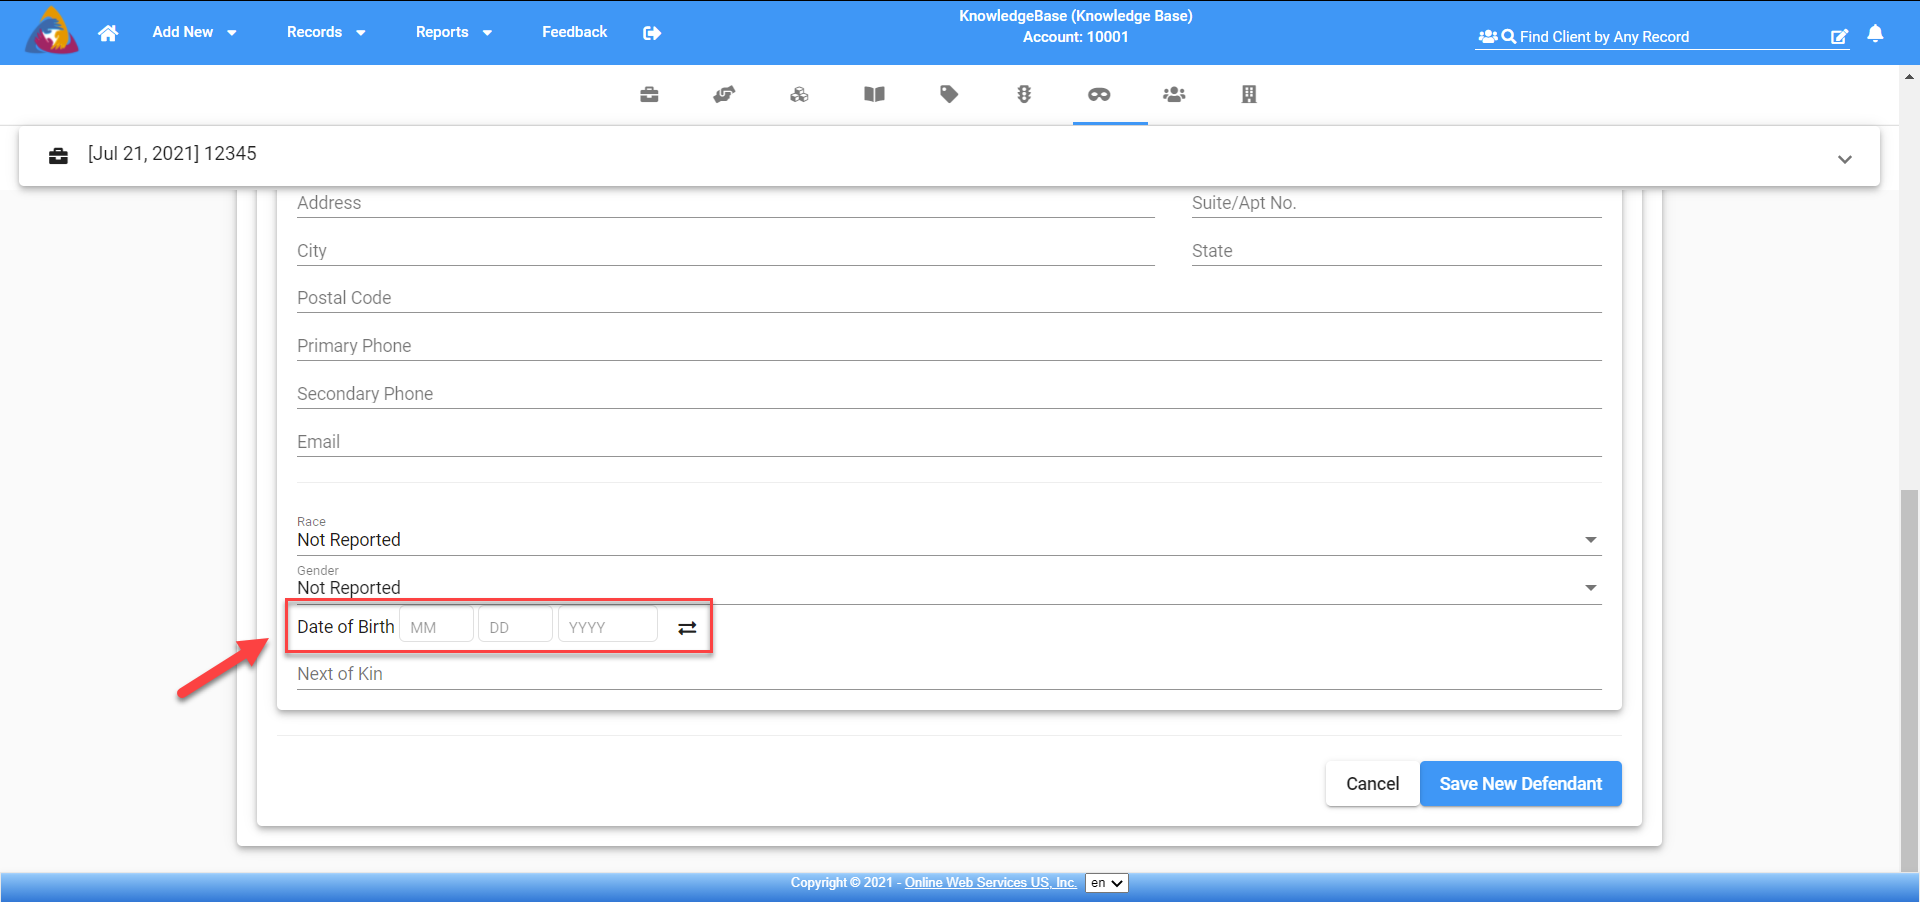
The Date of Birth will be entered in the 2 digit month, 2 digit day, 4 digit year format. If you do not know the DOB but you happen to know how old the person is you can click on the arrows icon to change the format to enter the age. (see below - Figure 16)
Figure 16
Enter the next of kin information if you know it. (see below - Figure 17)
Figure 17

Finish and Save
When you are finished click on Save New Defendant. This adds the Defendant to the case and they will display in the Defendants boxes on the screen. If you have the Defendant Manager enabled you will also be able to view the list of Defendants entered into the database by clicking on Records and selecting Defendants. (see below - Figure 18)
Figure 18
