This article will discuss the Case Narrative screen.
Note: The Case manager will need to be enabled to create, view, and manage Cases. There is no additional cost for the Case Manager. If you do not see any of the Case options, please check with an Administrator on your account to see if the case manager can be enabled for your agency.
Navigate to Case Screen
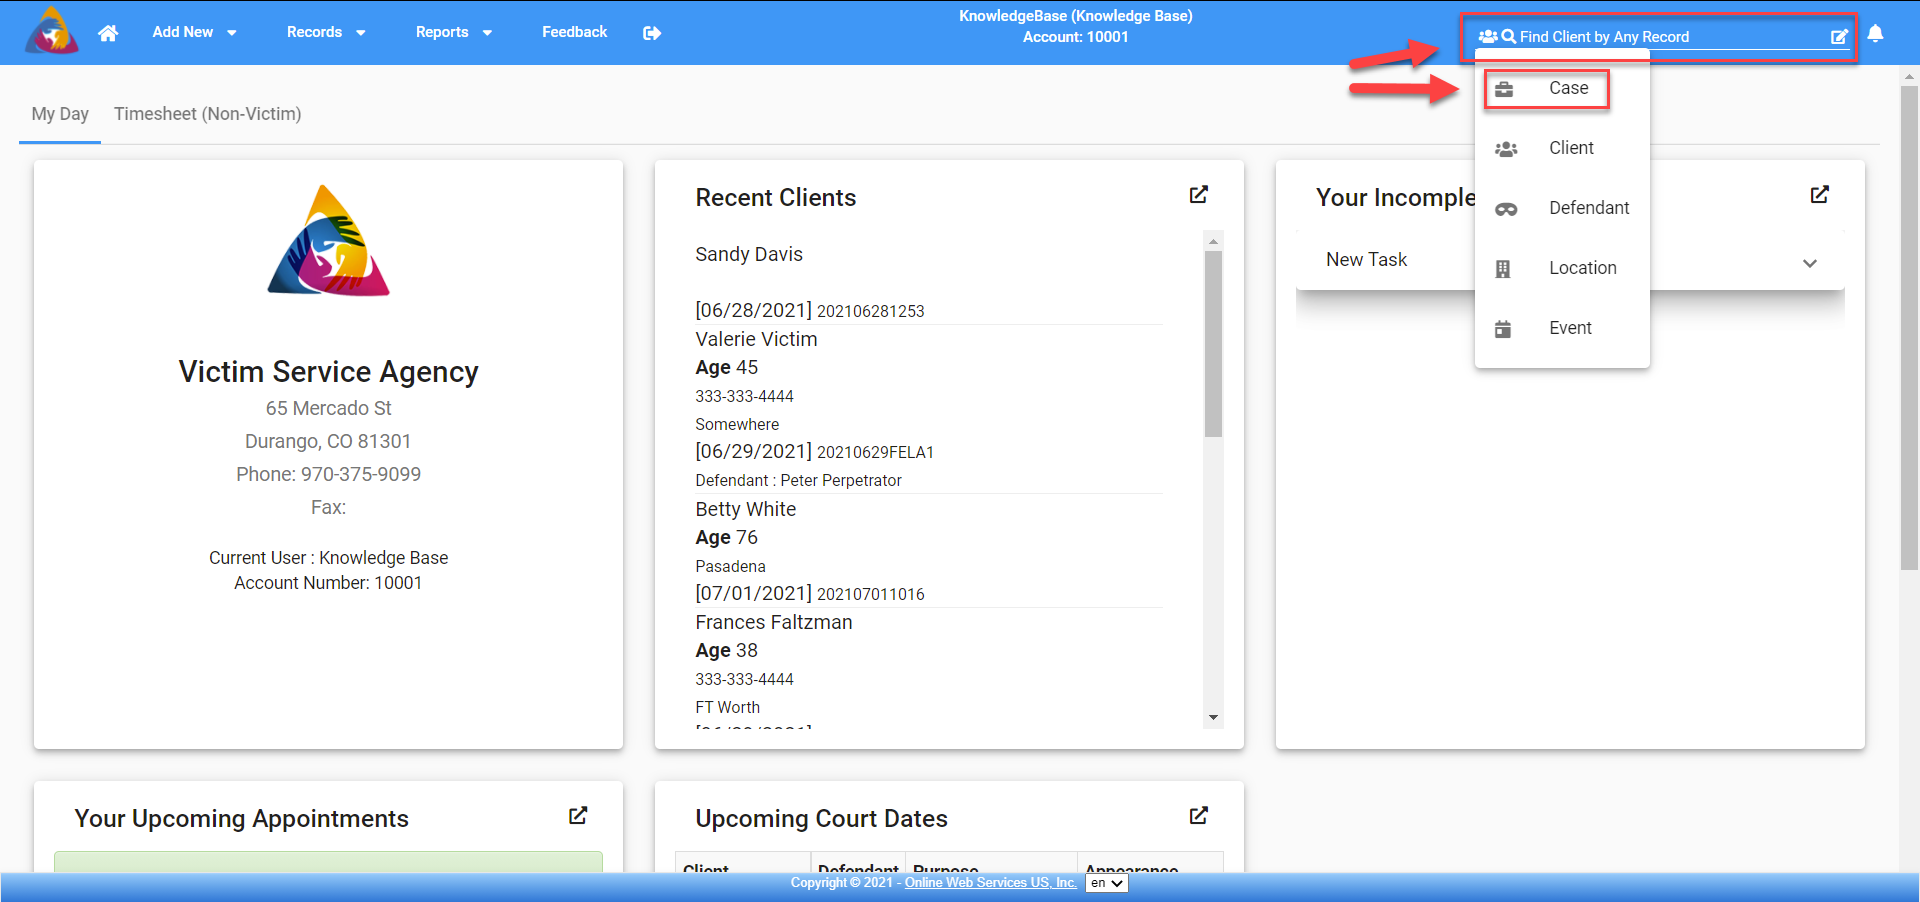
There are a couple of different ways to find the case screens. You can use the quick search tool in the top blue bar to search for the specific Case record you are wanting to view (see below - Figure 1).
For more information about that search tool see the video labeled How do I use Quick Search.
Figure 1
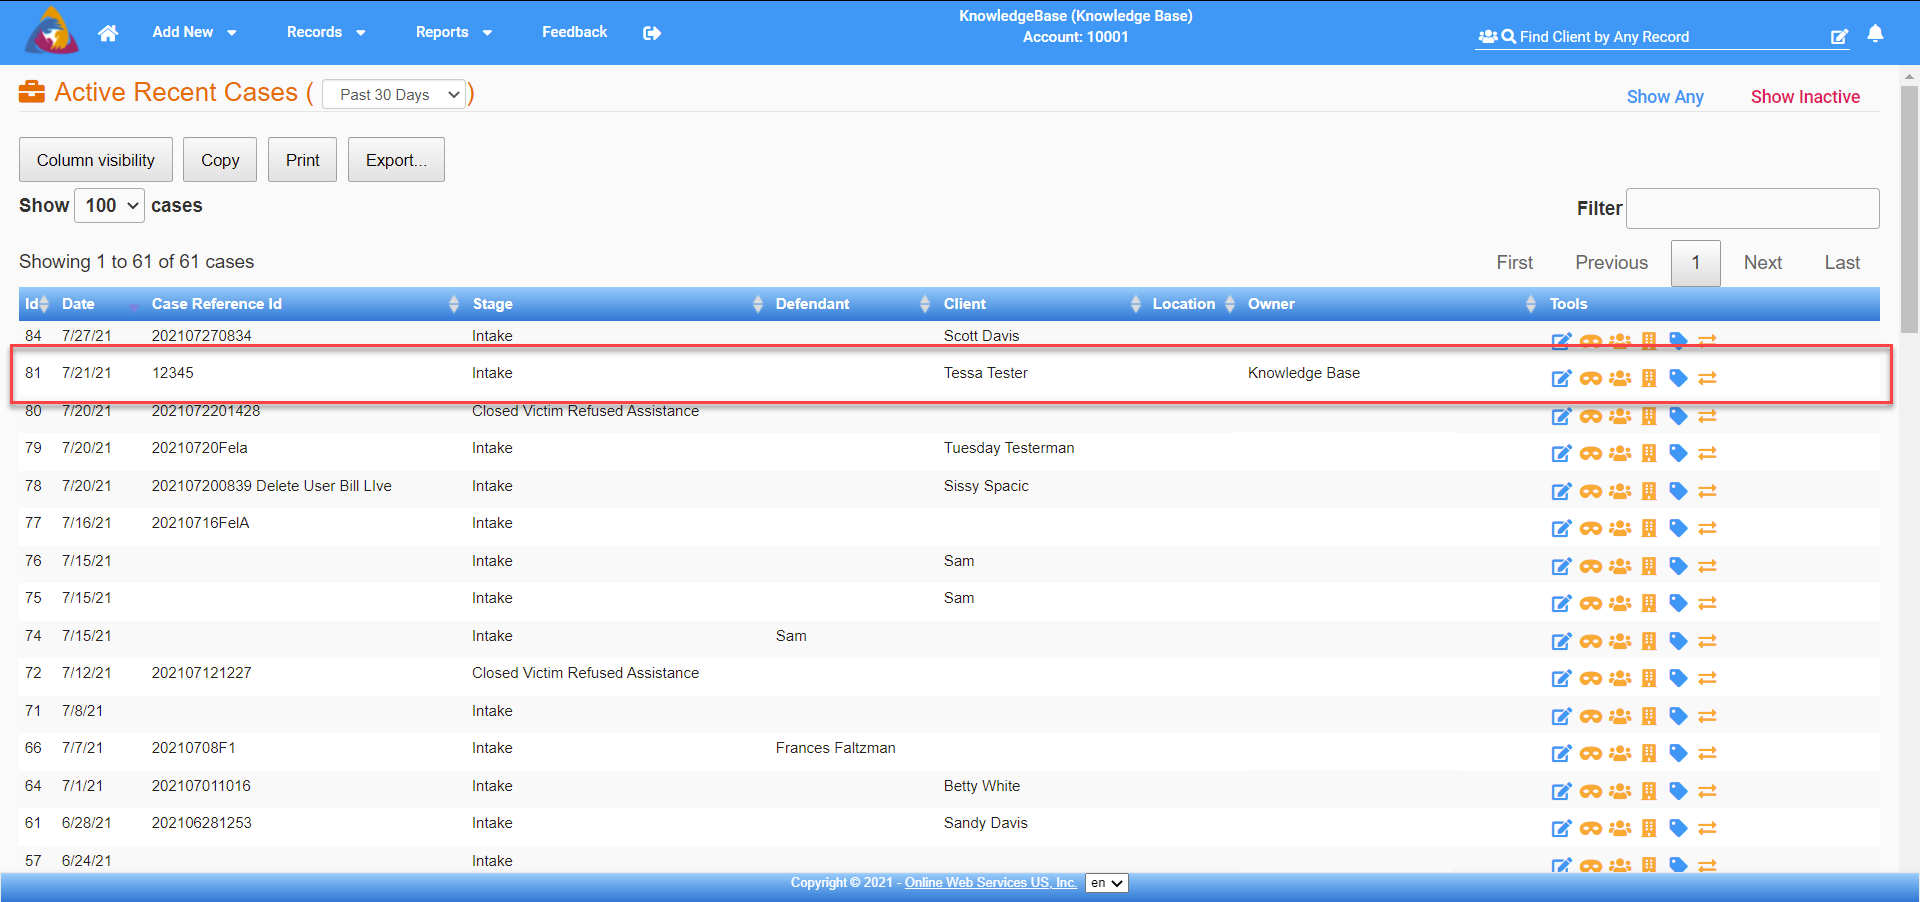
You can also click on Records and click on Cases to view a list of cases entered into the database (see below - Figure 2) and select the case you want to view from that screen (see below - Figure 3).
Figure 2

Figure 3
Once in the Case screen, you will see the tabs or tools across the top just below the blue bar. (see below - Figure 4)
Figure 4

New Case Narrative
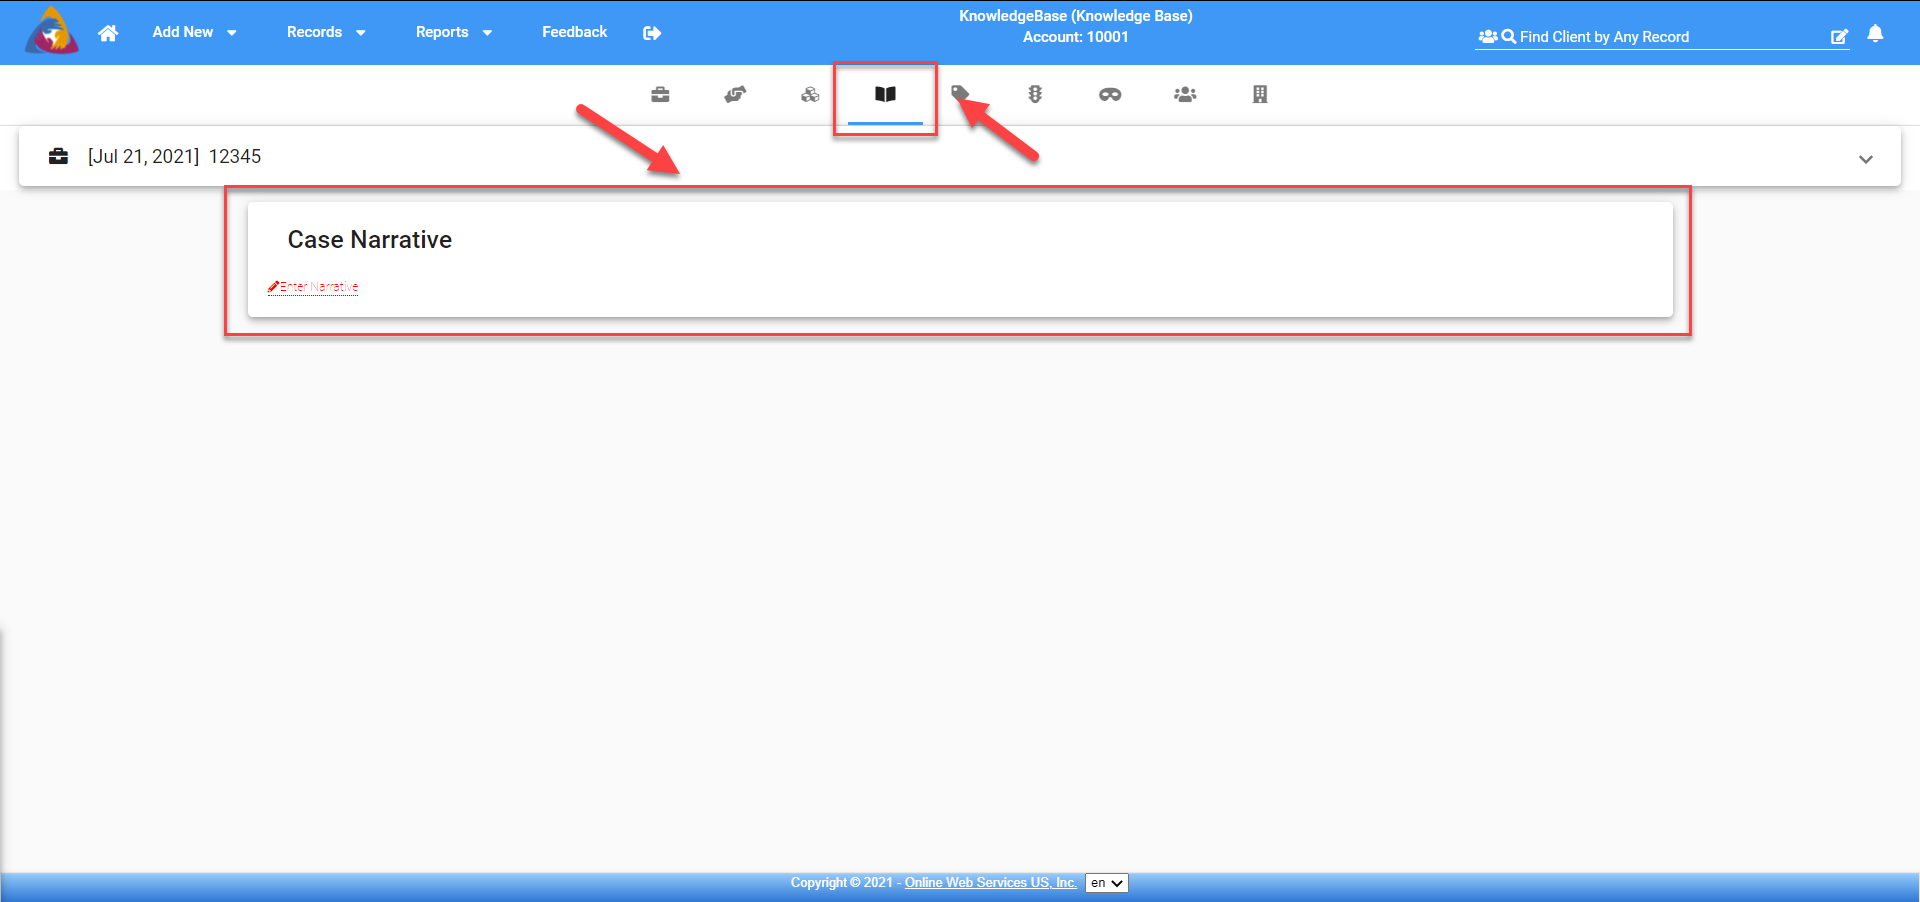
The 4th tool or tab is the Case Narrative screen. The icon looks like an open book. (see below - Figure 5)
Figure 5
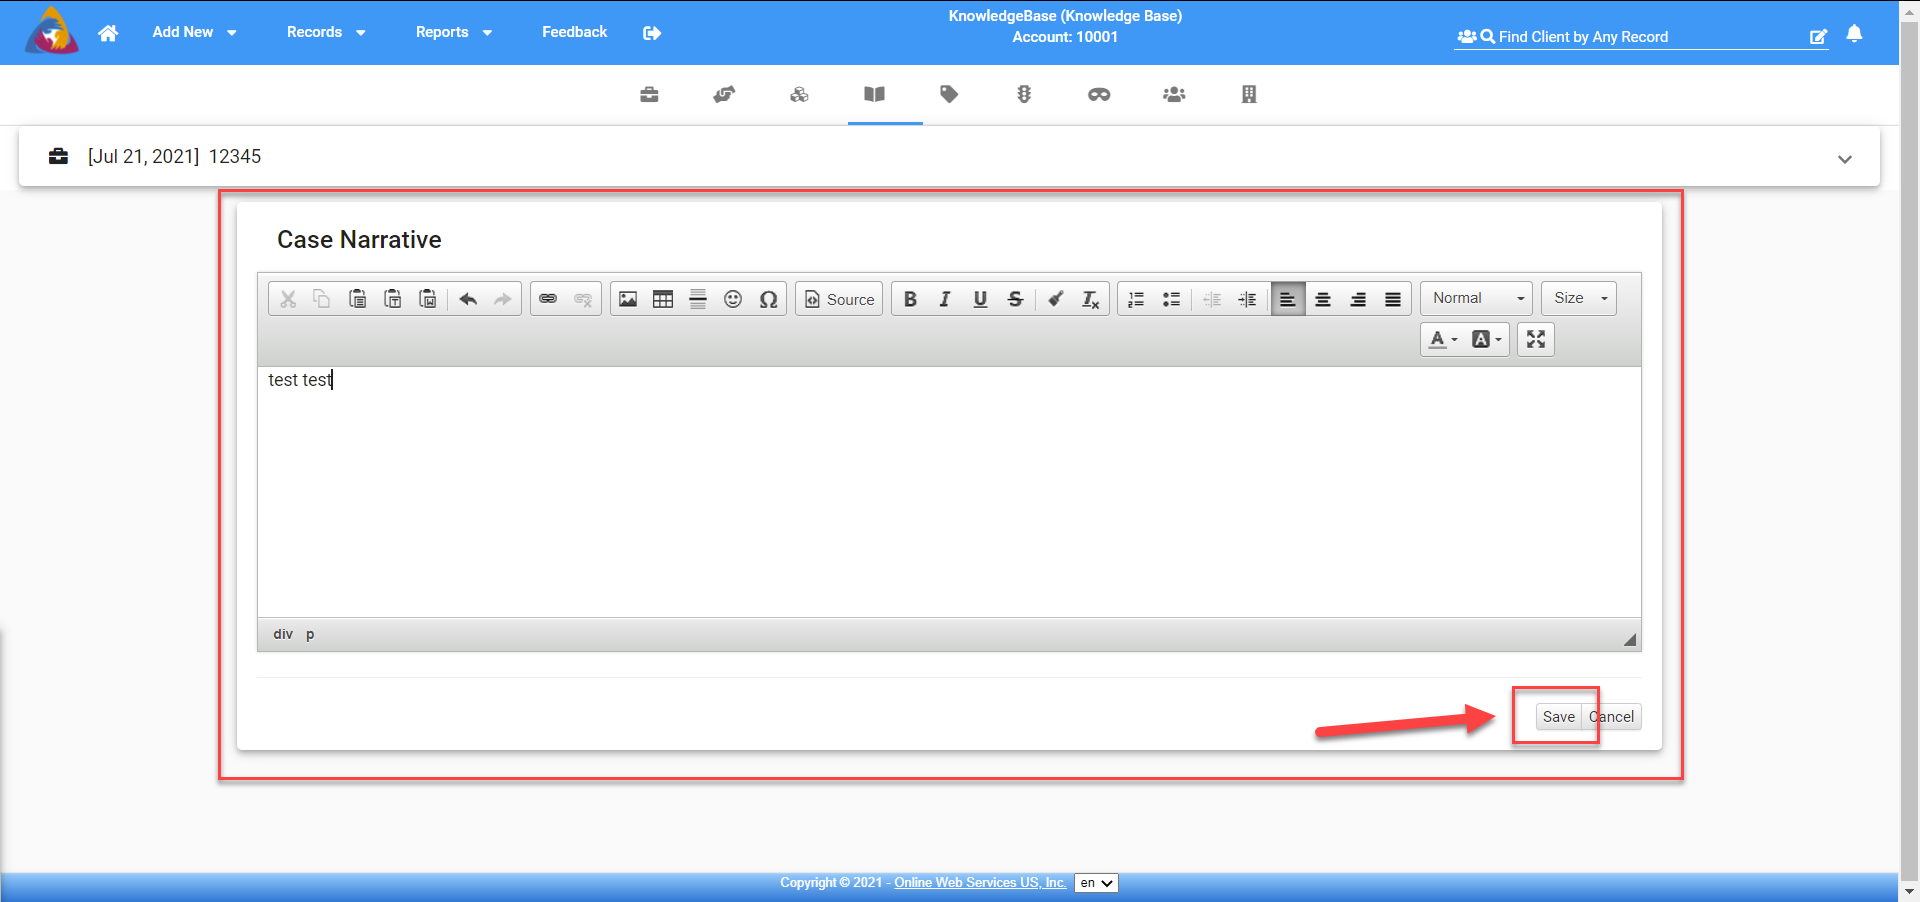
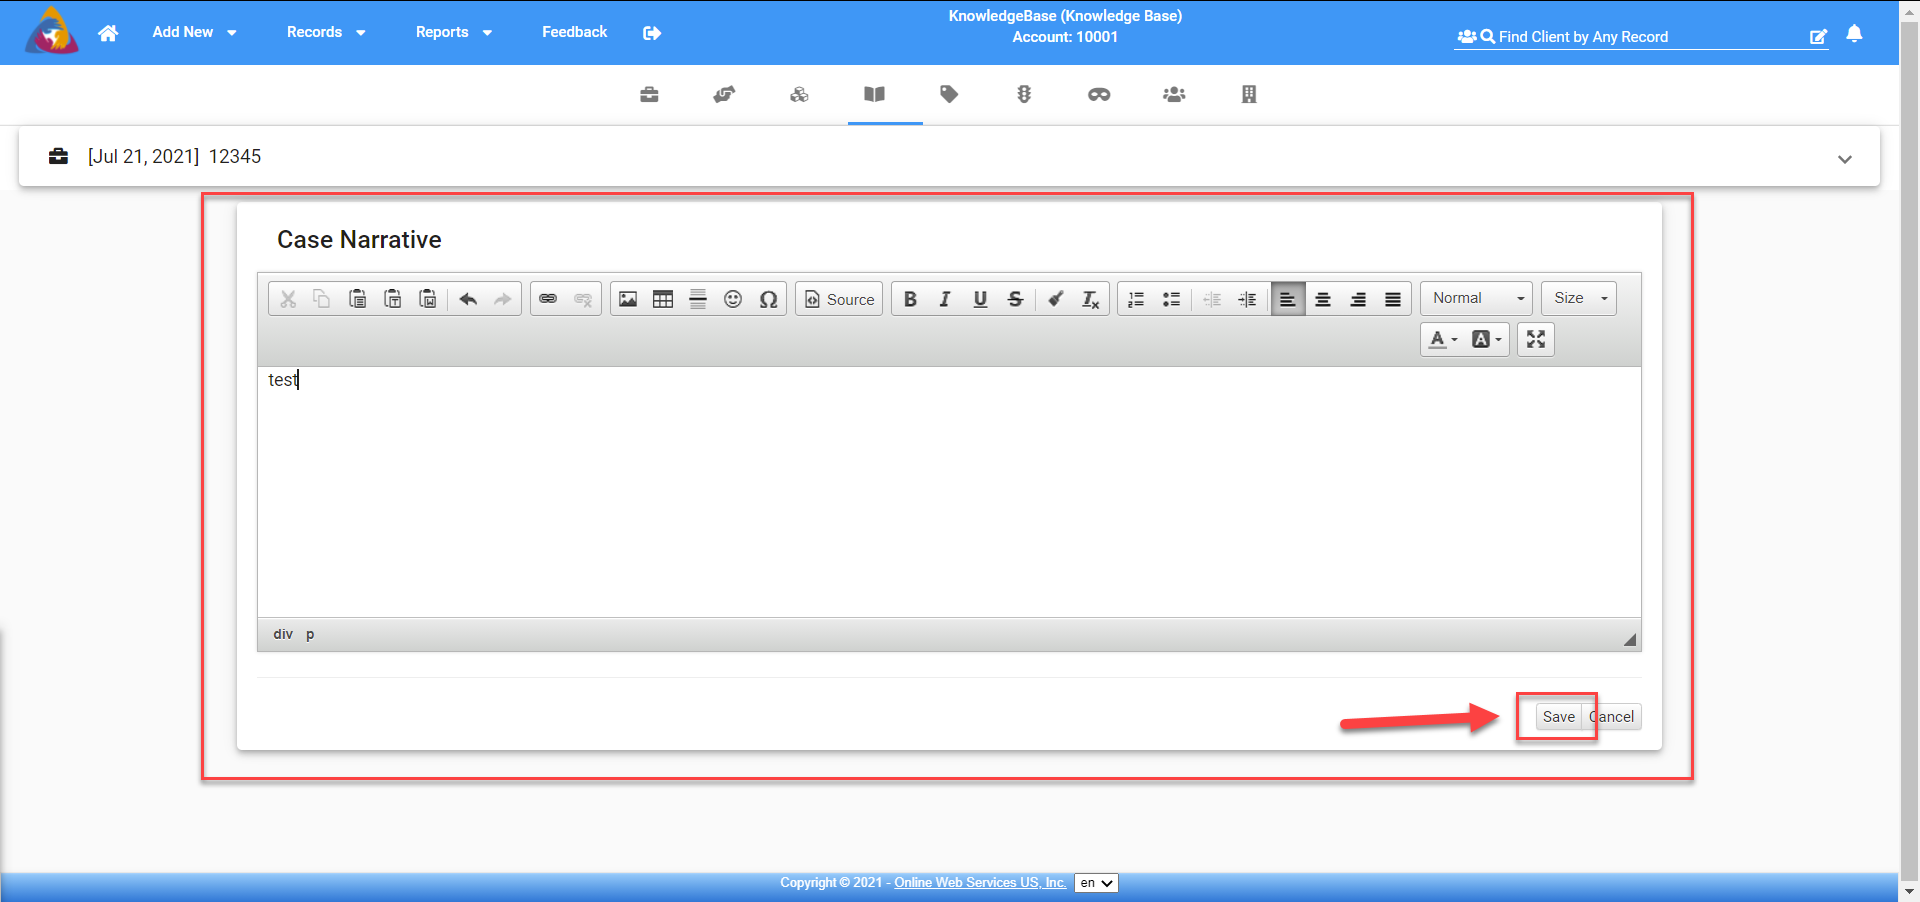
You can add the Case Narrative by clicking on the box where it says Enter Narrative (see below - Figure 6). In the text box enter the narrative for the Case and click on Save in the bottom right corner of the box. (see below - Figure 7)
Figure 6

Figure 7
View/Edit Case Narrative
You can edit the Case Narrative by clicking on the box where the pencil icon is located (see below - Figure 8). Type additional information at the end of the original narrative or make changes to the Narrative that is already there and click on Save. (see below - Figure 9)
Figure 8
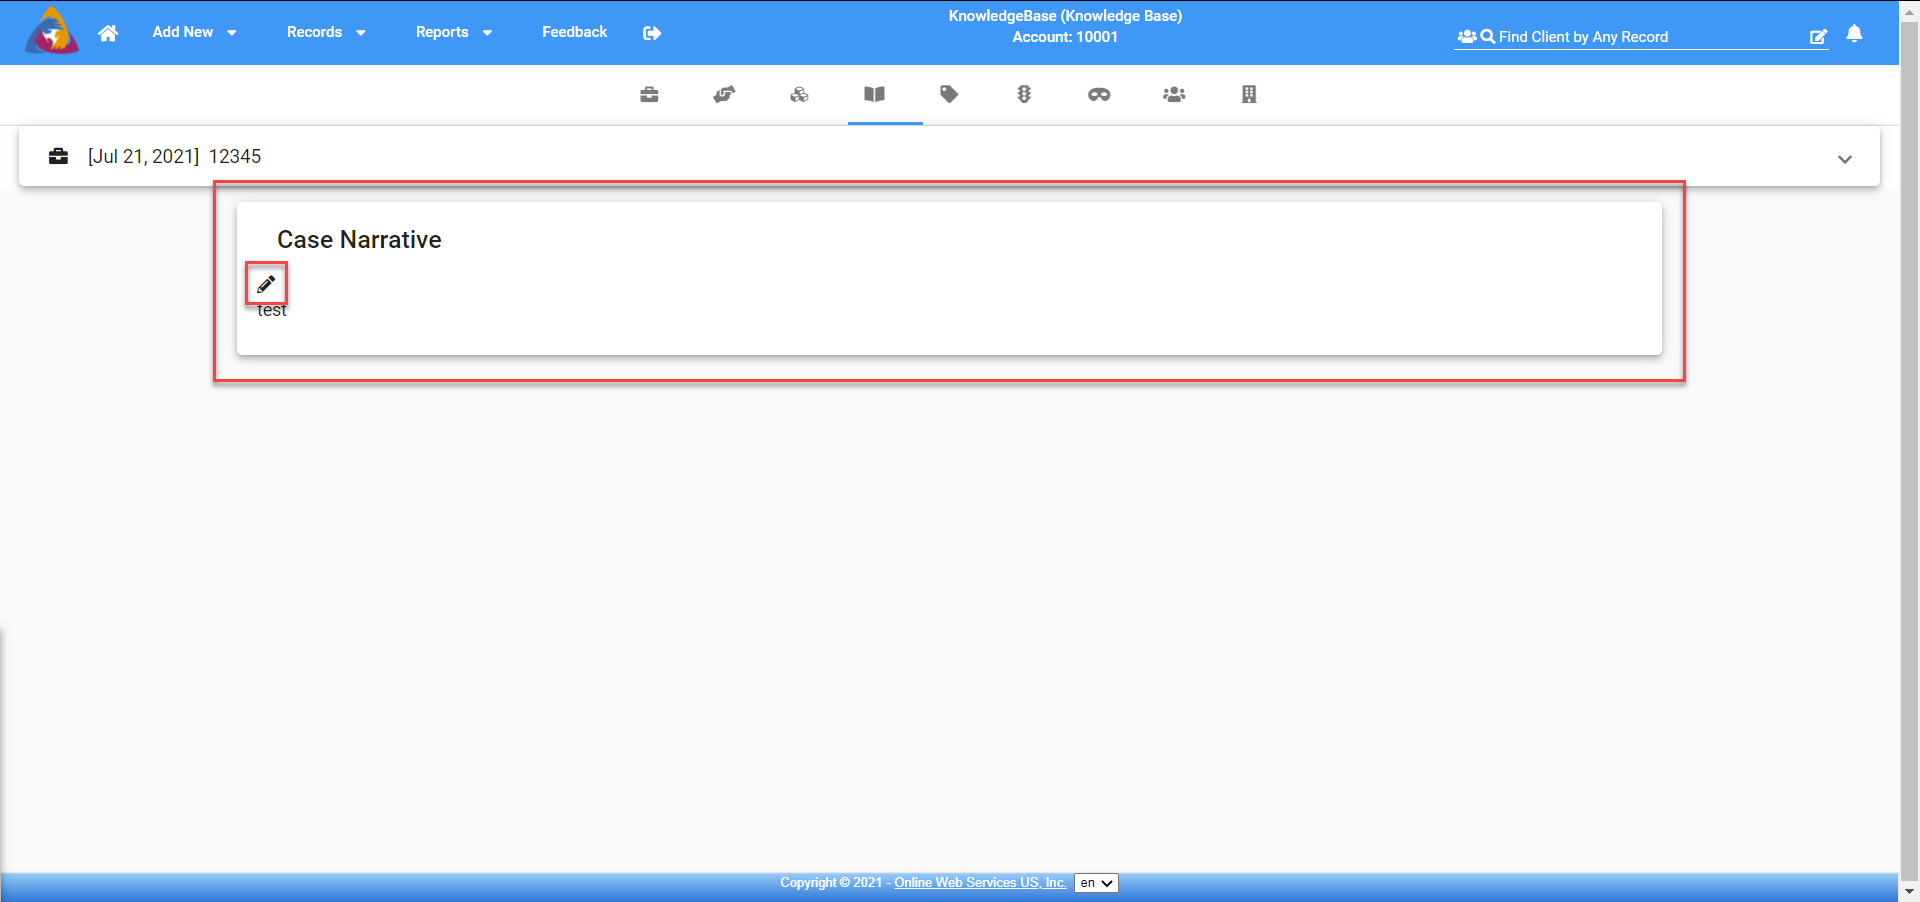
Figure 9