What is the Timesheet (Non-Victim) Tab?
The Timesheet Tab on your Home Screen allows you to add timesheets to your records for office-related purposes.
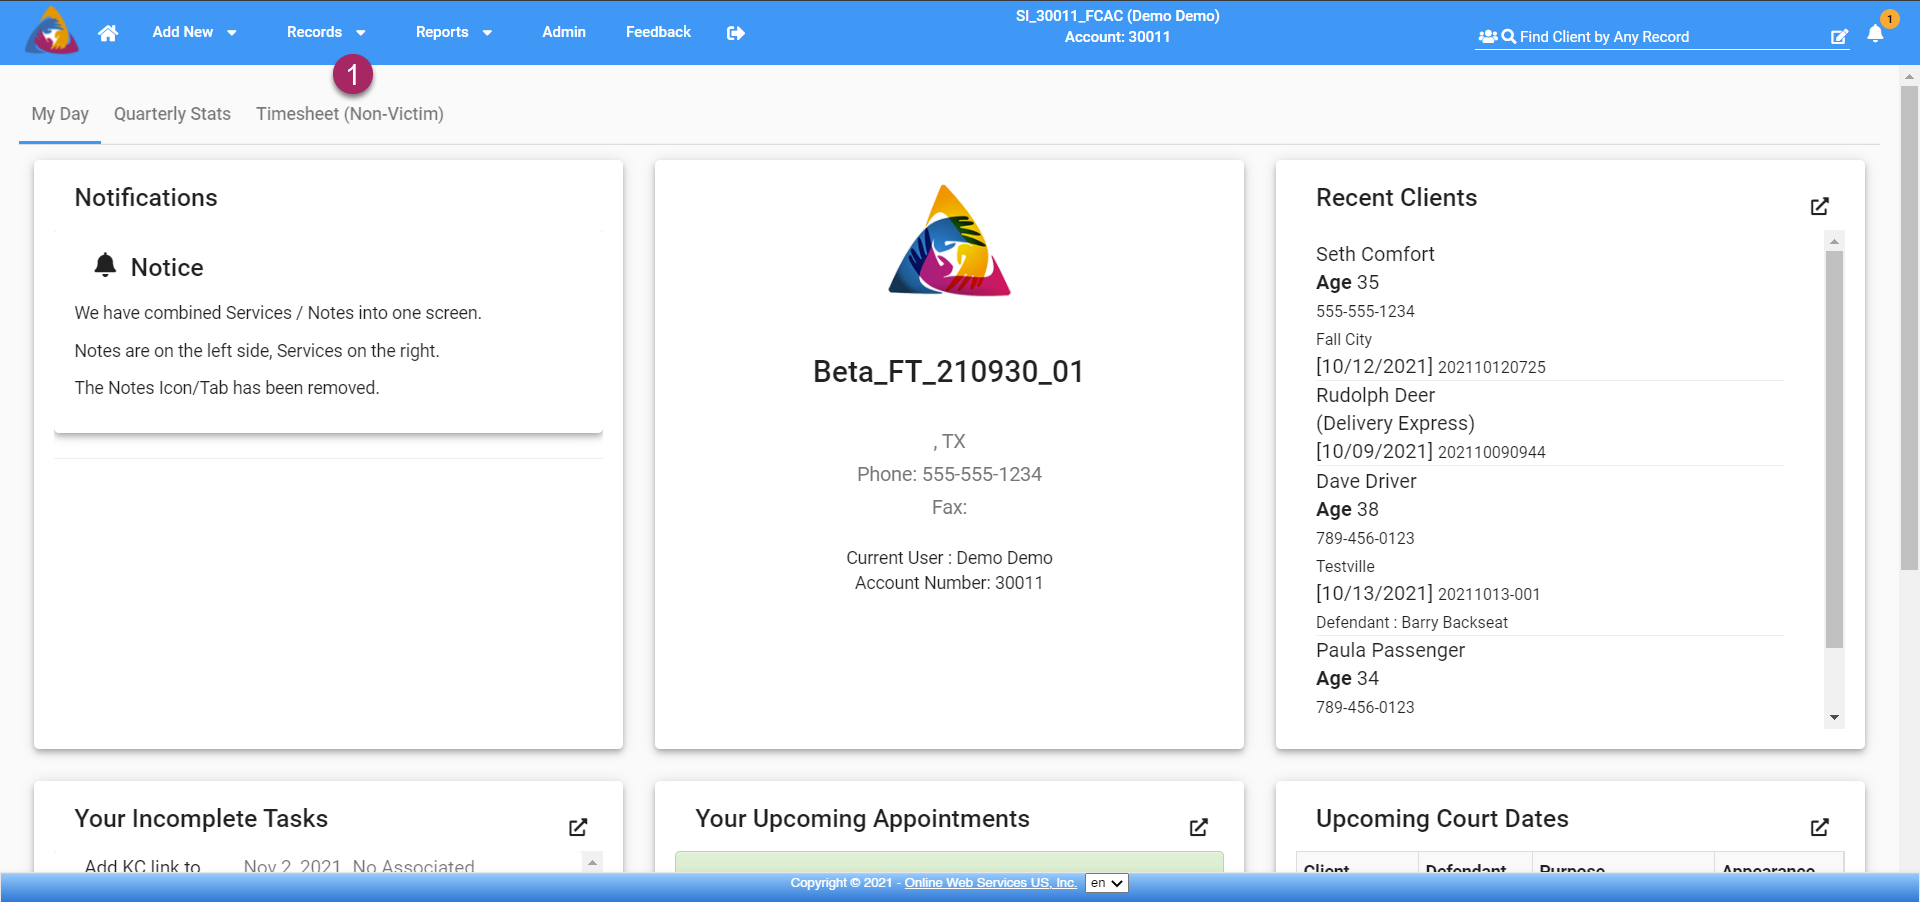
- From the Home Screen, click on the "Timesheet (Non-Victim)" tab.
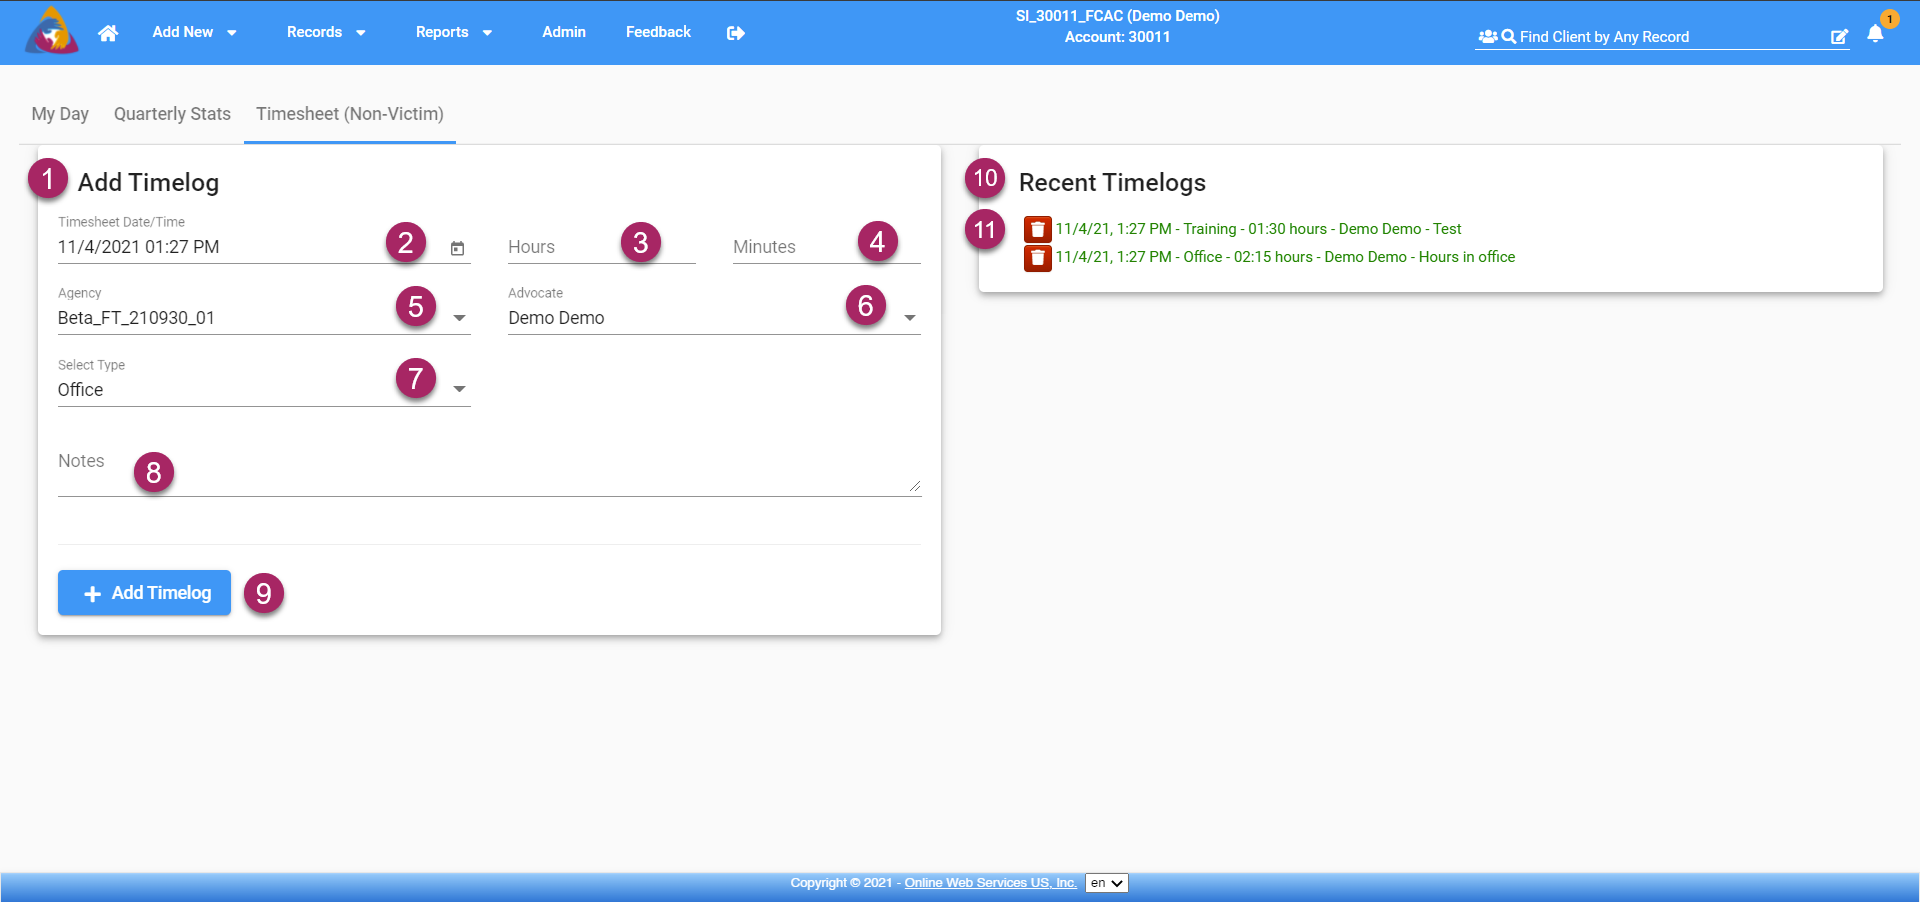
- You will be taken to the Timesheet tab where you will be able to add and delete timesheets.
- To begin adding a new timesheet, enter a date and time in the field labeled "Timesheet Date/Time". Click the calendar icon on the right side of this field and a calendar will open allowing you to select a date and enter a time.
- To the right, enter the number of hours spent on the task/duty in the field labeled "Hours".
- Next, enter the minutes in the field labeled "minutes".
- The next field is labeled "Agency" and will display the name of your agency. Note: if you are an enterprise user and manage multiple agencies, you will be able to click the field and open a dropdown list allowing you to select an agency.
- To the right is a dropdown field labeled "Advocate". This will default to you, but if the timesheet is for another advocate you can select them by clicking on the field to expand the dropdown and clicking on their name.
- Next, select the type of work that you are creating the timesheet for. "Types" can be added and managed by an administrator on your account in the admin settings. For more info, see the article: How do I add and edit Timesheets?
- The last field is labeled "Notes" and is available for you to add additional notes to provide more detail for the timesheet.
- Once you have entered all information, click the blue "+ Add Timelog" button and your new timesheet entry will be saved.
- On the right side of the screen, you will see a list of "Recent Timelogs".
- If you wish to delete a Timelog, click the red trash can button next to the Timelog you wish to delete.
