
Utilizing the Document Uploader on the Client Documents tab, you are able to upload and store documents for your clients.
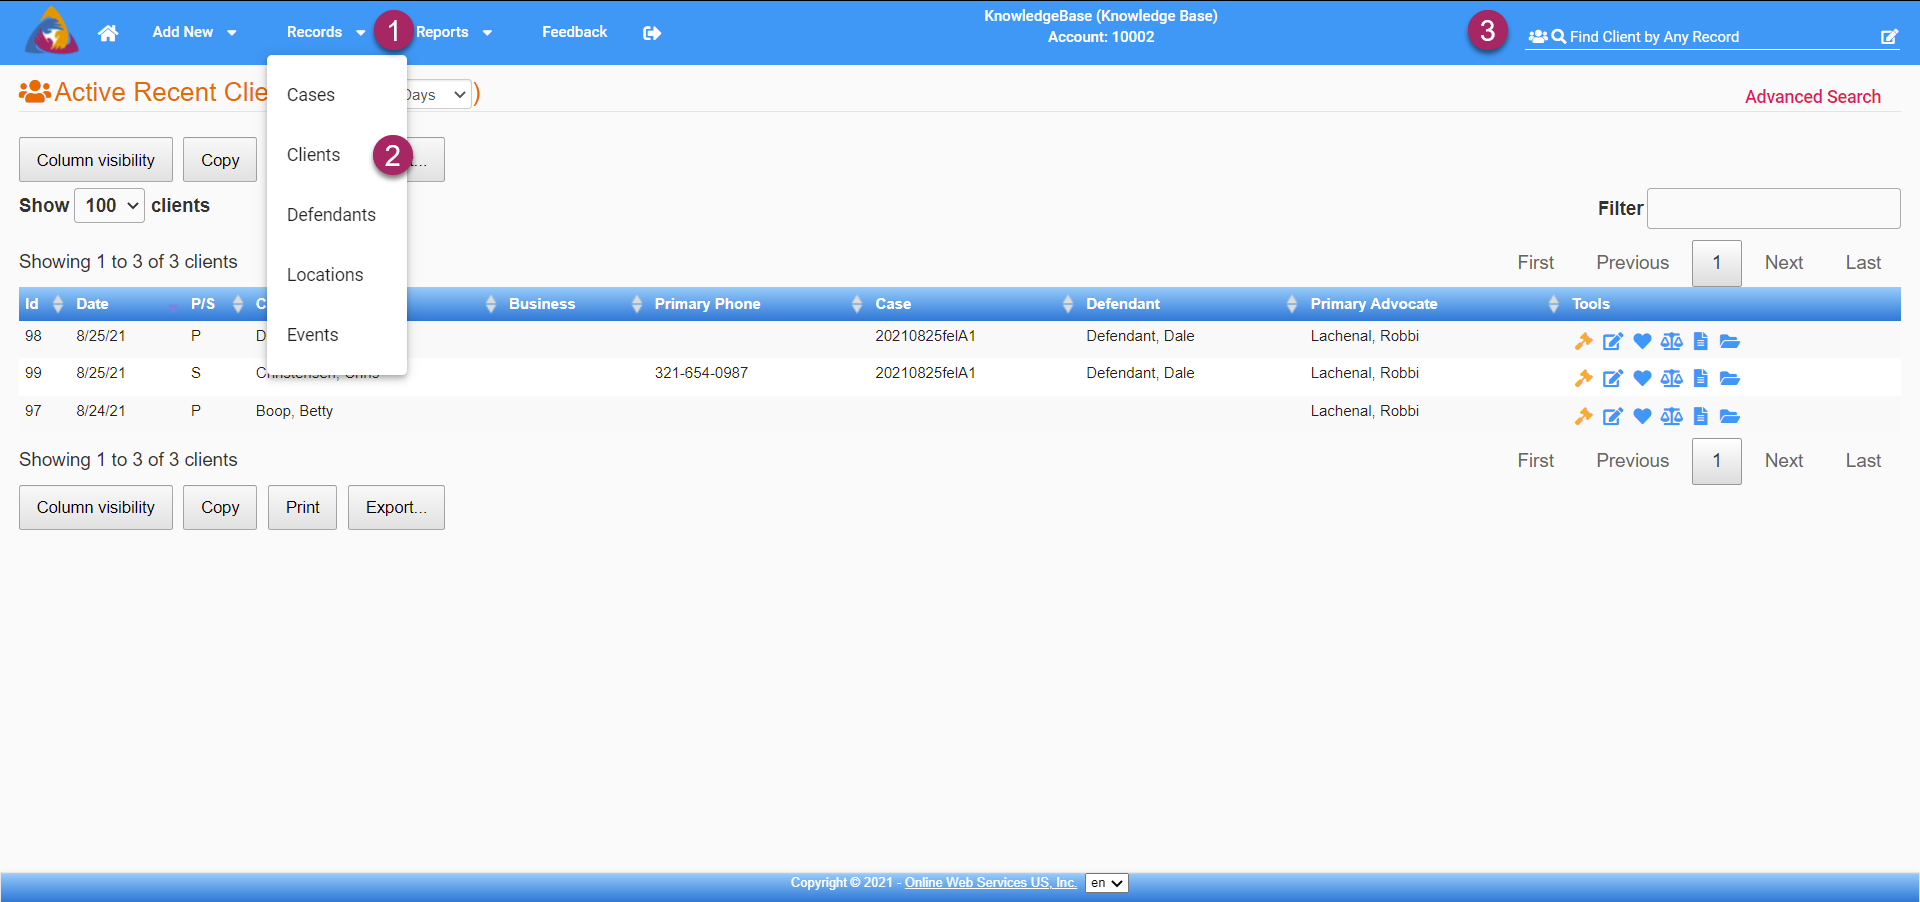
- To start, navigate to the Clients Screen by clicking on the Records dropdown on the top blue bar.
- Select "Clients" from the dropdown and you will be taken to the Clients Screen.
- You can also navigate to the Clients Screen by doing a search for clients by utilizing the search bar on the right side of the top blue bar.
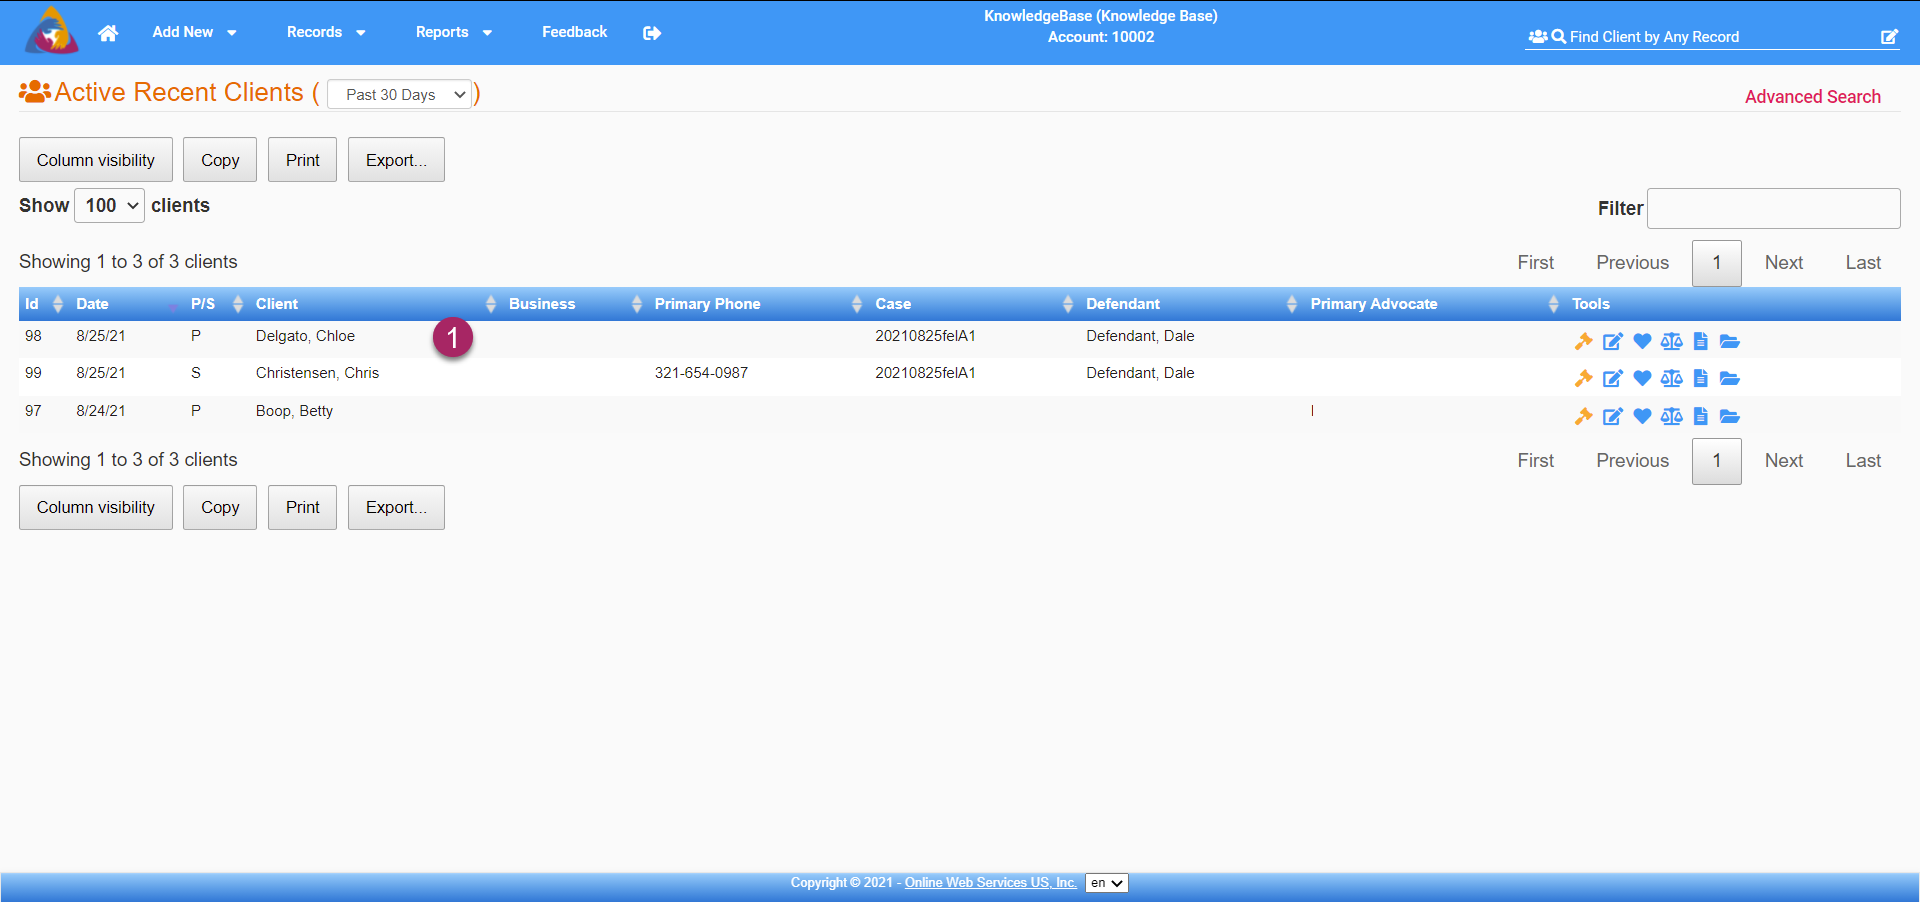
- Select a client from the list of clients to navigate to that client's info screen.

- Once you are on the client screen, navigate to the Client Documents tab by clicking on the icon that looks like a document. It is located on the row of icons below the top blue bar.
- This will open the Client Documents tab.
Add a New Document
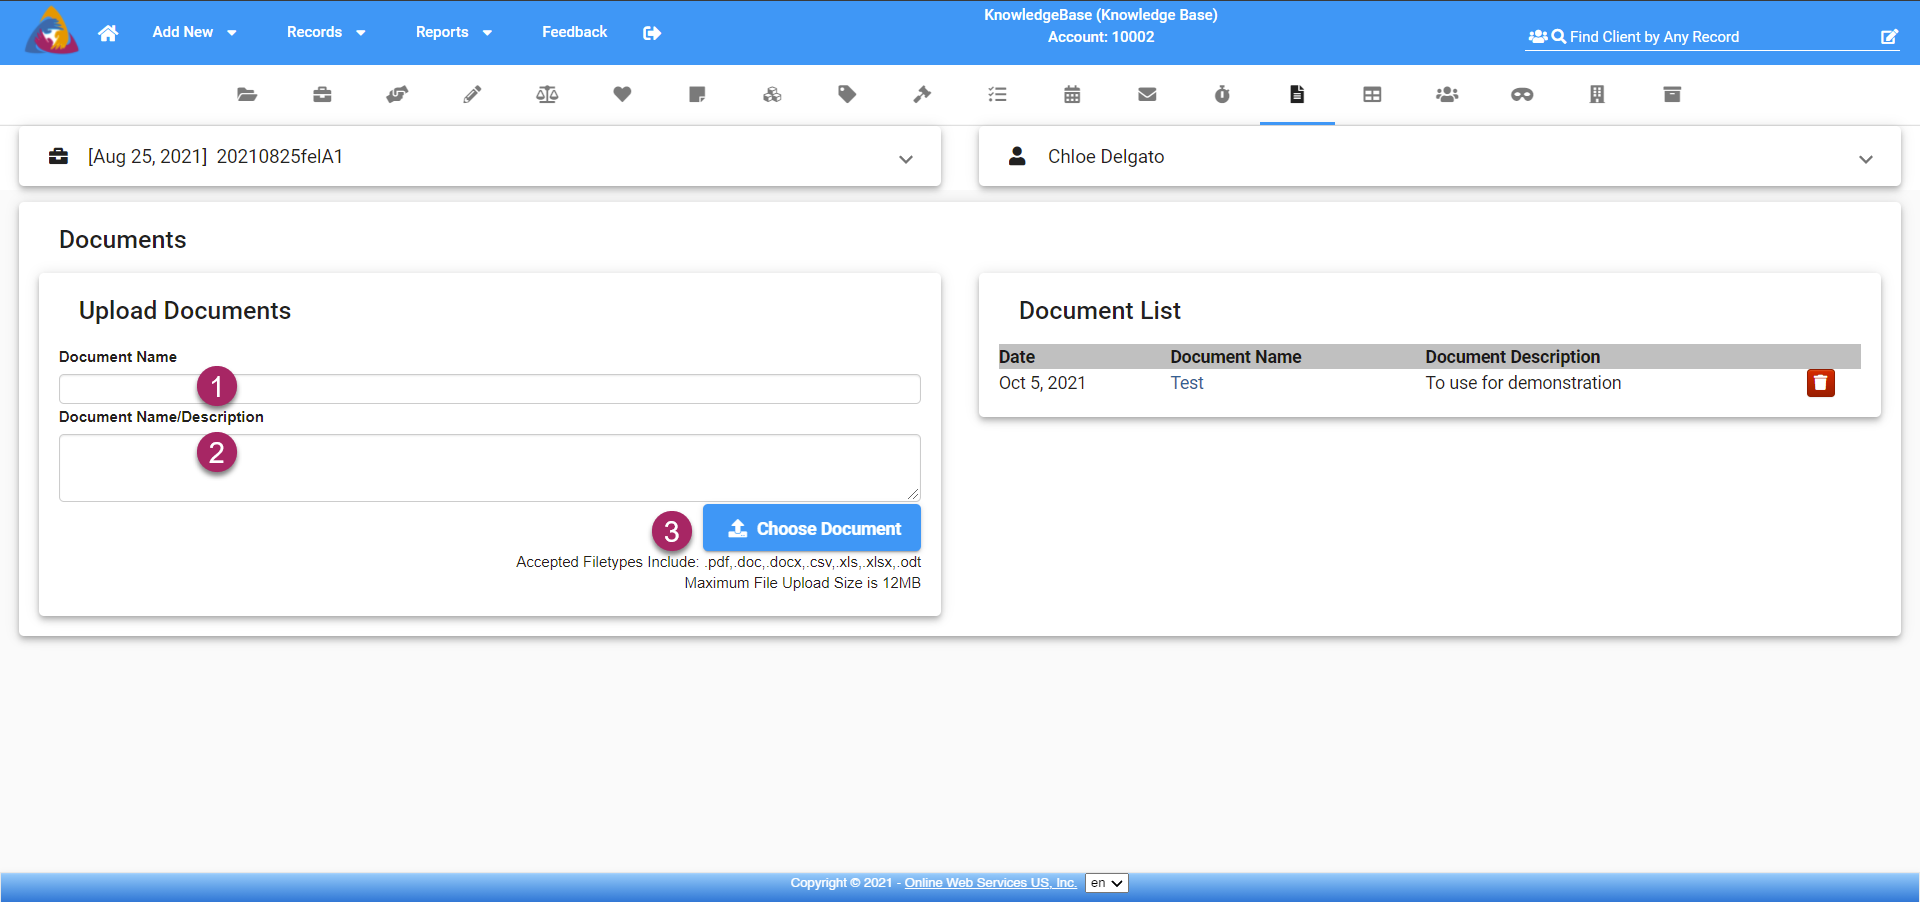
- Begin by adding a name for the document in the field below "Document Name".
- In the next field, below "Document Name/Description", enter a description to summarize the content of your document.
- To complete your document upload, click the blue "Choose Document" button and a window will open allowing you to choose a document from your computer. After selecting and confirming the document, it will be uploaded and appear on the list to the right.
Uploaded Documents
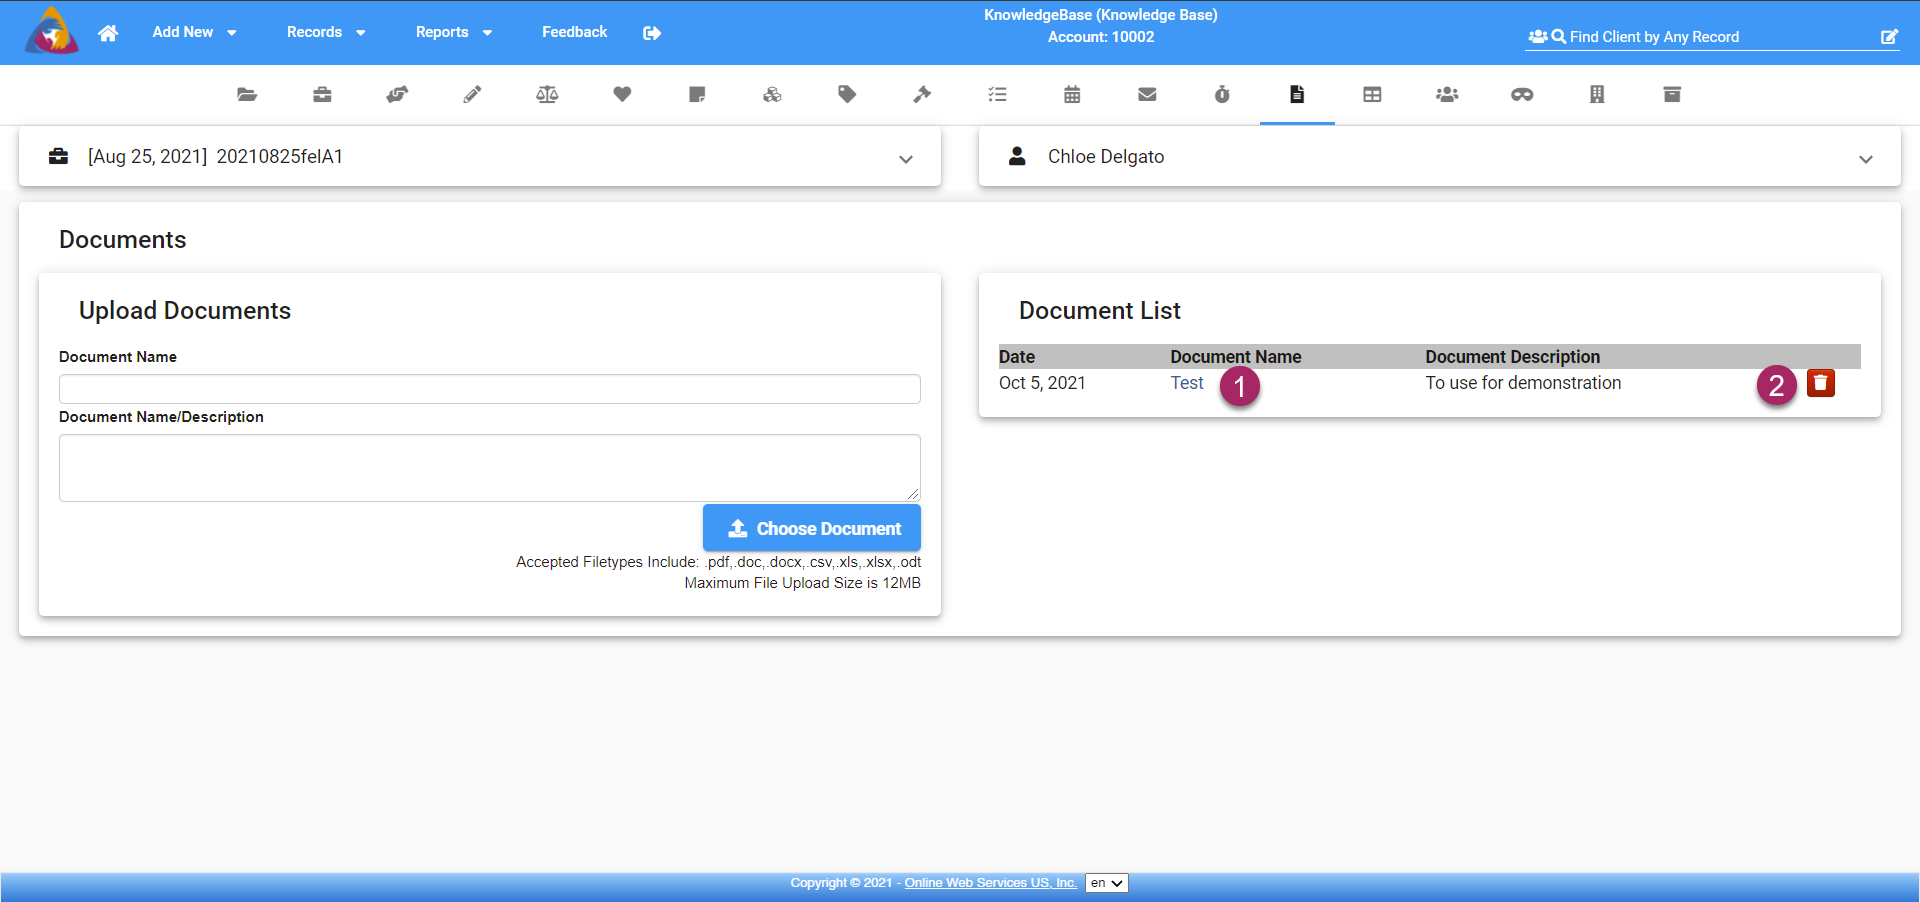
- To download and view a document, click the name of the document. This will open a window allowing you to select a folder to download the document to. Confirm the folder and your document will be downloaded.
- If you wish to delete a document from the client, click the red button with a trash can icon and the document will be deleted.