
The Court Dates tab on a client screen allows you to schedule record court dates to be shared with your client.
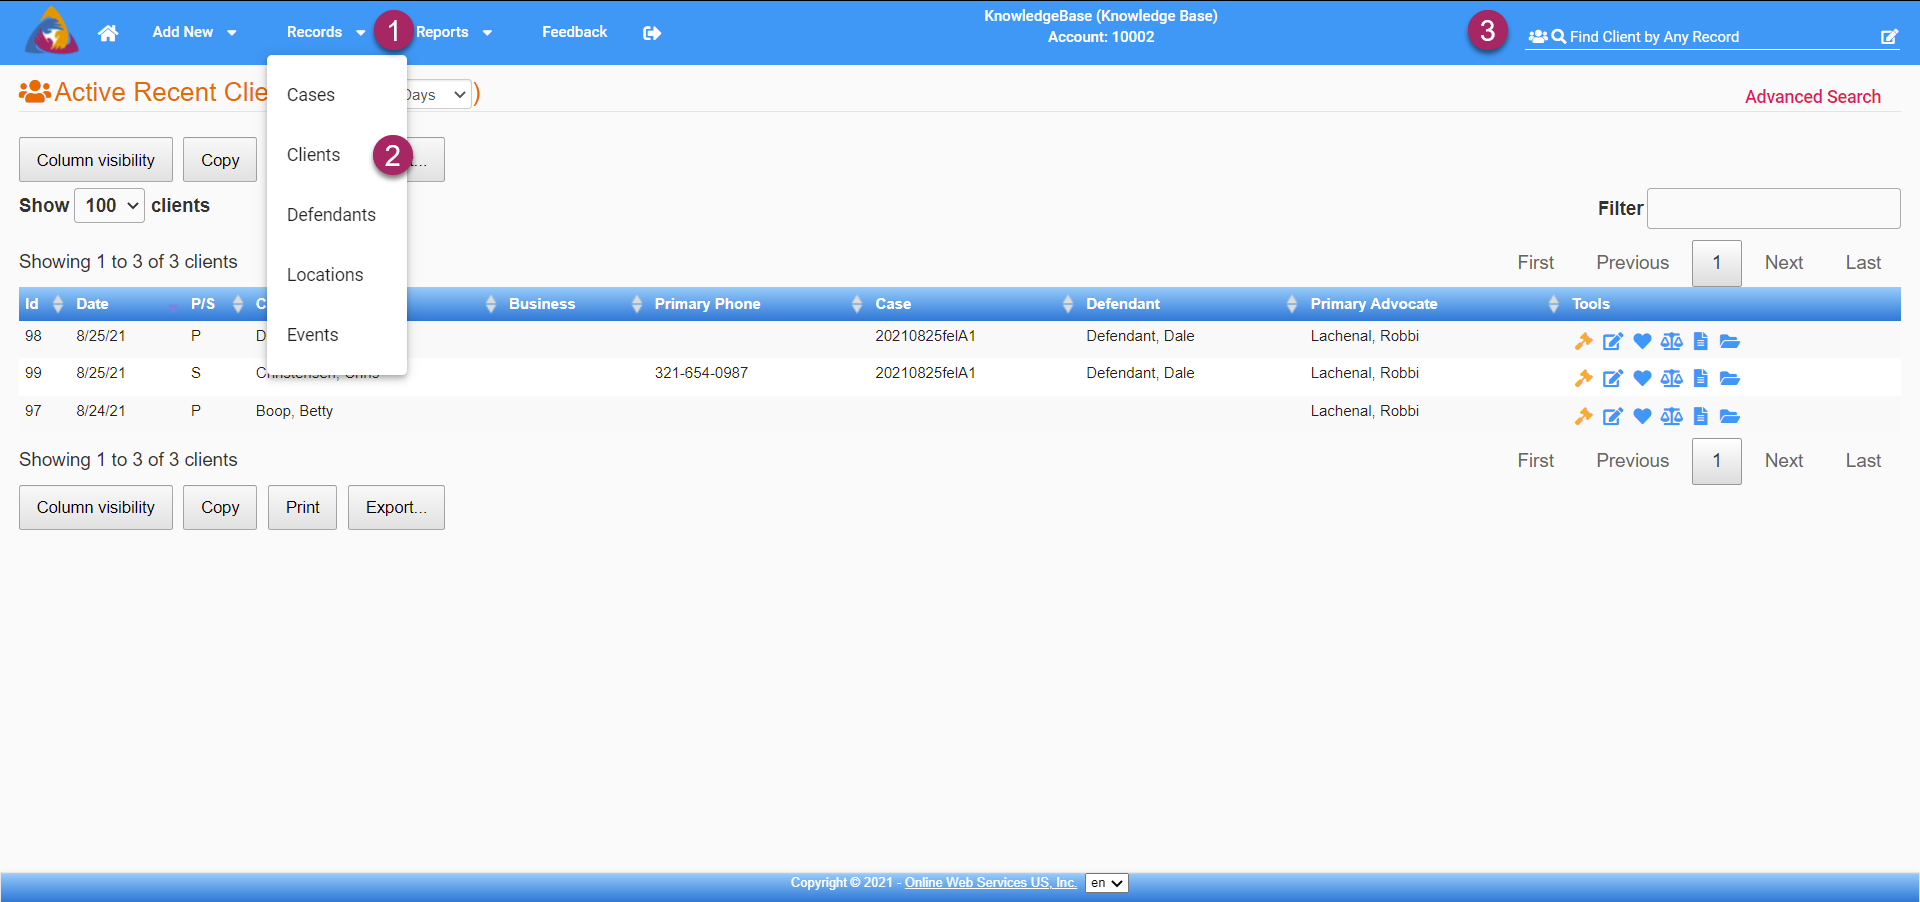
- To start, navigate to the Clients Screen by clicking on the Records dropdown on the top blue bar.
- Select "Clients" from the dropdown and you will be taken to the Clients Screen.
- You can also navigate to the Clients Screen by doing a search for clients by utilizing the search bar on the right side of the top blue bar.
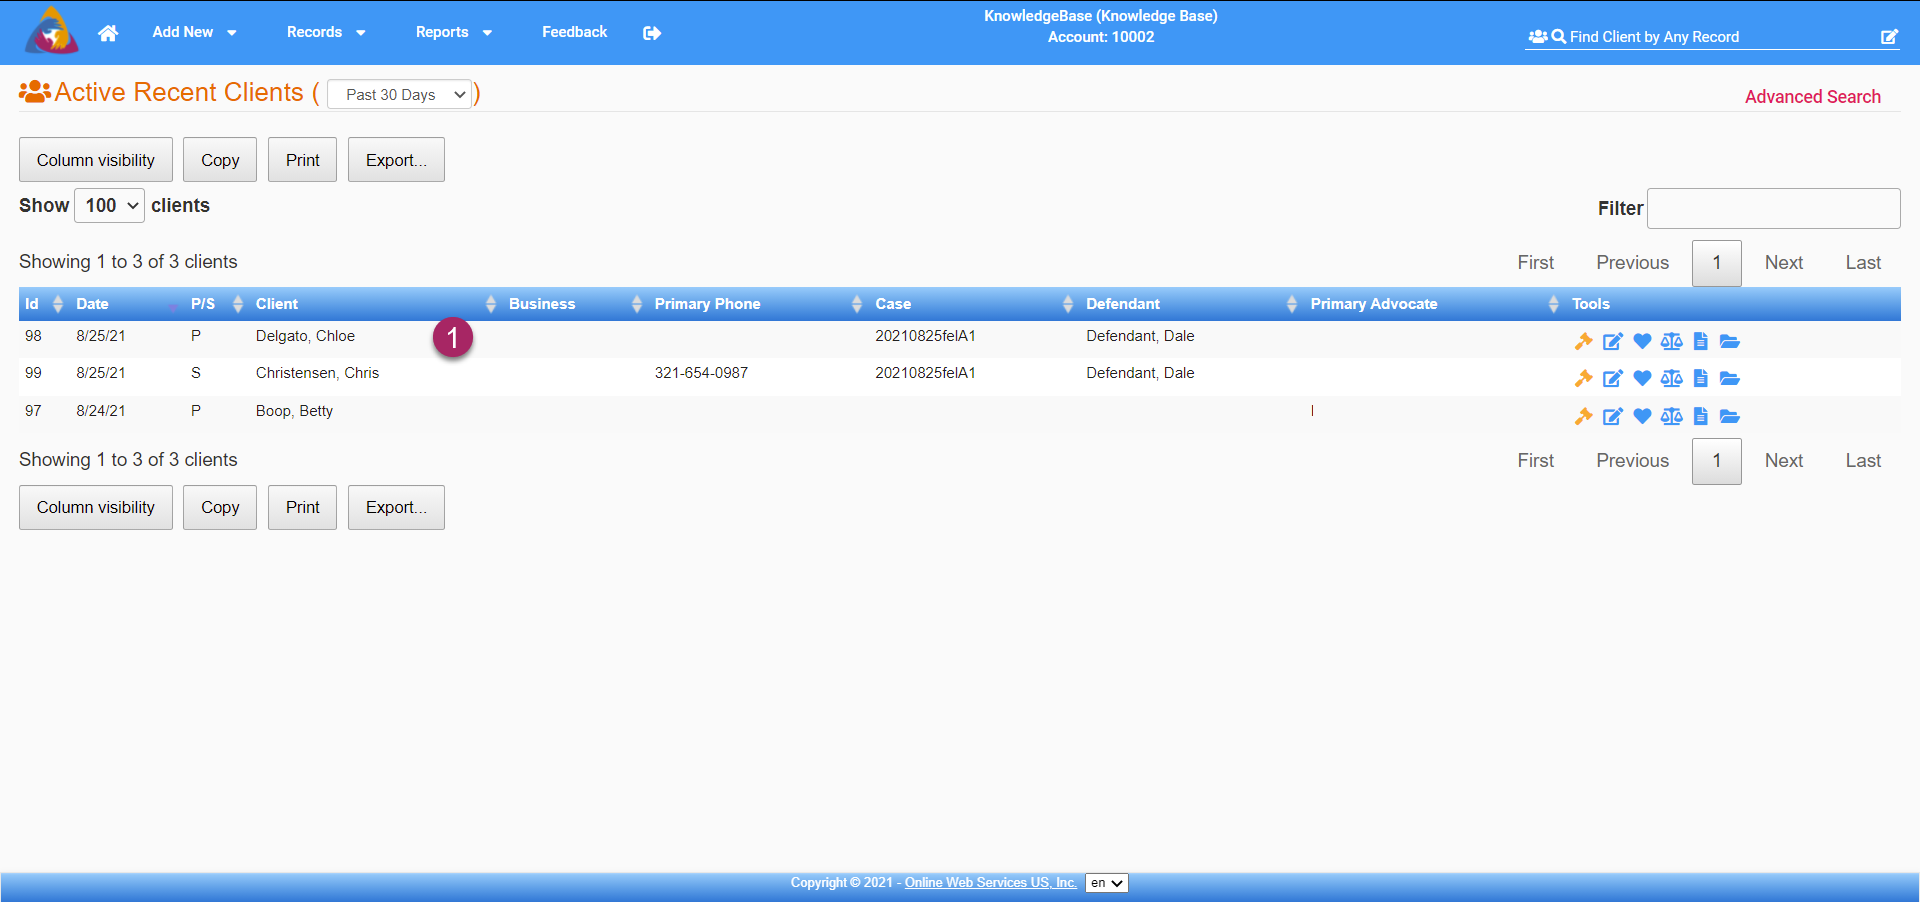
- Select a client from the list of clients to navigate to that client's info screen.
- Once you are on the desired client's client screen, navigate to the Court Dates tab which is marked by a gavel icon. This icon is found in the row of icons below the top blue bar.
Add a Court Date
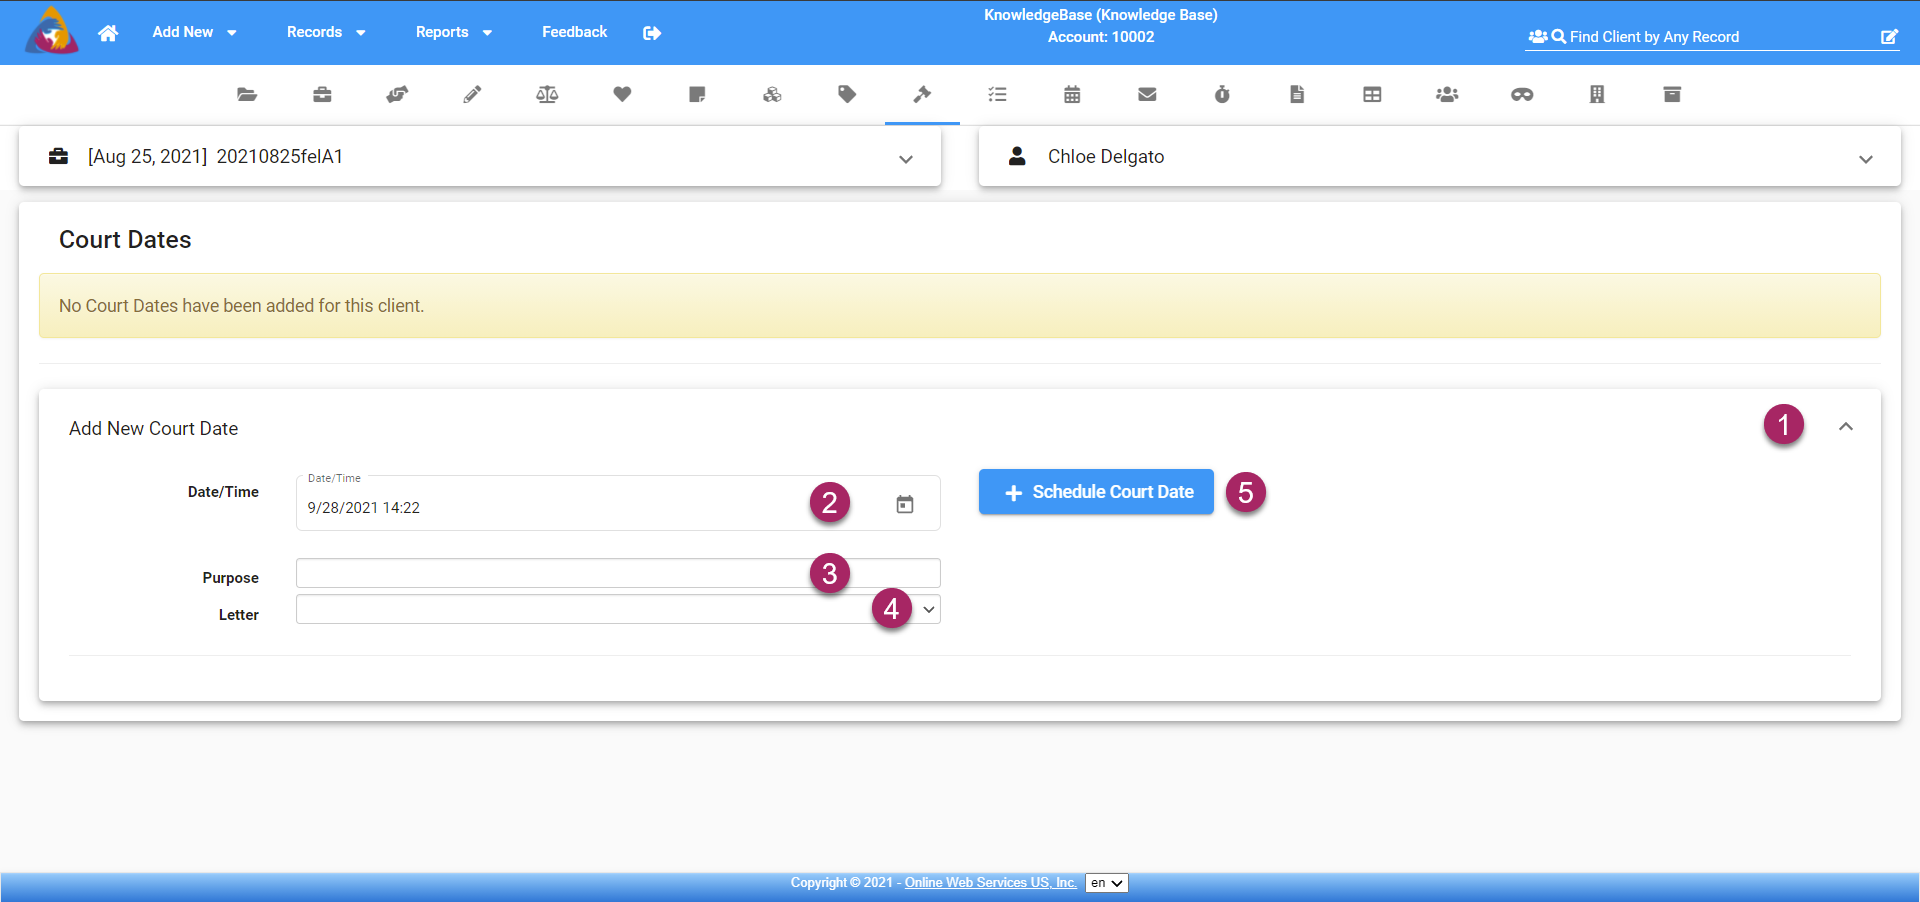
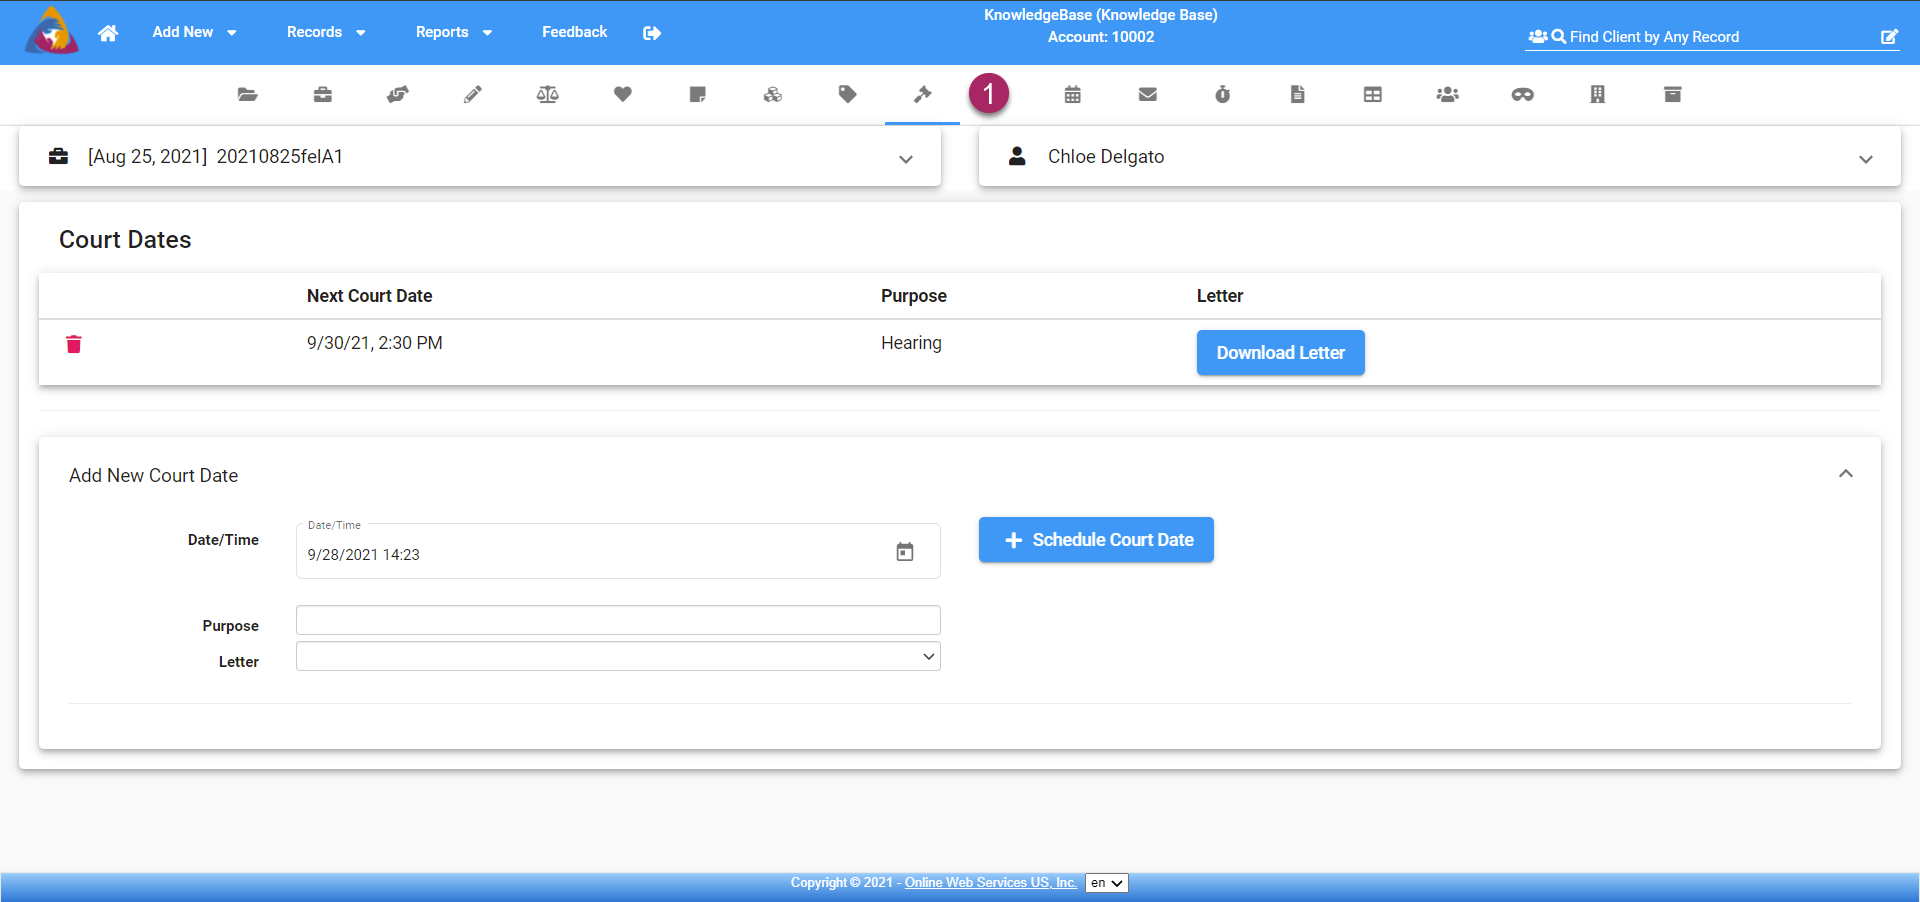
- To add a new court date, start by expanding the "Add New Court Date" block by clicking the arrow icon on the right side of the block.
- Once expanded, you will first enter a date and time for the court date. Click the calendar icon and a calendar will open allowing you to select a date and enter a time.
- In the field next to "Purpose" enter a brief description of what the court date will be about.
- If your admin has created letter templates, you will be able to add a letter to the court date that can be downloaded/printed after your court date has been successfully added.
- When you have entered all of the court date's information, click the blue "+ Schedule Court Date" button to save your new court date.
View Court Dates
Court dates will appear above the "Add New Court Date" block. You will have two options available for added court dates.

- First, you can delete a court date by clicking the red trash can icon on the left side of a court date.
- If you added a letter when creating the court date, that letter can be downloaded to be emailed or printed and mailed to the client.