
Gender, Race, and Special Classification options can be edited by an admin user on the Add/Edit Demographics screen in Admin settings.
This Article Covers:
Click any of the options above to be taken to its details on this page.
Add/Edit Demographics Screen.
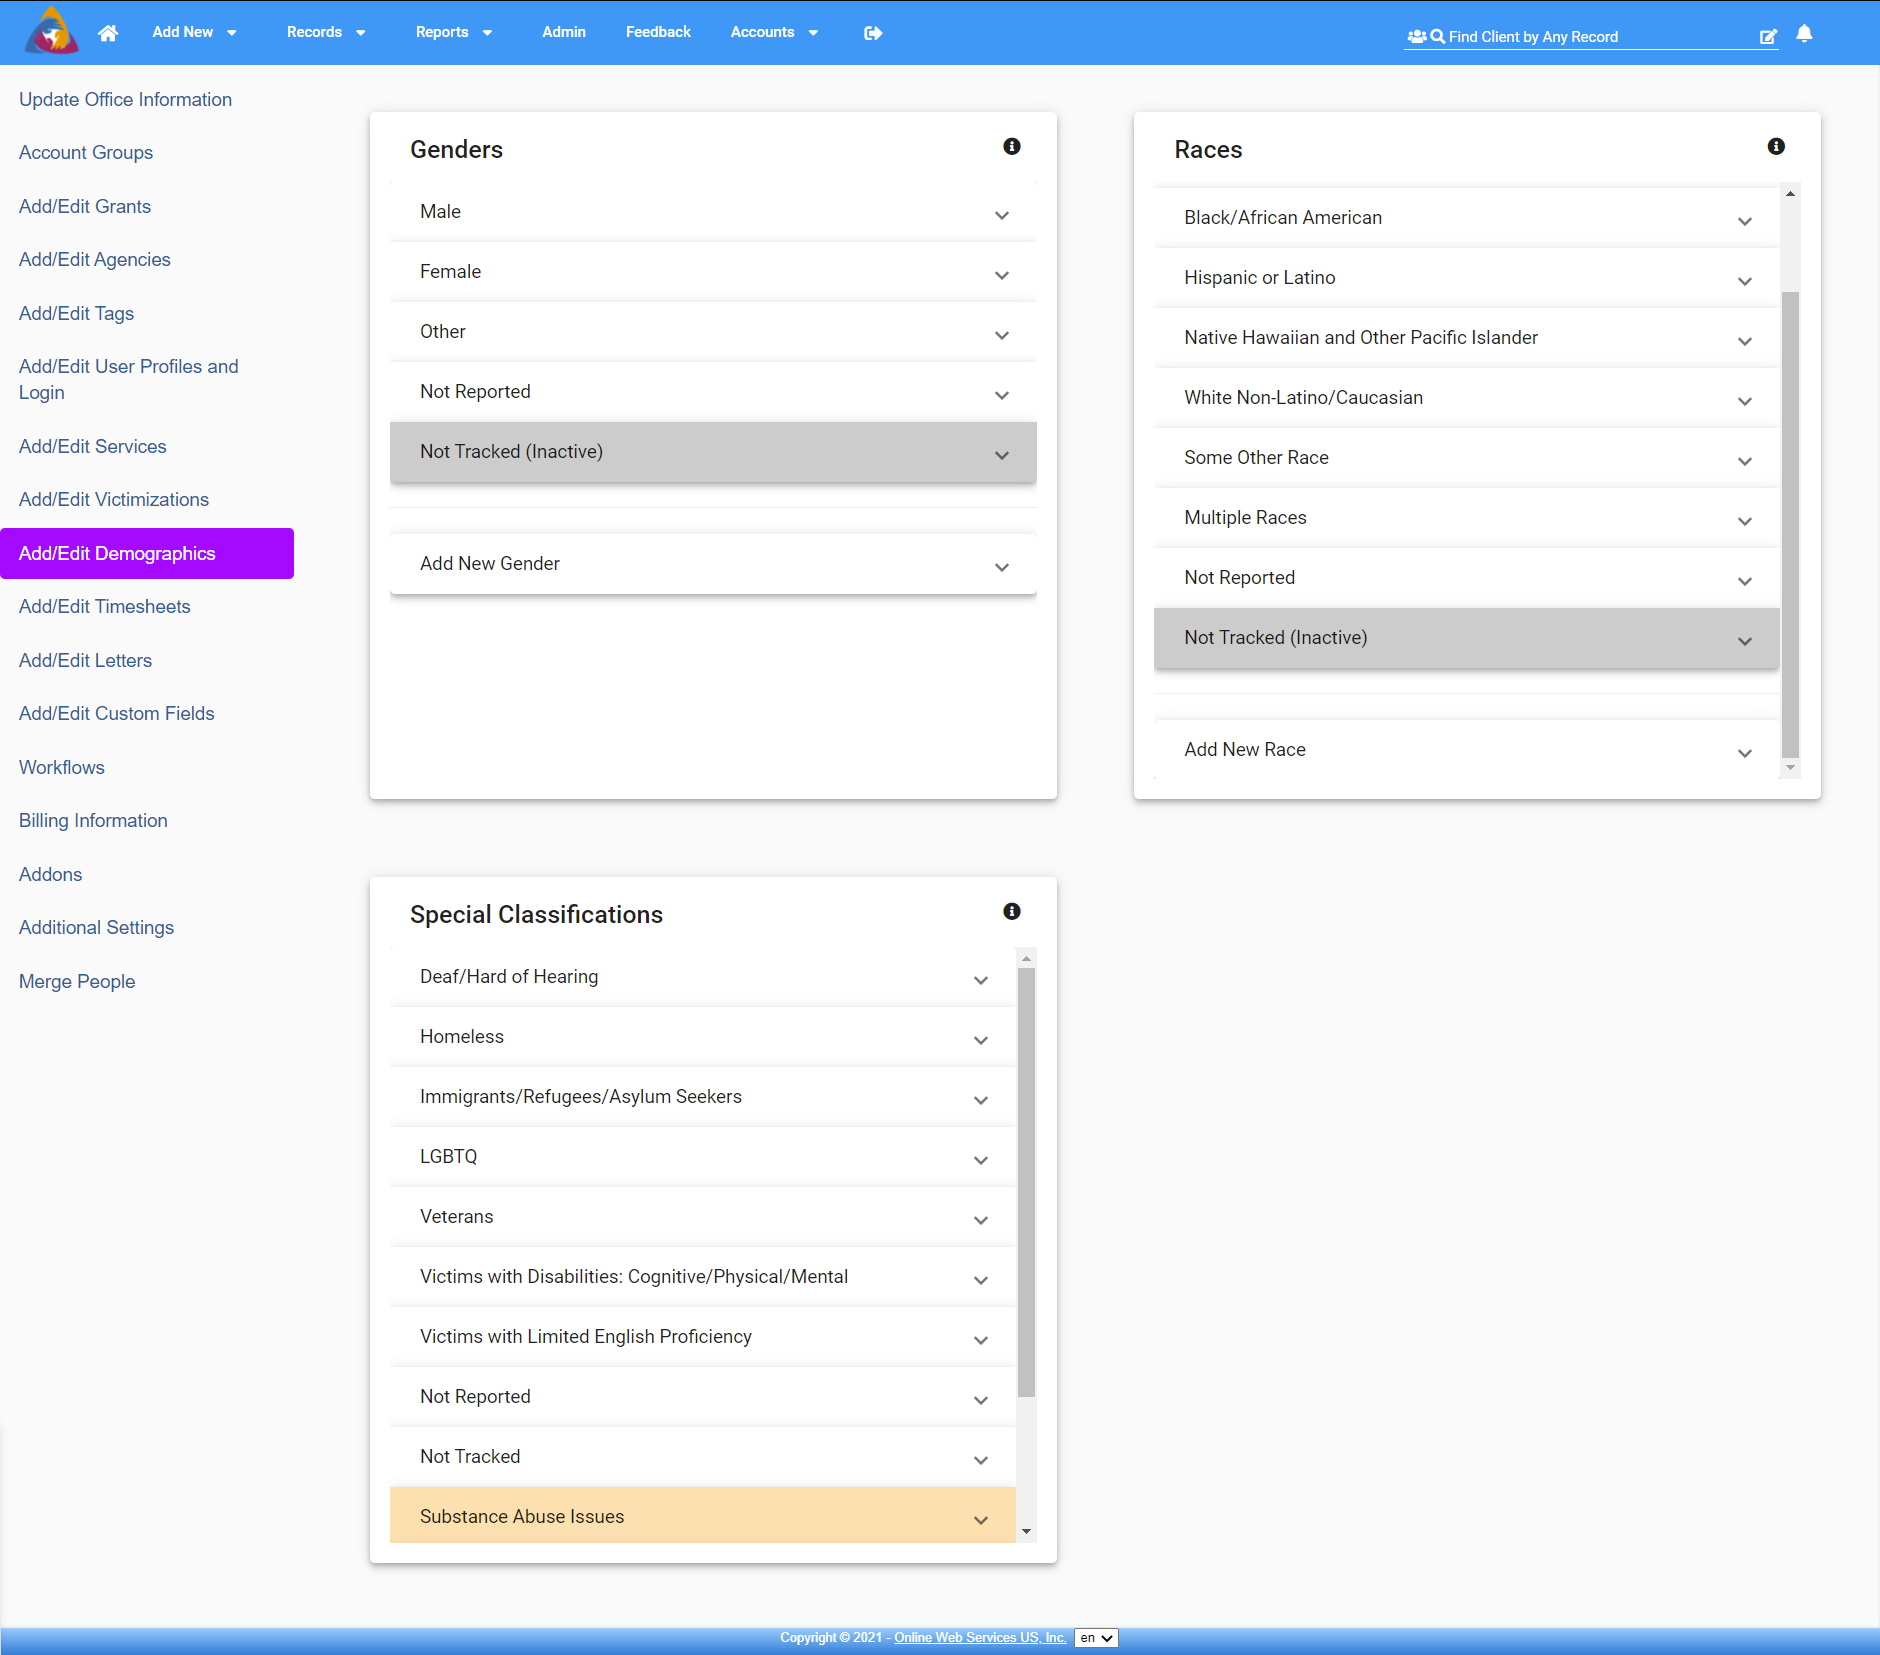
On the Add/Edit Demographics screen, you are able to edit existing Genders, Races, and Special Classifications as well as add additional items to each category. Each will be detailed below.
Add/Edit Genders
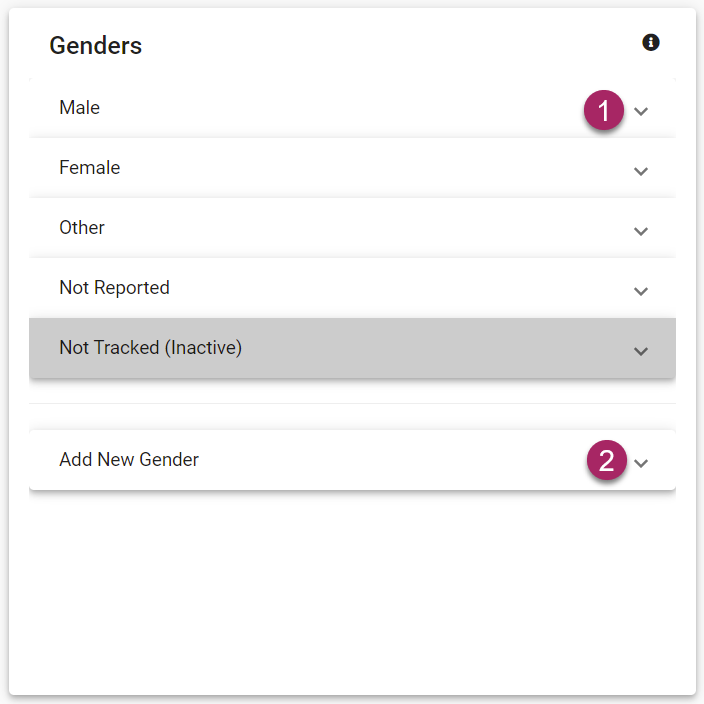
- To edit a gender, first, click on the arrow icon on the right side of the gender tab you wish to edit.
- To add a gender, click the arrow icon on the right side of the "Add New Gender" tab.
Edit Gender
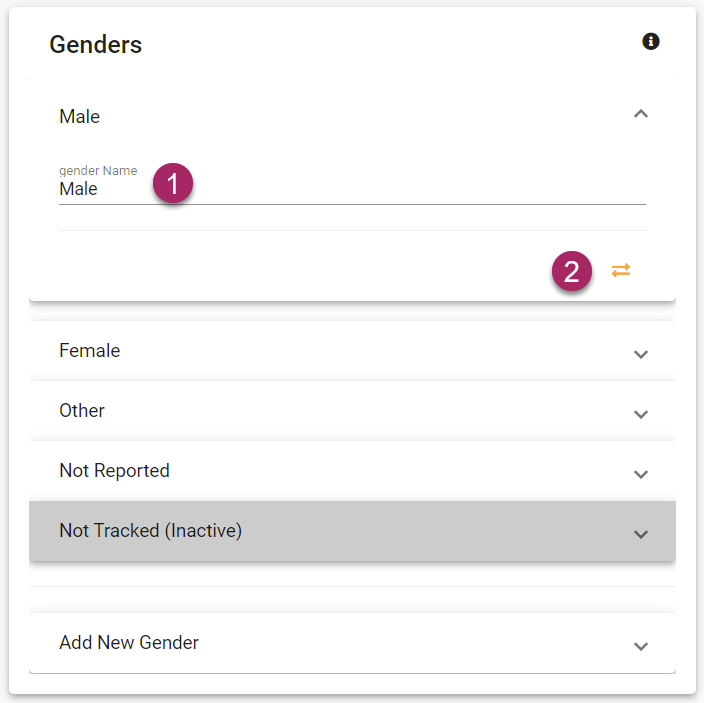
- Once the desired gender tab has been expanded, click on the field below "Gender Name" and you will be able to rename or add to the name.
- If you wish to hide a gender from users on the software, you are able to deactivate it by clicking the icon of two arrows pointing in opposite directions.
Add Gender
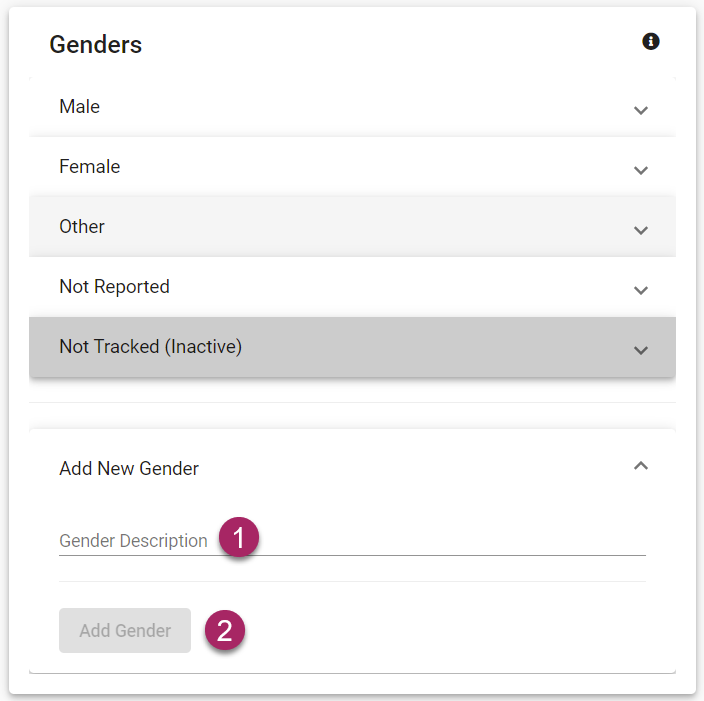
- Once Add New Gender tab has been expanded, click on the Gender Description field and you will be able to add a gender.
- Once you have entered the gender, the Add Gender button will turn blue and you can click it to finalize and save your new gender.
Add/Edit Races

- To edit a race, first, click on the arrow icon on the right side of the race tab you wish to edit.
- To add a race, click the arrow icon on the right side of the "Add New Race" tab.
Edit Race
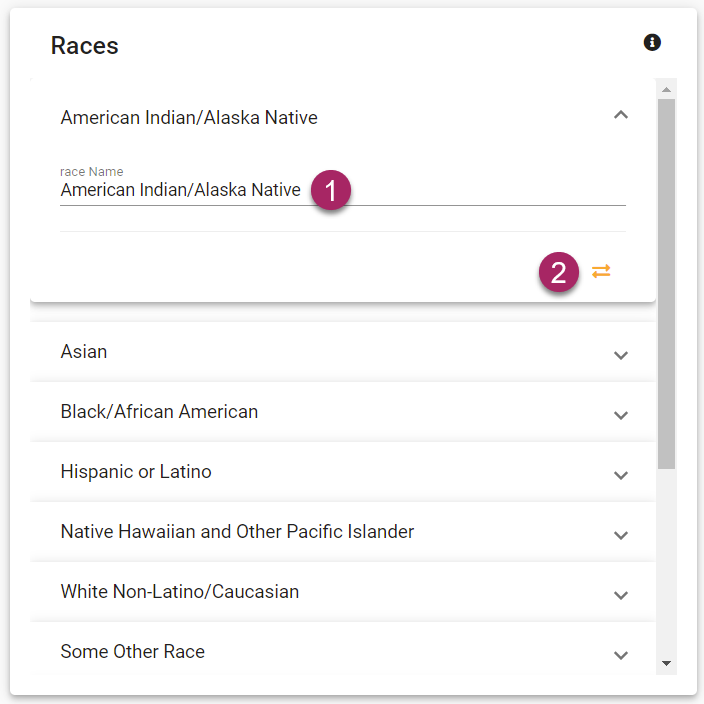
- Once the desired race tab has been expanded, click on the field below "Race Name" and you will be able to rename or add to the name.
- If you wish to hide a race from users on the software, you are able to deactivate it by clicking the icon of two arrows pointing in opposite directions.
Add Race
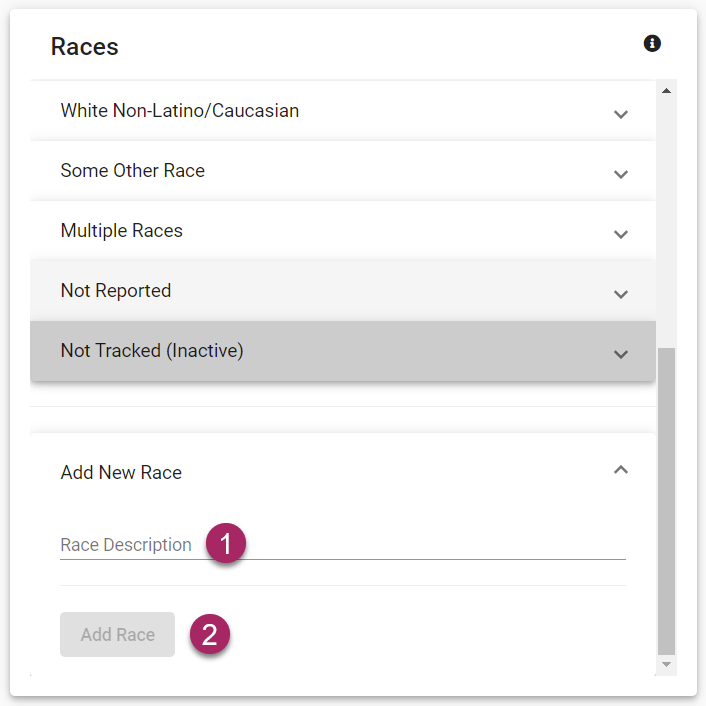
- Once Add New Race tab has been expanded, click on the Race Description field and you will be able to add a race.
- Once you have entered the race, the Add Race button will turn blue and you can click it to finalize and save your new race.
Add/Edit Special Classifications
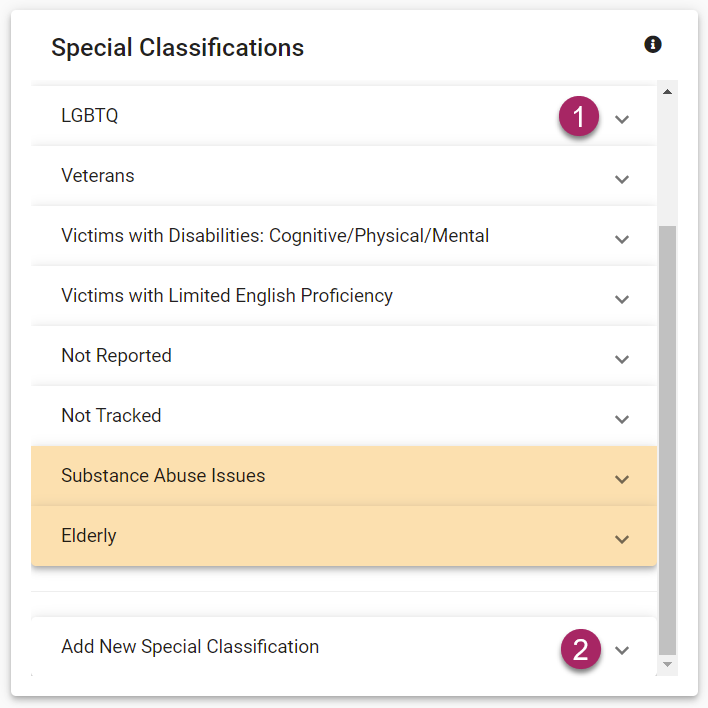
- To edit a special classification, first, click on the arrow icon on the right side of the special classification tab you wish to edit.
- To add a special classification, click the arrow icon on the right side of the "Add New Special Classification" tab.
Edit Special Classification
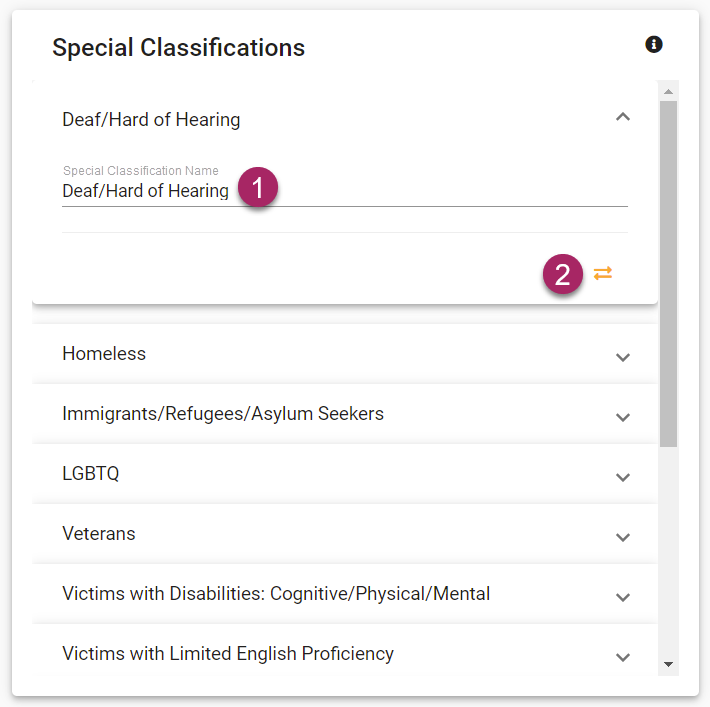
- Once the desired special classification tab has been expanded, click on the field below "Special Classification Name" and you will be able to rename or add to the name.
- If you wish to hide a special classification from users on the software, you are able to deactivate it by clicking the icon of two arrows pointing in opposite directions.
Add Special Classification

- Once Add New Special Classification tab has been expanded, click on the Special Classification Description field and you will be able to add a special classification.
- Once you have entered the race, the Add Special Classification button will turn blue and you can click it to finalize and save your new special classification.